
When high winds, heavy snow loads, or a fallen tree limb strike a home, the roof truss system is often the last thing homeowners think to check, even though it is the structural framework holding the entire roof together. Knowing the right tips for roof truss repair after storm damage can mean the difference between a straightforward fix and a roof that continues to sag or leak long after the storm has passed. At Universal Roofs, we have repaired truss damage across the GTA following wind events, ice storms, and fallen trees, and the patterns of what goes wrong — and what fixes work — are remarkably consistent.
This guide covers five essential tips for assessing and repairing storm-damaged roof trusses, why speed matters, and how to tell the difference between cosmetic damage and a genuine structural concern that needs immediate attention.
Tip 1: Assess Structural Damage Before Cosmetic Damage
After a storm, it is natural to focus on missing shingles or a damaged gutter, since those are the most visible signs of trouble. But the first and most important of our tips for roof truss repair after storm damage is to prioritize a structural assessment before addressing anything cosmetic. Trusses are engineered as a connected system — each truss relies on its neighbours, along with bracing and sheathing, to distribute roof loads evenly. Damage to even one truss can shift how weight is carried across the entire roof.
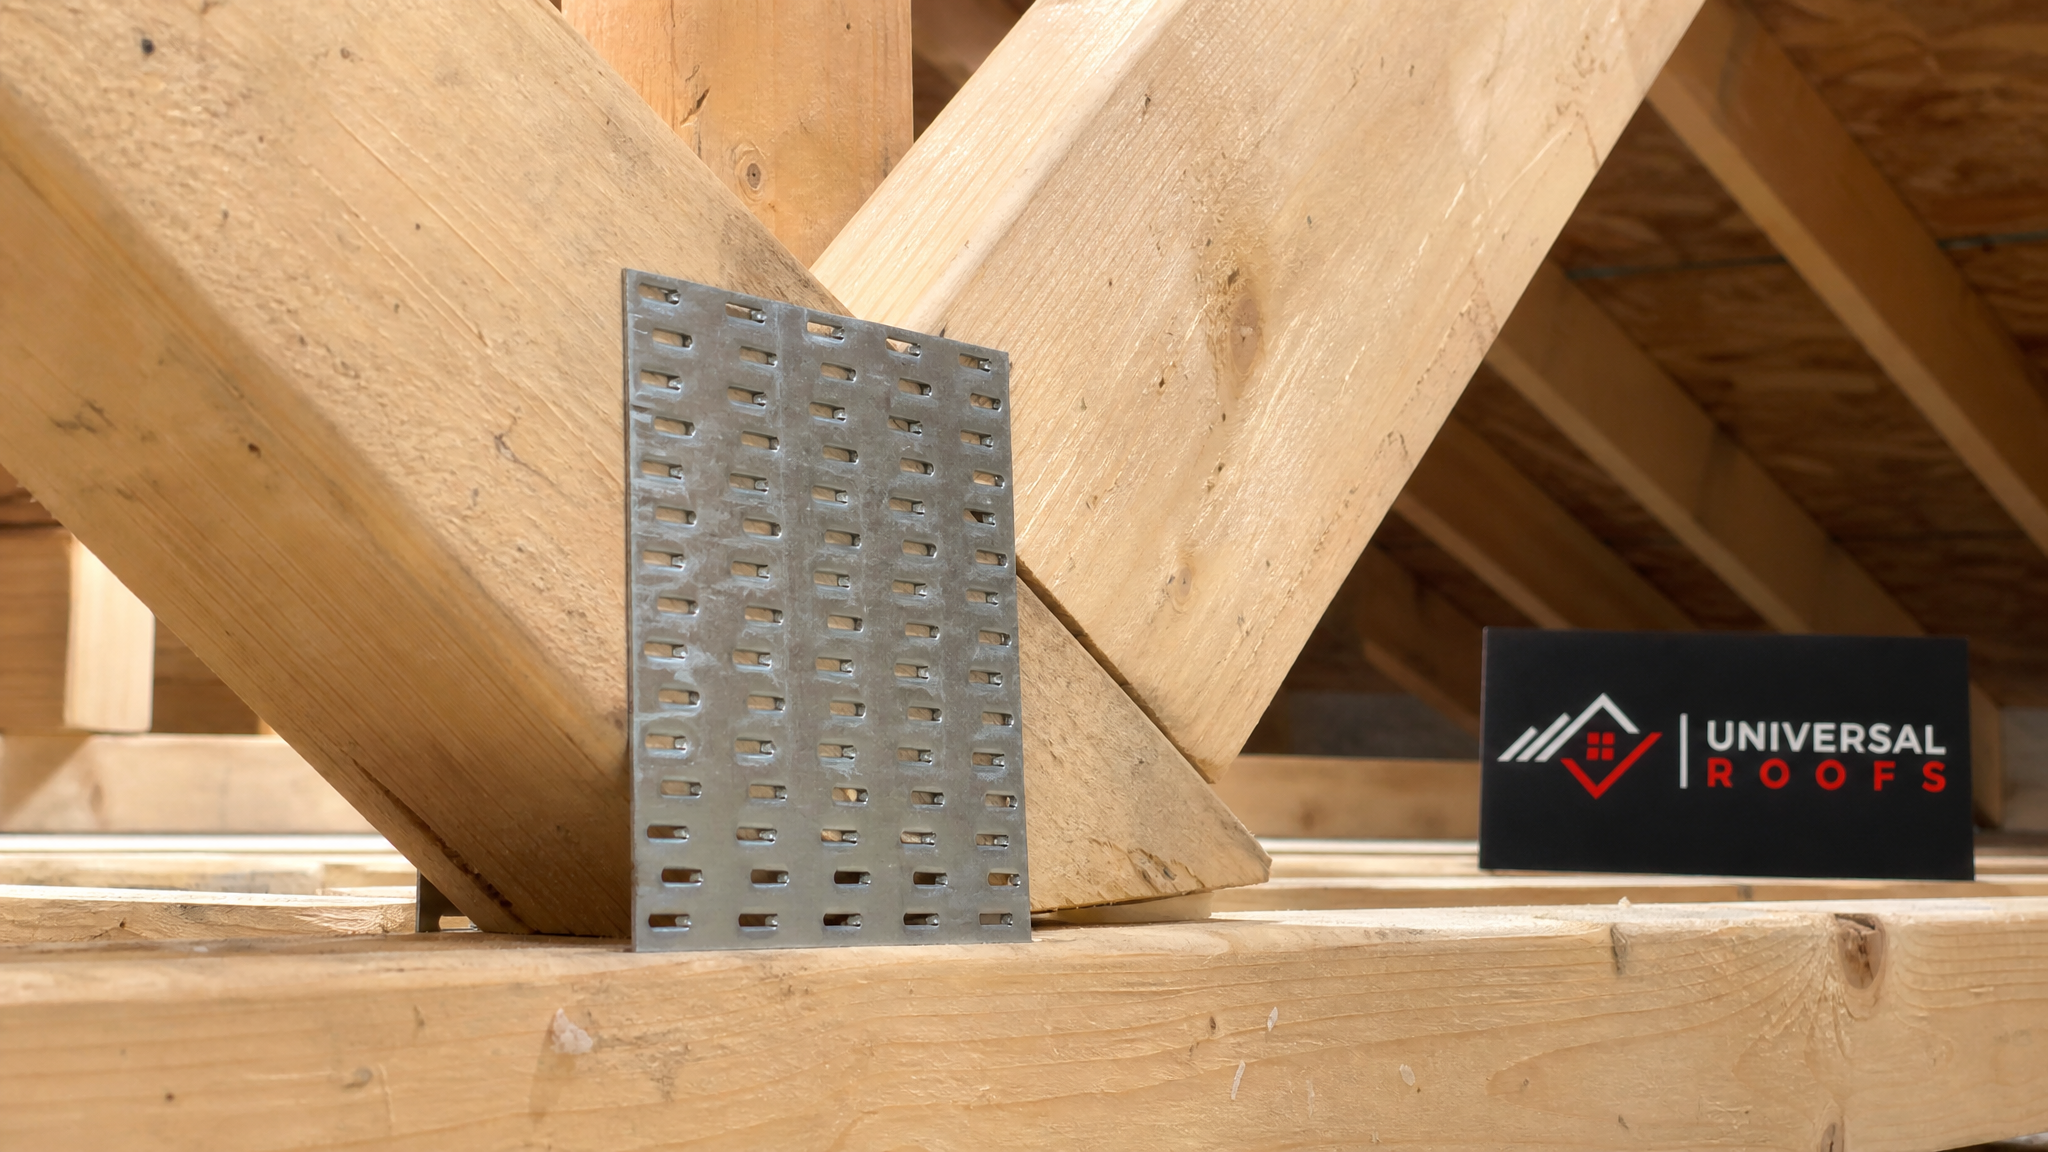
Warning signs of truss damage include visible sagging in the roofline when viewed from the street, cracked or split wood members visible in the attic, gaps at connection points where metal plates meet the wood, and doors or windows on the top floor that suddenly stick or no longer close properly, which can indicate the frame has shifted. Any of these signs warrants a professional structural assessment before cosmetic repairs begin, since patching shingles over a compromised truss only hides the problem temporarily.
| Warning Sign | Where to Check | Urgency Level |
|---|---|---|
| Visible roofline sag | View from street or neighbouring property | High — assess immediately |
| Cracked or split truss members | Attic, along truss chords and webs | High — structural concern |
| Separated metal connector plates | Attic, at truss joints | High — loss of connection strength |
| Sticking doors/windows on top floor | Interior, upper level | Medium — indicates frame movement |
| New cracks in interior ceiling | Interior, top floor ceilings | Medium — monitor and assess |
Tip 2: Understand the Type of Storm Damage You Are Dealing With
Not all storm damage affects trusses the same way, and the repair approach differs depending on the cause. Wind damage tends to stress connection points, since uplift forces pull at the metal plates joining truss members, sometimes loosening or shearing fasteners without breaking the wood itself. Heavy snow or ice load damage tends to cause bowing or cracking along the length of a truss chord, as sustained weight exceeds what the member was engineered to carry over time. Impact damage from a fallen branch or tree is usually the most visually obvious, snapping or splitting a truss member outright at the point of contact.
Toronto’s climate delivers all three regularly: high wind events in spring and fall, heavy wet snow loads in winter, and storm-driven tree limb failures throughout the year. Knowing which type of damage occurred helps our team decide whether a repair can reinforce the existing truss or whether a section needs to be sistered or replaced entirely.
| Storm Type | Typical Truss Damage | Common Repair Approach | Time-Sensitivity |
|---|---|---|---|
| High wind | Loosened or sheared connector plates | Reinforce/replace connector plates | High |
| Heavy snow/ice load | Bowing, chord cracking | Sistering with new lumber | Medium |
| Fallen tree/branch impact | Snapped or split members | Full section replacement | High |
| Prolonged moisture exposure | Rot at connection points | Remove and replace affected wood | Medium |
Tip 3: Sistering Versus Full Replacement
One of the most practical tips for roof truss repair after storm damage is understanding the two primary repair methods, since the right choice depends on the extent and location of the damage. Sistering involves attaching a new piece of lumber alongside the damaged truss member, bolted or nailed through both pieces so the new wood shares the structural load with the original. This approach works well for cracks or partial splits where the truss has not failed completely and the damage is confined to one chord or web member.
Full replacement becomes necessary when a truss has snapped through, when connector plates have failed at multiple points, or when rot has compromised enough of the wood that sistering would not restore adequate strength. Replacing a truss requires careful temporary bracing of the surrounding roof structure before the damaged truss is removed, since neighbouring trusses and roof sheathing must continue supporting the load throughout the repair.
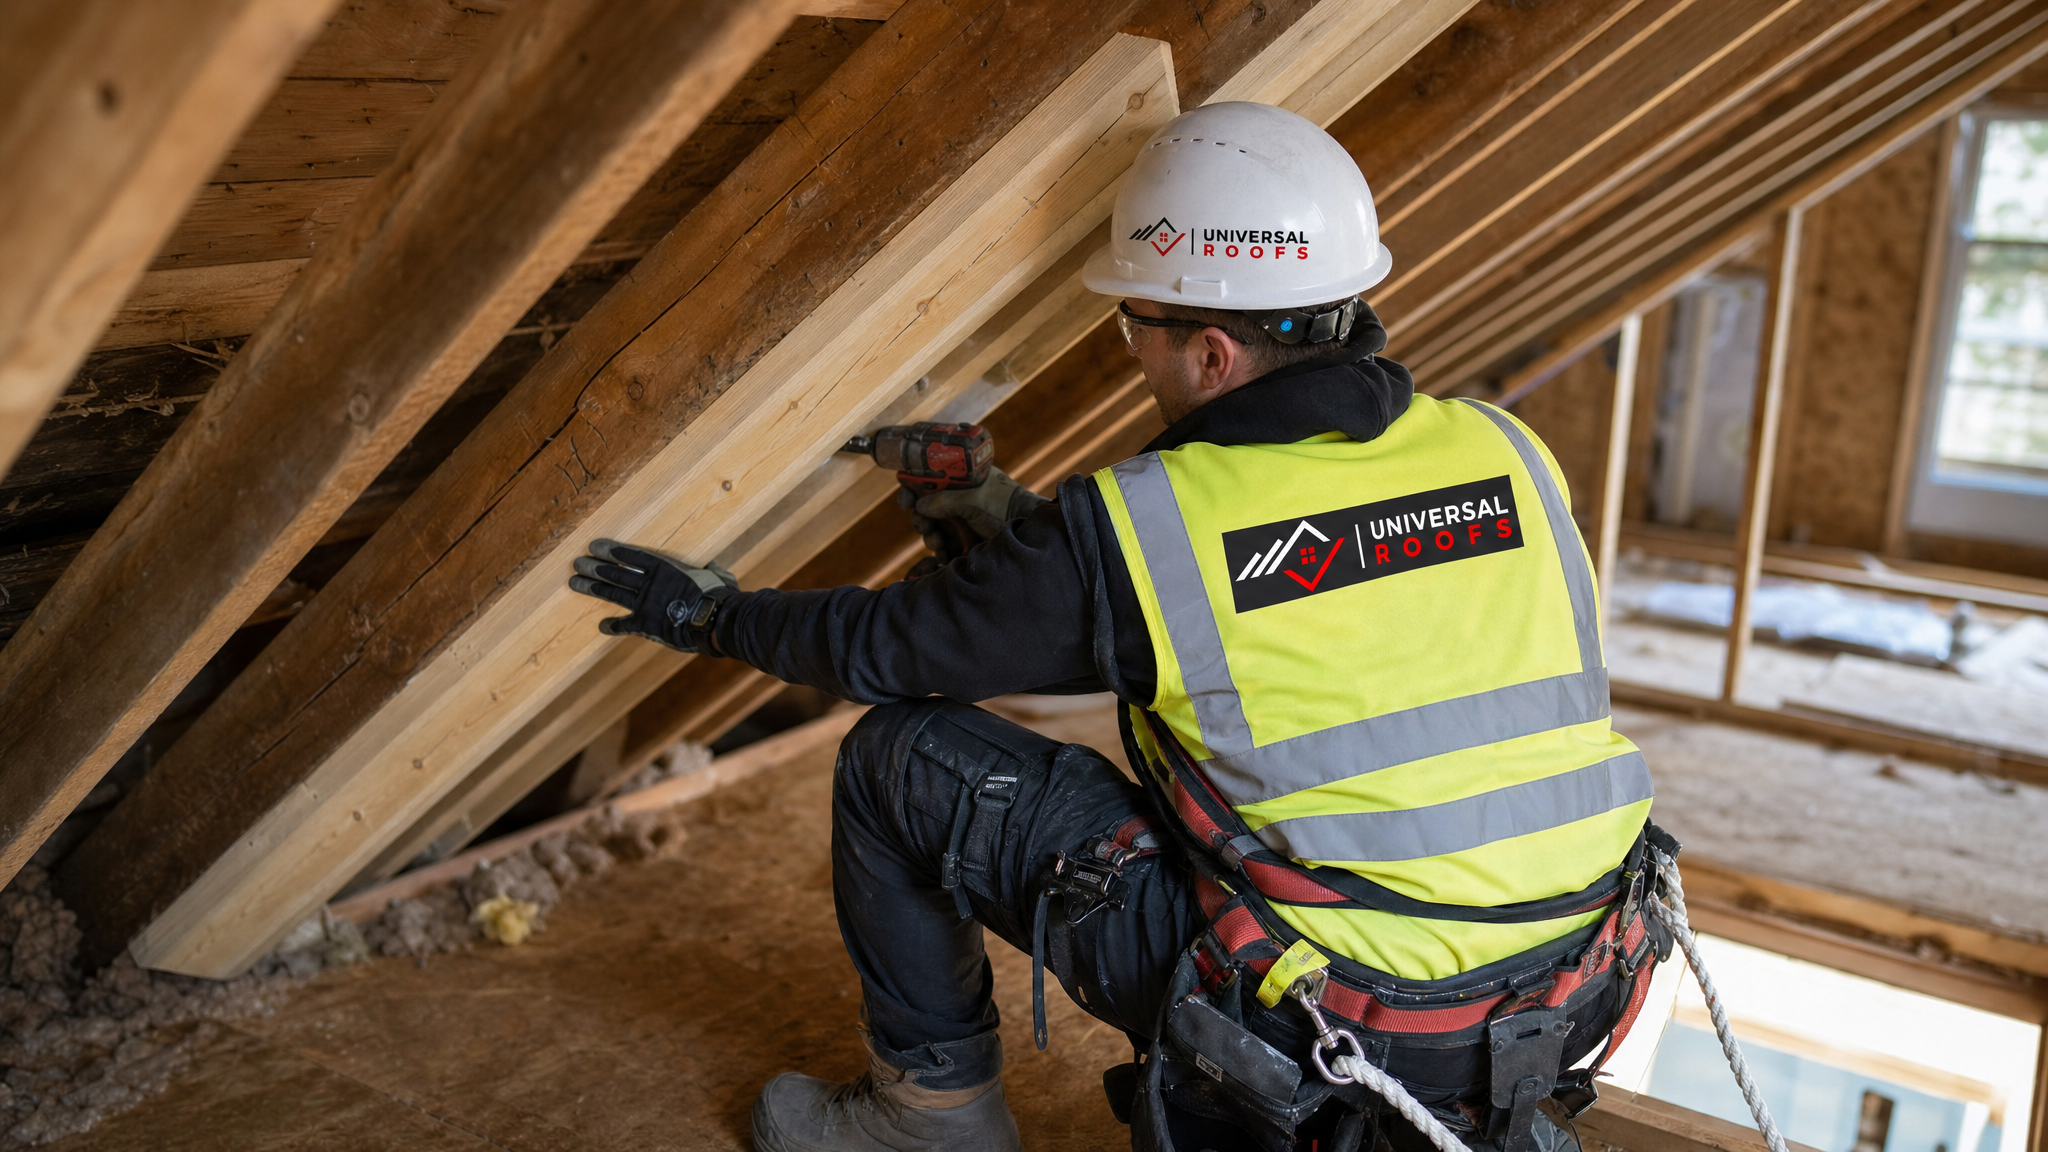
Engineers or experienced roofing contractors typically make this call based on the percentage of the member’s cross-section that remains intact, the location of the damage relative to load-bearing points, and whether connector plates at either end are still sound. This is not a decision to make from a ladder — it requires an in-attic inspection.
Understanding How Roof Trusses Actually Work
To make sense of any repair recommendation, it helps to understand what a truss does. A roof truss is a triangulated wood frame engineered to carry the weight of the roof deck, shingles or membrane, snow load, and wind load down through its top and bottom chords into the exterior walls. Unlike older stick-framed roofs where individual rafters and ceiling joists work somewhat independently, modern trusses are pre-engineered as a system, spaced evenly across the roof and tied together with sheathing, bracing, and sometimes strapping that distributes load sideways between trusses as well as downward.
This is exactly why damage to a single truss is never purely a local problem. Because adjacent trusses share load through the roof sheathing and any lateral bracing, a compromised truss forces its neighbours to carry slightly more than their engineered share. In most cases this redistribution is small and the roof shows no immediate signs of trouble, which is precisely why storm-damaged trusses so often go unnoticed for months. Understanding this system-wide behaviour is part of why we always inspect several trusses on either side of visible damage, not just the one that appears cracked.
Tip 4: Address Secondary Damage From the Same Storm
Storms that damage trusses rarely leave the rest of the roof untouched, so a comprehensive repair plan should look beyond the truss itself. Sheathing above a damaged truss is often stressed or cracked as well, and shingles or roofing membrane in the affected area may have lifted or torn even if the damage is not immediately visible from the ground. Ignoring secondary damage while focusing only on the truss repair often means a second round of repairs is needed within a year.
Water intrusion is the most common secondary issue, since a cracked truss chord or separated connector plate can allow the roof deck above to flex slightly during wind or rain, opening small gaps at shingle overlaps or flashing points that were not part of the original impact zone. We always inspect the full roof section above and around a damaged truss, not just the truss itself, and coordinate any needed roof repair or, in more extensive cases, a partial roof replacement as part of the same visit.
| Secondary Damage Type | Why It’s Often Missed | Recommended Action |
|---|---|---|
| Cracked roof sheathing | Hidden above insulation or truss location | Inspect deck during truss repair, replace as needed |
| Lifted or torn shingles | Not visible from ground at impact zone | Full-slope shingle inspection after storm |
| Flashing gaps at valleys/chimneys | Opens gradually as frame flexes | Re-seal or replace flashing |
| Insulation compression/displacement | Only visible from inside attic | Reposition or replace affected insulation |
Tip 5: Document Damage and Coordinate With Insurance Early
The final of our tips for roof truss repair after storm damage is procedural rather than technical, but it matters just as much: document everything before repairs begin. Photograph visible sagging, cracked members, and any interior signs such as ceiling cracks, and keep a record of the storm date and any weather alerts issued for the area, since insurers typically require this timeline to process a claim.
Structural repairs like truss sistering or replacement are usually significant enough to fall under a homeowner’s insurance policy, particularly when tied to a named storm event, but insurers often want an independent assessment confirming the damage is storm-related rather than pre-existing wear. We provide detailed written assessments, including photos taken from the attic, that homeowners can submit directly to their insurance provider, which typically speeds up claims processing considerably compared to relying on interior photos alone.
What to Expect During a Professional Truss Repair Visit
Homeowners calling about suspected truss damage for the first time often are not sure what the process actually involves. A typical visit starts with an exterior assessment from the ground, checking the roofline for sag or misalignment, followed by an interior attic inspection where the actual truss members, connector plates, and bracing are examined directly. We use a flashlight and, where needed, a moisture metre to check for hidden water damage around any cracked members, since a truss that has been wet for an extended period may show reduced strength beyond the visible crack itself.
If repair is needed, we explain the recommended approach, whether that is sistering, partial replacement, or full truss replacement, along with an estimated timeline. Straightforward sistering repairs on one or two trusses can often be completed within a single day, while full truss replacement involving temporary shoring and bracing of the surrounding roof structure typically takes longer and may require coordination around weather conditions to avoid working on an exposed roof section during rain or high wind.
Common Mistakes Homeowners Make After Storm Damage
The most frequent mistake we see is homeowners or handypersons attempting a purely cosmetic fix, patching a visible crack in a ceiling or replacing a few shingles, without ever checking the attic for the underlying truss condition that caused the visible symptom in the first place. This approach can mask a structural problem for months while it continues to worsen under the load of subsequent weather events.
A second common mistake is delaying assessment while waiting to see if the problem “gets worse” before calling anyone. Trusses do not typically announce structural failure with dramatic warning signs; the progression is often gradual, a slightly wider crack each season, a door that sticks a little more each winter as snow load repeats the same stress. By the time damage becomes obvious enough to alarm most homeowners, the repair scope has usually grown considerably from what it would have been immediately after the storm. Treating any post-storm structural concern as worth a professional look, even if it turns out to be minor, is almost always the more cost-effective path.
Why Timing Matters After a Storm
Roof trusses that have cracked, shifted, or lost connector plate strength do not typically fail catastrophically overnight, but they do continue to weaken under normal roof loads, snow accumulation, and subsequent wind events. What starts as a minor structural concern immediately after a storm can become a significant sag or, in rare but serious cases, a partial roof collapse if left unaddressed through an entire winter of accumulated snow load.
Homes across Toronto, the Peel Region, York Region, Halton Region, and Durham Region face slightly different storm exposure depending on proximity to the lake and local tree cover, but the underlying advice is the same everywhere: treat any suspected truss damage as time-sensitive, even if the visible signs seem minor. A same-week inspection after a significant wind or ice event can catch a repairable crack before it becomes a full section replacement.
If a recent storm has left you wondering whether your roof’s structure was affected, our team can perform a full attic and roofline assessment, document any damage found, and outline whether sistering or replacement is the right path forward. Questions about the process are also covered on our FAQ page, and past client experiences are available on our reviews page.
What are the most important tips for roof truss repair after storm damage?
How do I know if my roof truss was damaged in a storm?
What is the difference between sistering and replacing a truss?
Will homeowners insurance cover roof truss repair after a storm?
How urgent is roof truss repair after storm damage?
Can I inspect my own roof truss for storm damage?
Need Help With Roof Truss Repair?
Since 2005, Universal Roofs has helped homeowners across the GTA protect their properties with expert workmanship and honest advice.
Call us today at (416) 732-2421 or request a free inspection to get started.
Universal Roofs proudly serves Toronto, Mississauga, Brampton, Vaughan, Markham, Oakville and the GTA since 2005.