
A summer windstorm can strip shingles off a roof in minutes, and finding the right contractor to fix the damage afterward is just as important as the repair itself. Homeowners across the Greater Toronto Area often search for contractors for roof wind damage repair only after a storm has already lifted flashing, cracked ridge caps, or torn away entire shingle courses, and by then the pressure to choose quickly can lead to costly mistakes.
This guide breaks down what actually separates a qualified wind damage repair contractor from a storm-chasing outfit, what the repair process should look like, how much homeowners should expect to pay, and the questions to ask before signing anything. Whether your roof took a direct hit from a summer squall or a slow leak only became obvious after a July thunderstorm, the goal here is to help you make an informed decision instead of a rushed one.
At Universal Roofs, we have been repairing wind-damaged roofs across the GTA since 2005, and this article draws on that field experience rather than generic advice. Read on for a practical framework you can use to vet any roofing contractor, plus the specific red flags that tend to show up after major wind events in Toronto, Mississauga, Brampton, Vaughan, Markham and Oakville.
What Qualifies as Wind Damage on a Roof
Before hiring anyone, it helps to understand what you are actually dealing with. Wind damage is not always as obvious as a missing shingle. In many cases, homeowners only discover the problem when a leak appears weeks later, or when a neighbour points out a crease line on a shingle they can see from the street.
Common forms of wind damage include:
- Lifted or creased shingles — wind gets underneath a shingle tab and breaks the sealant bond without fully removing it. The shingle may look intact but no longer lies flat.
- Missing shingles or tabs — entire shingles or the exposed lower portion of a shingle are torn off, exposing the underlayment or decking.
- Damaged flashing — the metal at roof edges, valleys, chimneys, and vent penetrations can bend, loosen, or separate from the surface it seals.
- Ridge cap failure — the cap shingles running along the peak of the roof are especially exposed to wind uplift and are often the first thing to fail.
- Granule loss — high winds combined with airborne debris can strip the protective granules from shingles, accelerating UV damage even where nothing appears physically missing.
- Fascia and soffit separation — wind can pry these components away from the roofline, allowing water and pests into the attic space.
A roofing contractor who understands wind damage will inspect all of these areas, not just the obvious missing shingles, because the less visible damage is often what causes leaks months later.
The 9 Qualities That Separate Good Wind Damage Contractors From the Rest
There is no shortage of roofing companies that appear in a neighbourhood within days of a storm. Some are legitimate local contractors responding to a spike in demand. Others are travelling “storm chaser” crews that leave town once the work dries up, along with any warranty they promised. Here are the nine qualities that consistently separate reliable contractors for roof wind damage repair from the rest.
1. Local licensing and a permanent business address
A contractor with a real office, a local phone number, and a documented history in your municipality is accountable in a way a truck with a magnetic sign is not. Ask how long the company has operated in your specific region, not just “the GTA” in general.
2. Proof of insurance and WSIB coverage
Liability insurance and workers’ compensation coverage protect you if a worker is injured on your property or if the repair causes accidental damage. Never accept a verbal assurance — ask for the certificate directly.
3. A detailed written inspection report
Photos of the damage, a written scope of work, and a clear explanation of what will be repaired versus replaced should come before any contract is signed.
4. Manufacturer certification
Contractors certified by major shingle manufacturers have typically passed installation training and can often offer enhanced warranties that a non-certified installer cannot.
5. Experience working directly with insurance adjusters
Wind damage claims frequently involve insurance. A contractor who has been through the claims process many times can help document damage in the format adjusters expect, which speeds up approval.
6. A workmanship warranty in writing
Materials come with a manufacturer’s warranty, but the labour needs its own separate workmanship warranty from the contractor performing the repair.
7. Willingness to match existing materials
A patch job that uses the wrong shingle colour or profile stands out and can also affect resale value. A good contractor will try to match your existing shingle line or explain honestly when an exact match is not available.
8. Clear, itemized pricing
Vague lump-sum quotes without a breakdown of labour, materials, and disposal costs are harder to compare and easier to inflate.
9. Reviews with specifics, not just star ratings
A five-star average means little without detail. Look for reviews that describe the actual repair, the timeline, and how issues (if any) were resolved. You can review verified feedback from GTA homeowners on our reviews page.
Comparing Repair Approaches by Damage Severity
Not every wind-damaged roof needs the same fix. The table below outlines how contractors typically categorize wind damage and the corresponding repair approach, which is useful context before you get a quote so you can sanity-check what is being proposed.
| Damage Severity | Typical Signs | Recommended Approach | Estimated Timeline |
|---|---|---|---|
| Minor (localized) | 1-5 lifted or missing shingles, no decking exposure | Spot repair with matching shingles | Same day to 1 day |
| Moderate | Multiple shingle courses affected, minor flashing damage | Section replacement plus flashing repair | 1-2 days |
| Significant | Exposed decking, ridge cap failure, soffit/fascia separation | Multi-section replacement with decking inspection | 2-4 days |
| Severe | Widespread granule loss, structural uplift, large sections missing | Full or partial roof replacement | 1-2 weeks (weather dependent) |
| Emergency (active leak) | Water actively entering attic or living space | Emergency tarping, then scheduled repair | Tarp within hours, repair scheduled after |
If your damage falls into the “significant” or “severe” categories, it is worth discussing whether a targeted roof repair is still the right call or whether a broader roof replacement makes more financial sense once the age and condition of the rest of the roof are factored in.
Step-by-Step: What a Proper Wind Damage Repair Looks Like
Understanding the actual repair sequence helps you evaluate whether a contractor is cutting corners. Here is the process a thorough contractor should follow.
Step 1: Full roof inspection, not just the damaged area
A contractor should walk the entire roof, not just the section that is visibly damaged. Wind rarely affects only one spot — it is common to find secondary damage on the opposite slope or around penetrations like plumbing vents and chimneys.
Step 2: Documentation for insurance purposes
Photos should be taken of each damaged area, dated, and organized before any repair begins. This documentation protects you if you later file an insurance claim, even if you decide to pay out of pocket initially.
Step 3: Decking inspection
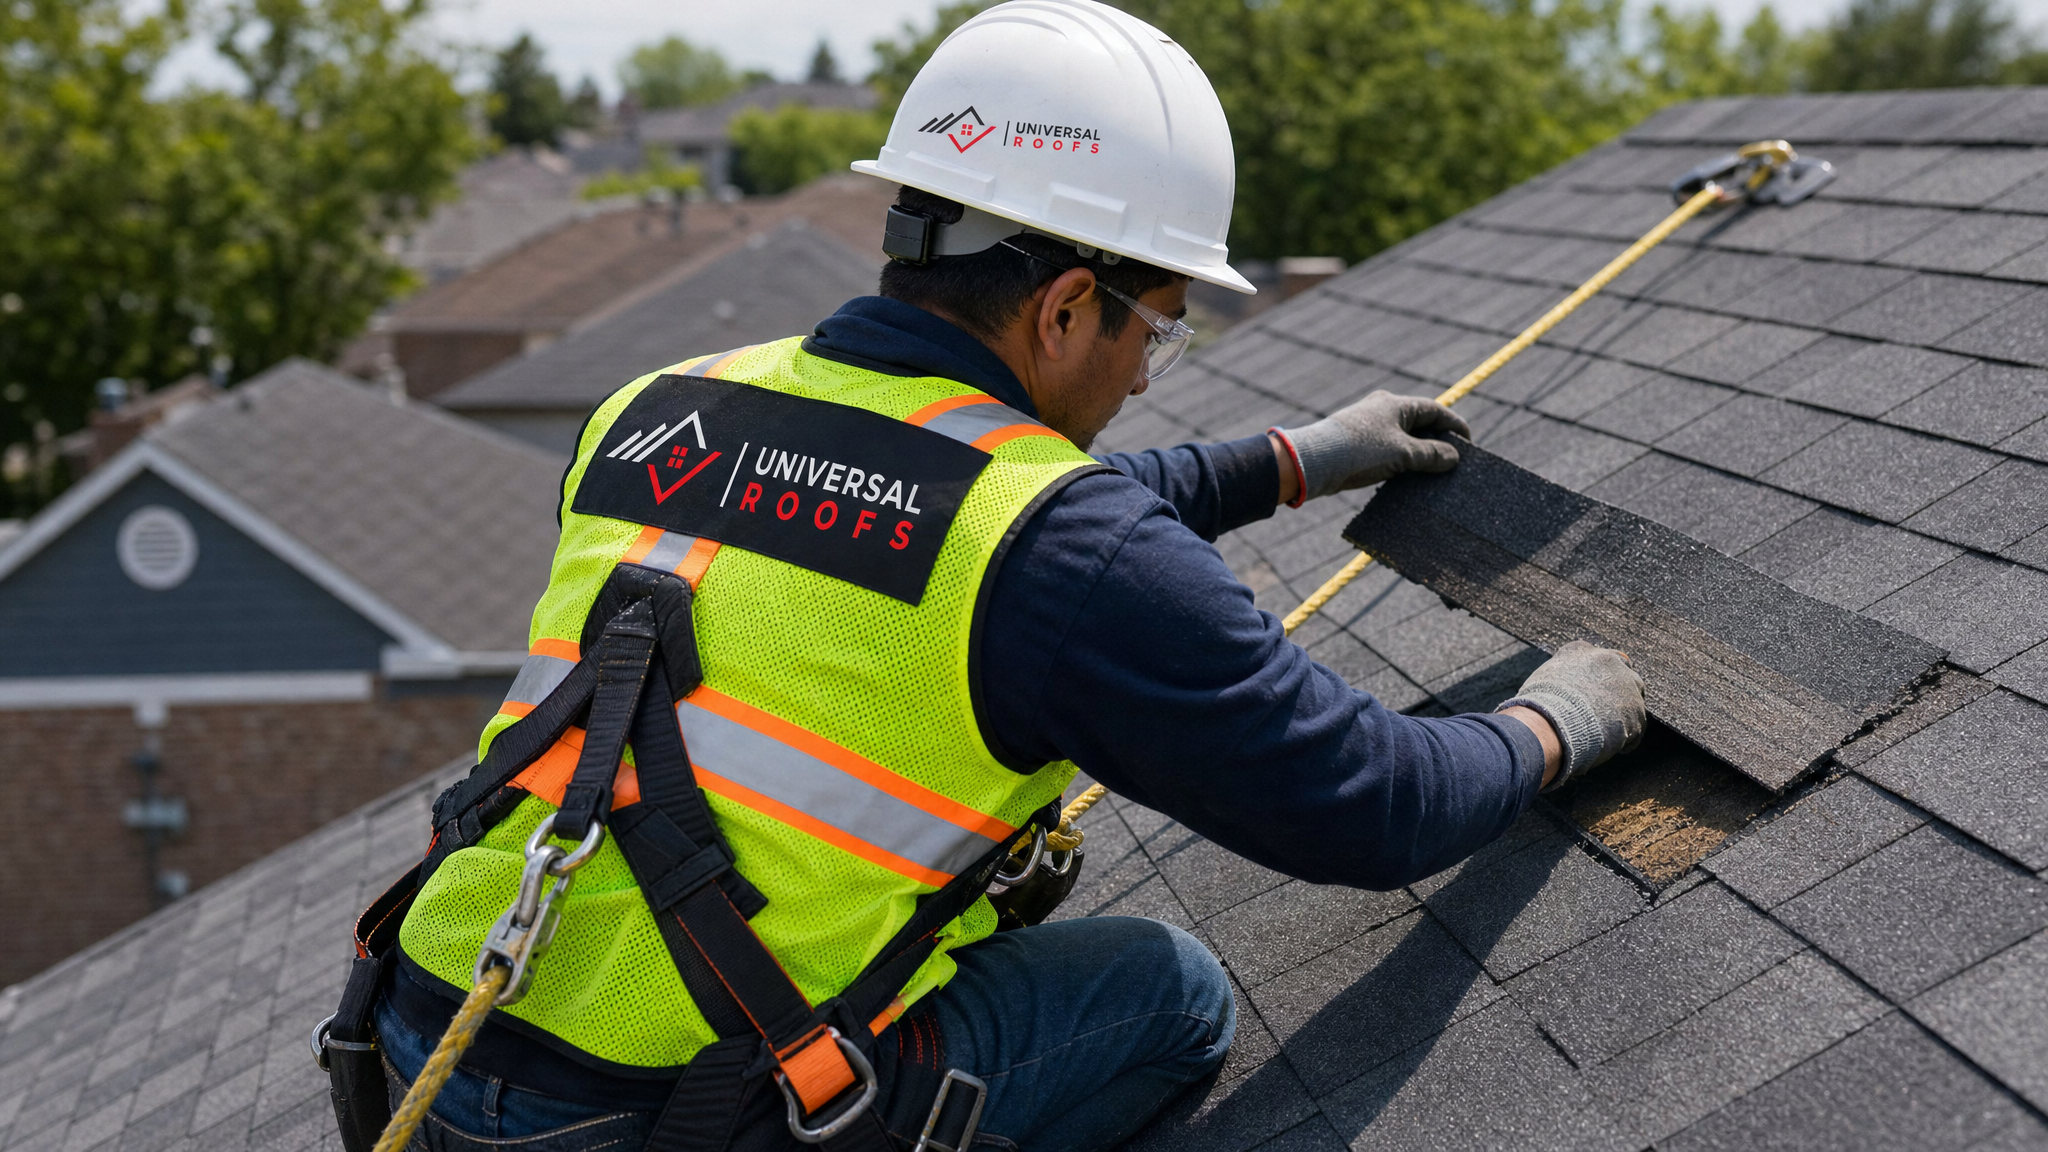
Once shingles are removed from the damaged area, the plywood decking underneath needs to be checked for water staining, soft spots, or rot. Skipping this step is one of the most common shortcuts that leads to repeat leaks.
Step 4: Underlayment and flashing repair or replacement
Any underlayment that was exposed to moisture should be replaced, not just covered over. Flashing around chimneys, valleys, and vents should be re-secured or replaced if bent or corroded.
Step 5: Shingle replacement matched to existing coursing
New shingles should be woven into the existing pattern so the nailing lines and exposure match. This is a detail that separates a professional repair from a visibly patched one.
Step 6: Ridge cap and edge detail finishing
Ridge caps and drip edges are re-checked last, since these are the components most likely to be under-secured if a crew is rushing.
Step 7: Final walkthrough and cleanup
A magnetic nail sweep of the property and gutters, along with a final photo set showing the completed repair, should close out the job.
Typical Cost Ranges for Wind Damage Repair in the GTA
Pricing varies by the scope of damage, the type of roofing material, and accessibility of the roof (steep slopes and multi-storey homes typically cost more to work on safely). The table below gives a general sense of what GTA homeowners can expect to budget, though every quote should be based on an actual inspection rather than a phone estimate.
| Repair Type | Typical Cost Range (CAD) | Notes |
|---|---|---|
| Spot shingle replacement (1-10 shingles) | $250 – $600 | Includes material matching where possible |
| Flashing repair (chimney, valley, or vent) | $300 – $900 | Cost increases with roof pitch and height |
| Section replacement (one roof plane) | $800 – $2,500 | Includes decking inspection |
| Ridge cap replacement | $400 – $1,200 | Depends on ridge length |
| Emergency tarping | $200 – $500 | Temporary measure prior to full repair |
| Full roof replacement (after severe damage) | $8,000 – $18,000+ | Varies by roof size, pitch, and material |
Homeowners in Toronto and the surrounding regions often ask whether insurance will cover these costs. In most cases, sudden wind damage from a documented storm event is covered under standard homeowner policies, subject to your deductible, but the claim needs proper documentation from the outset — which is another reason to choose a contractor experienced in the claims process.
Regional Considerations Across the GTA
Wind exposure and typical roofing styles vary somewhat across the Greater Toronto Area, and a contractor familiar with your specific region will know what to expect.
In Toronto, older housing stock means a higher proportion of roofs with multiple existing layers or aging decking, which affects how a wind repair should be approached. In Peel Region communities like Mississauga and Brampton, newer subdivisions often have more consistent shingle types, making colour and profile matching more straightforward. York Region homes, particularly in Vaughan, Markham, and Richmond Hill, tend to have steeper roof pitches on newer builds, which affects labour costs and safety requirements. In Halton Region, including Oakville and Burlington, proximity to the lake can mean slightly higher average wind exposure along the shoreline. Durham Region communities also see their share of summer squalls moving off the lake, which can produce sudden, localized wind damage even without a widespread storm system.
Regardless of the neighbourhood, freeze-thaw cycles through the fall and winter can worsen any wind damage left unaddressed over summer, since water that gets under a lifted shingle in July can expand and cause much more serious damage once temperatures drop. Repairing wind damage promptly, even in the middle of summer when it might seem less urgent, prevents a small problem from becoming a much larger one by the time winter arrives.
Red Flags to Watch For After a Storm
Storm damage tends to attract opportunistic door-knockers, especially in neighbourhoods that were visibly affected. Here are the warning signs worth taking seriously.
| Red Flag | Why It Matters | Better Alternative |
|---|---|---|
| Contractor knocks door-to-door uninvited | Legitimate local companies rarely need to canvas neighbourhoods after a storm | Research and contact a company with an established local presence |
| Demands full payment upfront | Reputable contractors typically structure payment around project milestones | Ask for a payment schedule tied to completed work |
| Pressures you to sign same-day | Urgency tactics prevent you from comparing quotes or checking references | Take at least 24-48 hours to review any contract |
| No local address or out-of-province plates | Storm-chasing crews often leave the area once demand drops, leaving warranties unenforceable | Confirm a physical business address you can visit |
| Vague verbal estimate only | Without an itemized written quote, there is no way to verify what you paid for | Insist on a written, itemized estimate before work begins |
If something feels rushed, it usually is. A legitimate contractor understands that a homeowner dealing with storm damage is stressed, and will not add pressure tactics on top of that stress.
How Wind Damage Connects to Other Roof Components
Wind rarely affects shingles in isolation. Flat roofing sections on additions or garages can experience membrane lifting in high winds, which is a different repair process from sloped shingle roofs — see our flat roofing page for more on that distinction. Skylights are another vulnerable point, since wind-driven rain can find its way through compromised seals even when the skylight unit itself is undamaged; our skylights and skylight replacement pages cover what to look for there. And if wind damage has gone unnoticed for a while, it is worth having your attic checked for signs of moisture intrusion, since attic insulation and ventilation issues are often the first indicator that something above has failed.
Questions to Ask Before Hiring
Use this short list during your first phone call or in-person consultation with any contractor you are considering:
- How long have you operated in this specific municipality?
- Can you provide proof of liability insurance and WSIB coverage?
- Will you inspect the full roof, not just the reported damage area?
- What is included in your workmanship warranty, and for how long?
- Have you worked directly with insurance adjusters on wind damage claims before?
- Can you provide references from recent wind damage repairs in my area?
- What happens if you find decking damage once shingles are removed?
A contractor who answers these questions directly, without hesitation or vague deflection, is generally one worth trusting with the job. You can find more answers to common homeowner questions on our FAQ page, or learn more about our history and approach on the about page.
Frequently Asked Questions
How do I find reliable contractors for roof wind damage repair after a storm?
How much does wind damage roof repair typically cost in the GTA?
Will home insurance cover contractors for roof wind damage repair?
How quickly should wind damage be repaired?
Can I repair wind damage myself instead of hiring a contractor?
What is the difference between repair and full replacement after wind damage?
Need Help With 9 Best Contractors for?
Choosing the right team among the many contractors for roof wind damage repair in the GTA comes down to verified experience, transparent pricing, and a willingness to document everything properly. Universal Roofs has handled wind damage repairs across the region for close to two decades, and we are happy to walk you through exactly what we find during an inspection before any work begins.
Call us today at (416) 732-2421 or request a free inspection to get started.
Universal Roofs proudly serves Toronto, Mississauga, Brampton, Vaughan, Markham, Oakville and the GTA since 2005.