
Tile roofs are prized across the Greater Toronto Area for their durability and curb appeal, but the tile itself is rarely where leaks start. Almost every tile roof leak we investigate traces back to the flashing — the thin metal barriers installed at valleys, chimneys, walls, skylights and roof edges to redirect water away from vulnerable seams. Common tile roof flashing problems and solutions are worth understanding before you climb a ladder or call a contractor, because flashing failures are often subtle, slow-developing, and easy to misdiagnose as a tile problem when the real culprit is a corroded or improperly lapped metal detail underneath.
At Universal Roofs, we’ve spent nearly two decades repairing and replacing flashing systems on tile roofs throughout Toronto, Mississauga, Brampton, Vaughan, Markham, Oakville and the surrounding GTA. Freeze-thaw cycles, ice damming, and the sheer weight and rigidity of clay and concrete tile all put unusual stress on flashing that asphalt shingle roofs simply don’t experience in the same way. This guide walks through the most common flashing problems we see on GTA tile roofs, how to spot them early, and what proper repairs actually involve.
Whether you’re a homeowner trying to understand a mysterious ceiling stain or a buyer evaluating an older tile roof before closing on a house, this article gives you the practical knowledge to ask the right questions and avoid costly surprises.
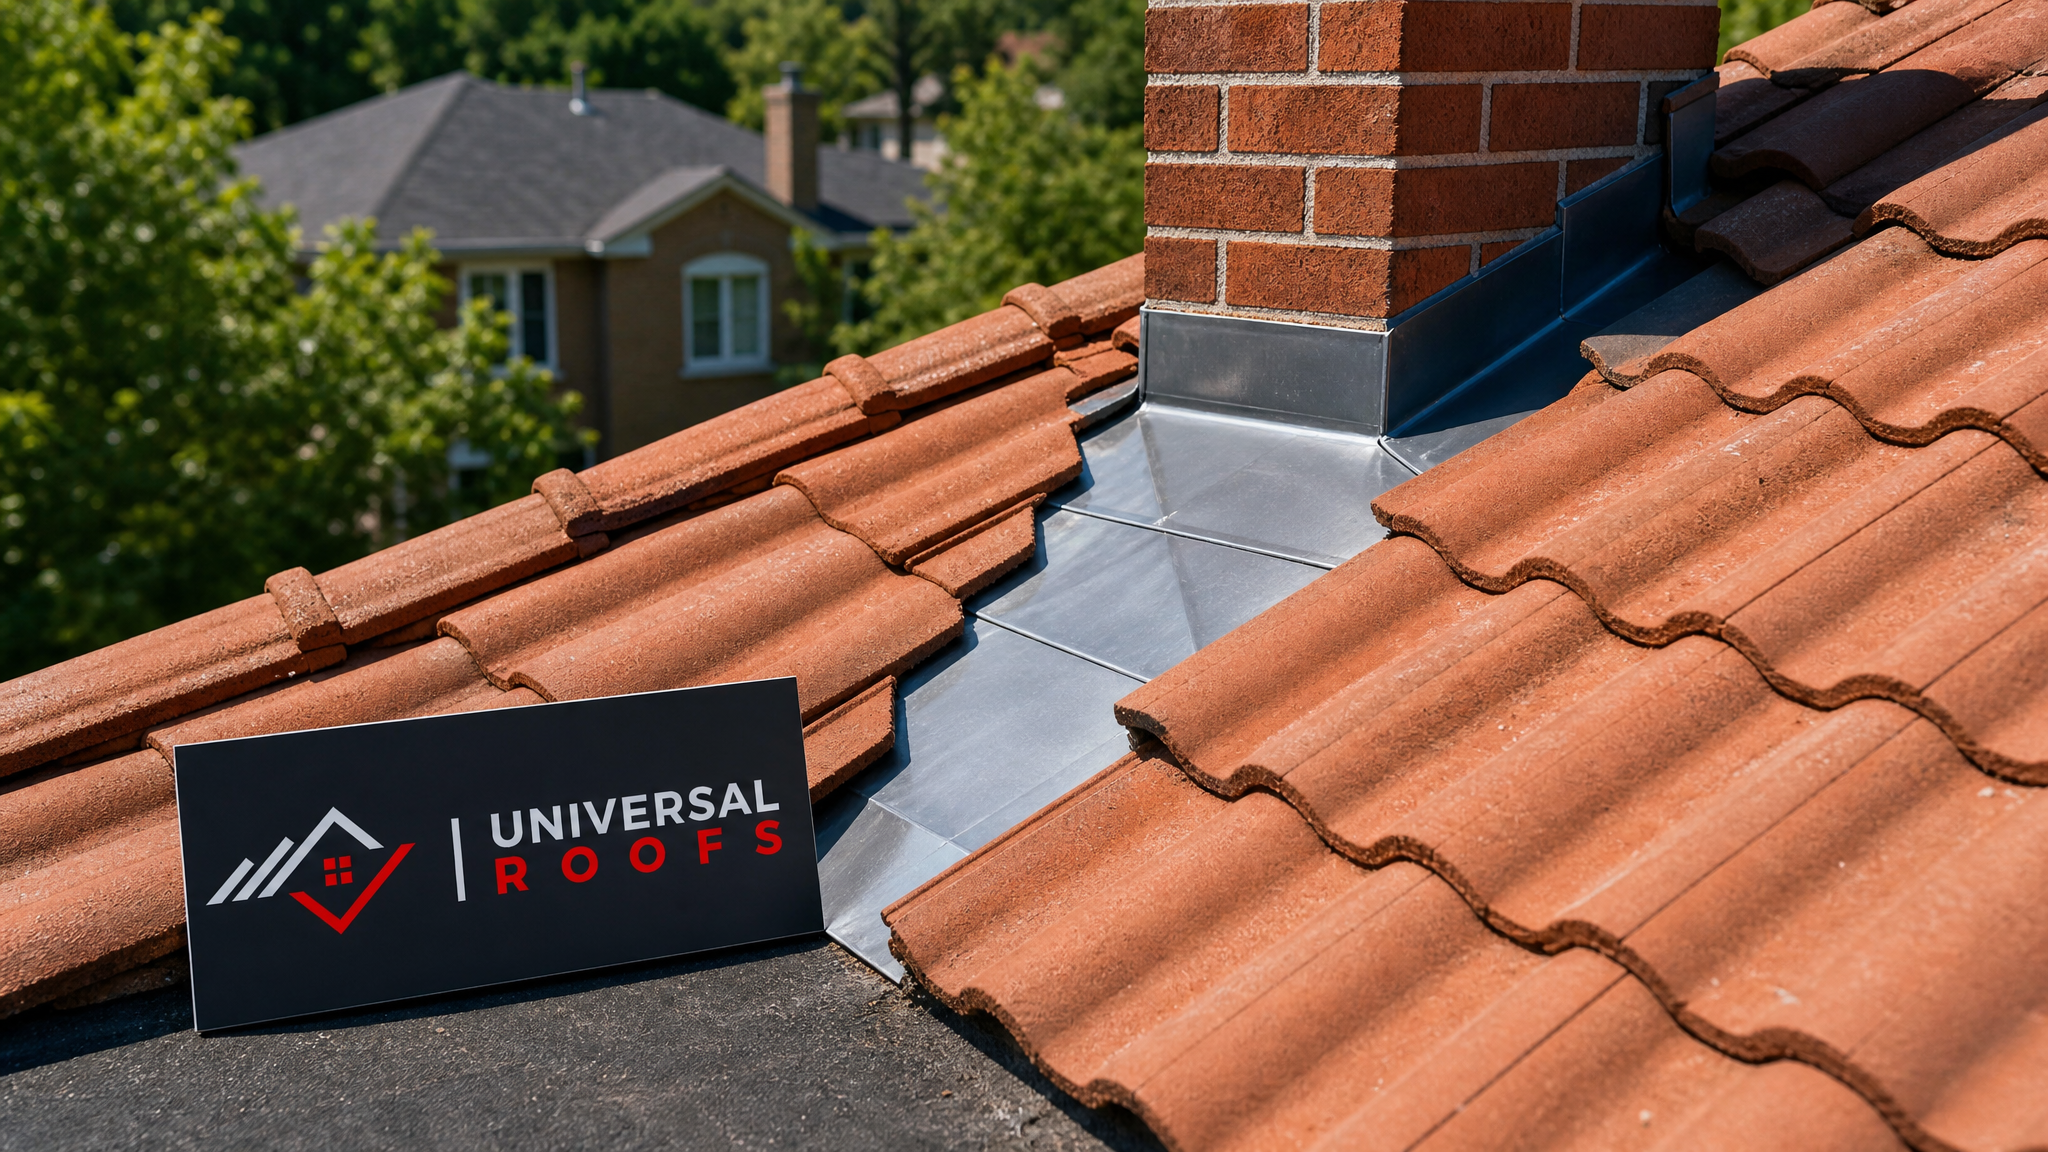
Why Flashing Fails Faster on Tile Roofs Than on Shingle Roofs
Tile roofing systems handle water differently than asphalt shingles. Clay and concrete tiles are installed with headlap and side-lap overlaps that shed the bulk of rainwater, but they are not a fully sealed membrane — water is expected to get underneath the tile field in small amounts and drain along an underlayment before exiting at the eaves. This means the flashing beneath and around the tiles is doing more of the actual waterproofing work than most homeowners realize.
Several factors accelerate flashing wear specifically on GTA tile roofs:
- Freeze-thaw cycling. Toronto winters routinely swing above and below zero multiple times per week. Water trapped behind flashing laps freezes, expands, and gradually pries seams and fasteners loose.
- Thermal movement. Metal flashing expands and contracts at a different rate than clay or concrete tile, which stresses sealant joints and fastener points over repeated seasonal cycles.
- Weight and rigidity of tile. Tile is heavy and inflexible compared to shingles, so flashing has to be shaped and lapped with more precision — there’s little room for the tile itself to “flex” around a poor flashing detail.
- Galvanic corrosion. When dissimilar metals (for example, galvanized steel fasteners against copper flashing, or aluminum against uncoated steel) are installed in contact with each other, an electrochemical reaction accelerates corrosion at exactly the joints that need to stay watertight.
- Age of original materials. Many tile roofs in older Toronto neighbourhoods still have their original 20 to 40-year-old flashing, which was frequently galvanized steel that has long since surpassed its service life even though the tile above still looks fine.
Because the tile field can look pristine while the flashing underneath is failing, a visual inspection from the ground rarely tells the whole story. If you notice interior staining, musty attic odours, or discoloured ceiling drywall, it’s worth arranging a proper roof repair assessment rather than assuming the tiles themselves need replacing.
Valley Flashing Problems: The Most Common Failure Point
Valleys — the V-shaped channels where two roof slopes meet — carry more concentrated water volume than any other part of the roof. On a tile roof, valley flashing typically consists of a wide metal pan (often 24-gauge galvanized steel, aluminum, or copper) running beneath the cut tile edges on both sides.
The most frequent valley flashing problems we diagnose include:
- Debris damming. Leaves, pine needles and granular grit collect in the valley channel, damming water so it backs up under the tile edges instead of draining freely.
- Undersized valley width. Older installations sometimes used a narrower valley pan than current best practice recommends, leaving too little clearance for heavy rain or rapid snowmelt.
- Tile cut too close to centre. If the cut tile edges encroach too far into the valley (closing the “open” width), wind-driven rain can be forced sideways past the tile and into the underlayment.
- Nail penetrations through the pan. Fasteners driven directly through the valley metal — rather than through tabs at the outer edges — create direct entry points for water.
- Corrosion pinholes. Years of standing moisture eventually perforate galvanized steel valley pans, especially near the low point of the valley where water lingers longest.
Solutions range from a straightforward cleaning and resealing (if the metal itself is sound) to a full valley pan replacement using a heavier-gauge, corrosion-resistant material. On roofs where the original valley was undersized, we typically widen the open valley and re-cut the adjacent tiles rather than simply patching over the existing problem.
Chimney and Wall Flashing: Step, Counter, and Cricket Details
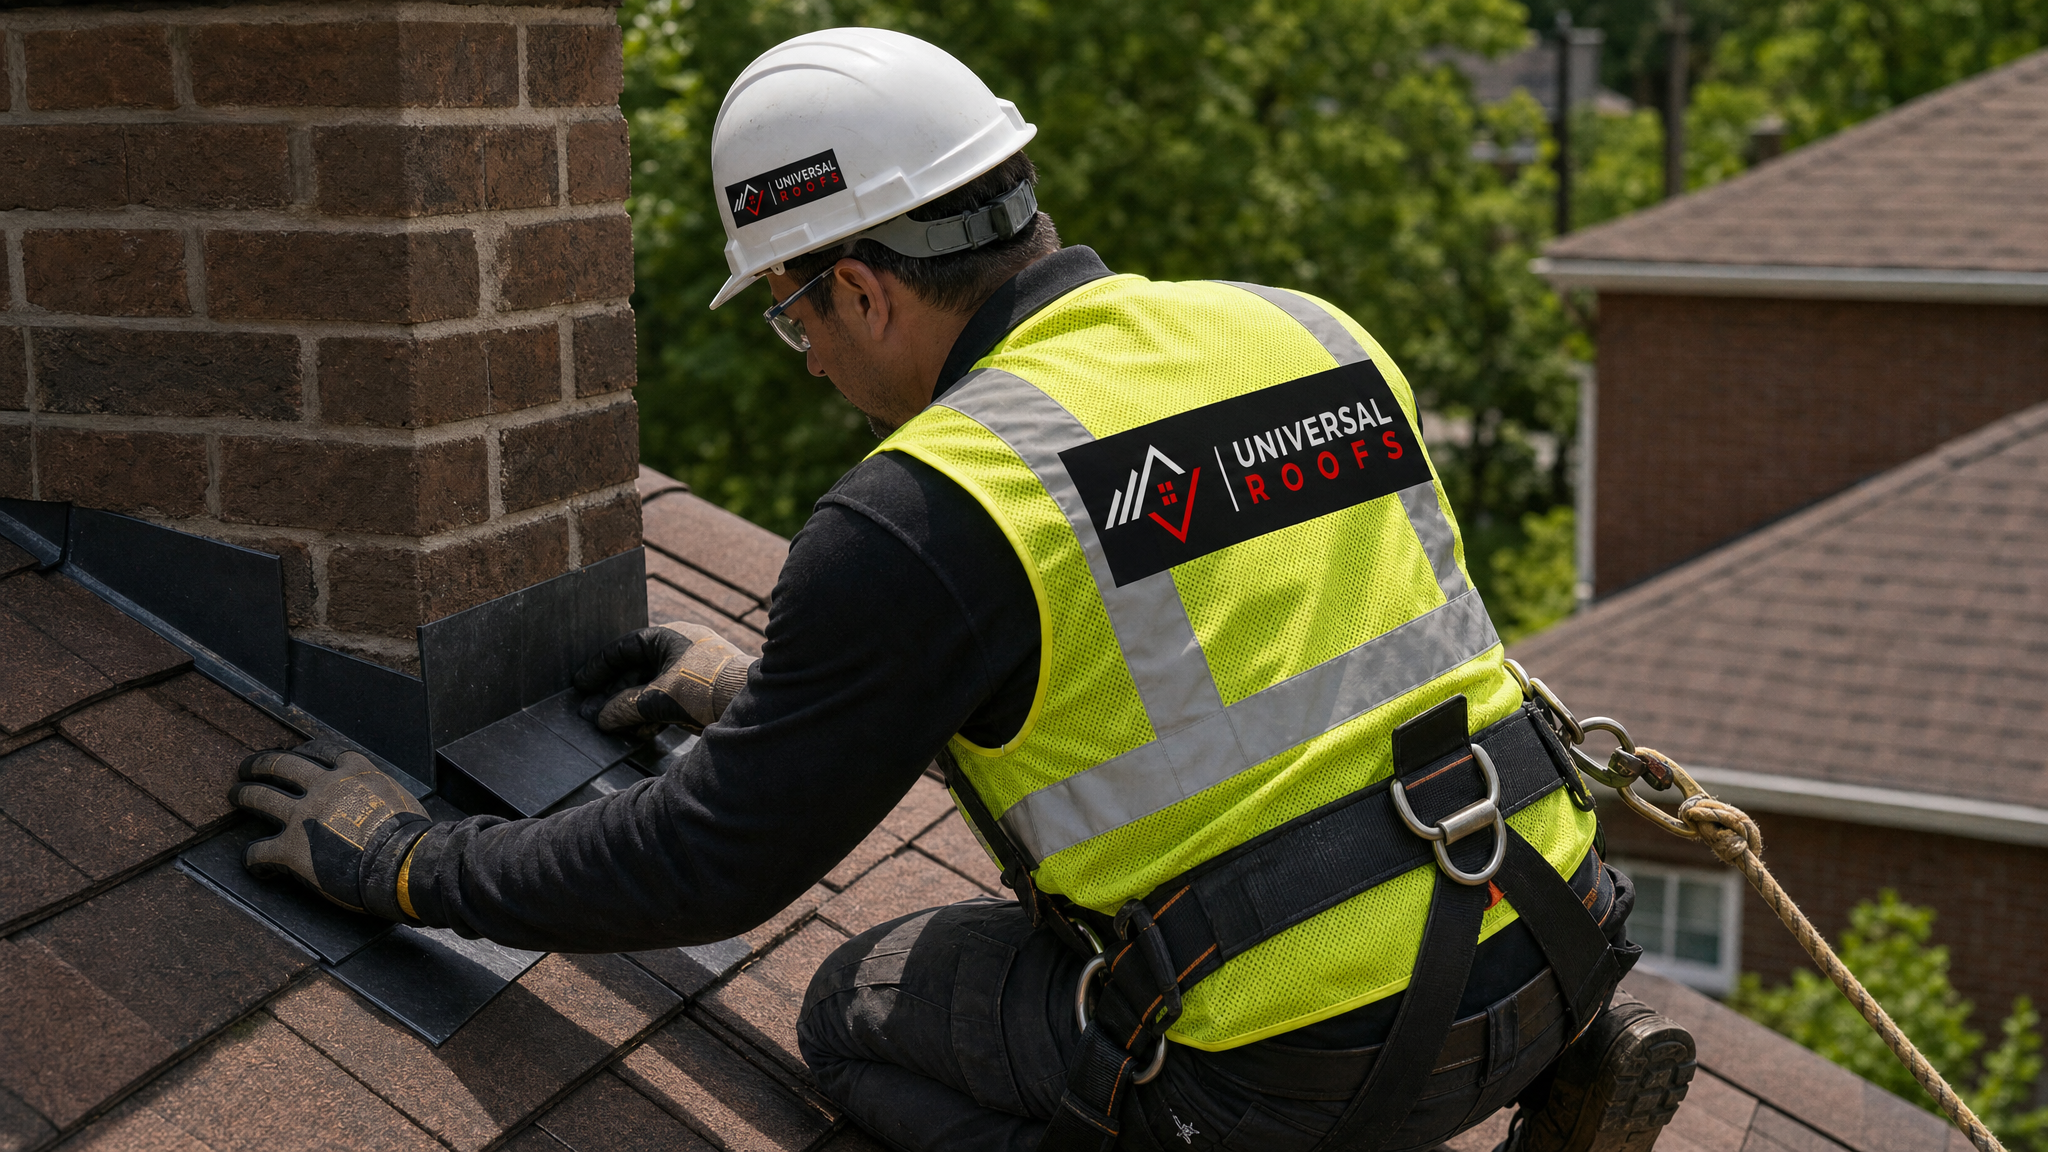
Chimneys, dormer walls, and any vertical wall-to-roof intersection require a layered flashing system: step flashing (individual L-shaped pieces woven between each course of tile up the slope), counter-flashing (a cap embedded into the masonry or wall cladding that overlaps the step flashing), and — on wider chimneys — a cricket (a small peaked structure built behind the chimney to divert water around it rather than letting it pool against the upslope face).
| Flashing Component | Common Failure Mode | Typical Cause | Recommended Fix |
|---|---|---|---|
| Step flashing | Individual pieces slip or separate from tile courses | Missing fasteners, improper overlap, tile settling | Re-weave and re-fasten each step piece with correct 2-inch minimum overlap |
| Counter-flashing | Pulls away from mortar joint, leaving a gap | Degraded mortar, thermal expansion, poor original embedment | Re-cut reglet, re-embed counter-flashing with fresh sealant and mortar |
| Cricket (chimney saddle) | Missing entirely or undersized on chimneys over 24 inches wide | Original builder omitted it to save cost/time | Build and flash a properly sized cricket to divert water around the chimney |
| Base flashing (apron) | Corrosion or gaps at the downslope chimney face | Age, standing water, poor lap with tile below | Replace apron flashing and re-lap over the top course of tile |
| Sealant joints | Cracked, shrunk, or fully detached caulking | UV exposure, freeze-thaw, wrong sealant type used originally | Remove old sealant fully and replace with a polyurethane or tile-rated sealant |
A chimney without a cricket is one of the single most common defects we find on older tile roofs in Toronto’s established neighbourhoods, particularly where chimneys were built wider than about 24 inches. Water striking the upslope face of a wide chimney has nowhere to go but sideways and under the flashing, which is exactly why a cricket exists — to split that flow and route it around both sides.
Skylight Flashing: A Frequent Source of “Mystery” Leaks
Skylights installed into a tile roof require a flashing kit specifically designed to integrate with tile profiles — a generic shingle-style flashing kit will not properly shed water around the curved or high-profile shape of clay and concrete tile. We regularly get called out for leaks that homeowners assume are coming from the skylight glazing itself, when the actual cause is the flashing kit around the skylight curb.
Typical skylight flashing issues on tile roofs include:
- Incompatible flashing kit. A flat-profile or low-profile flashing kit installed under high-profile barrel or S-tile, leaving gaps at the tile-to-curb transition.
- Deteriorated sealant at the curb. The perimeter sealant between the flashing and the skylight curb dries out and cracks well before the tile itself shows any wear.
- Improper head flashing lap. The upslope head flashing must lap over the tile below it by a sufficient margin; a short lap allows wind-driven rain to bypass the flashing.
- Side flashing gaps at tile cuts. Tiles cut to fit around the skylight opening need custom-formed step flashing on each side, not a single flat panel.
If your home has an ageing skylight on a tile roof and you’re seeing staining on the surrounding drywall or trim, it’s worth having both the flashing and the unit itself assessed. Sometimes a flashing correction resolves the leak entirely; other times, especially with an older insulated glazing unit, a full skylight replacement makes more sense than repeatedly patching flashing around a unit that’s near the end of its service life. We also install new skylights with tile-specific flashing kits from the outset to avoid these problems altogether.
Eave and Rake Edge Flashing: Preventing Ice Dam and Wind-Driven Rain Damage
Drip edge flashing along the eaves and rake edges of a tile roof serves two purposes: it directs water off the roof deck into the gutter, and it protects the exposed edge of the underlayment and roof sheathing from wind-driven rain and ice. On tile roofs specifically, eave flashing also needs to account for the “bird stop” or eave closure that seals the gap under the first course of tile.
Problems at the eave and rake typically show up as:
- Corroded or bent drip edge that no longer directs water cleanly into the gutter, allowing it to wick back under the fascia.
- Missing or crushed bird stops, which lets wind-driven rain and even birds/rodents get up under the first course of tile.
- Ice dam damage at the eaves, where inadequate attic ventilation allows snow to melt and refreeze at the roof edge, forcing water back up under the flashing and tile.
Ice damming is worth flagging specifically for GTA homeowners: it’s fundamentally an attic ventilation and insulation problem, not just a flashing problem, and no amount of eave flashing repair will fully solve it if warm attic air is melting snow unevenly across the roof deck. If your tile roof experiences recurring ice buildup along the eaves every winter, it’s worth having your attic ventilation and insulation evaluated alongside any flashing repair.
How to Spot Flashing Problems Before They Become Interior Damage
Because tile itself is so long-lasting, homeowners often assume a tile roof is maintenance-free. Flashing, however, typically has a shorter service life than the tile field above it and needs periodic inspection. Warning signs worth watching for include:
- Rust streaks running down tile or visible on flashing metal at valleys, chimneys, or walls
- Sealant that has visibly cracked, shrunk away from the substrate, or turned brittle and chalky
- Ceiling stains, especially ones that appear or worsen after heavy rain or rapid snowmelt
- Musty odours or visible mould in attic spaces near chimneys, valleys, or skylights
- Loose, lifted, or visibly displaced flashing pieces after high wind events
- Daylight visible through gaps at chimney or wall intersections when viewed from inside the attic
A twice-yearly visual check — once in spring after winter thaw, once in fall before freeze-up — catches most developing problems before they progress to interior water damage. Binoculars from the ground can reveal a surprising amount, but a proper close-up inspection generally requires someone on the roof, since many flashing defects are only visible from a few feet away.
Repair Methods Compared: What Actually Fixes Each Type of Flashing Failure
Not every flashing problem calls for the same fix. The table below summarizes the repair approaches we use most often on GTA tile roofs, along with the situations where each is appropriate.
| Repair Method | Best Suited For | Typical Lifespan of Repair | Relative Cost |
|---|---|---|---|
| Sealant/caulk renewal only | Minor cracking around otherwise sound metal with no corrosion | 3-5 years | Low |
| Spot patch or localized re-lap | Isolated pinhole corrosion or a single displaced flashing piece | 5-8 years | Low to moderate |
| Full valley pan replacement | Corroded or undersized valley metal, tile removed and reset | 20-30+ years | Moderate |
| Step and counter-flashing replacement | Chimney or wall leaks with widespread step flashing corrosion | 20-30+ years | Moderate to high |
| Cricket installation (new or resized) | Wide chimneys with no cricket or repeated upslope leaks | 25-30+ years, matches roof life | Moderate |
| Full flashing system overhaul | Roofs nearing end of underlayment life with multiple failure points | Matches new underlayment/roof life | High |
A useful rule of thumb: if you’re calling a roofer back for the third flashing patch at the same location within a few years, it’s usually more cost-effective to address the underlying detail properly (correct gauge of metal, correct lap, added cricket, etc.) rather than continuing to patch the symptom. Persistent recurring leaks at the same spot are also often a signal that the underlayment beneath the flashing has been compromised and needs attention as part of a broader roof replacement conversation, not just a flashing swap.
Choosing the Right Flashing Material for a Tile Roof
Material selection matters as much as installation technique. The table below compares the flashing materials most commonly used on tile roofs in the GTA climate.
| Material | Typical Service Life | Corrosion Resistance | Notes for GTA Tile Roofs |
|---|---|---|---|
| Galvanized steel | 15-20 years | Moderate; coating wears over time | Common on older roofs; prone to rust once coating degrades |
| Aluminum | 20-25 years | Good, but reacts with mortar/concrete over time | Should be isolated from direct masonry contact with a coating or membrane |
| Copper | 50+ years | Excellent | Premium option; develops a protective patina, ideal for high-value tile roofs |
| Painted/coated steel | 25-30 years | Good while coating is intact | Good balance of cost and durability if properly maintained |
| Lead-coated copper | 50+ years | Excellent | Historically used on higher-end tile installations, increasingly replaced due to cost and lead concerns |
When we replace flashing on a tile roof, we also make a point of separating dissimilar metals with an appropriate underlayment or isolation membrane, since mixing incompatible materials (for example, aluminum flashing fastened with uncoated steel nails) is one of the most preventable causes of premature corrosion.

DIY Inspection vs. When to Call a Professional
Homeowners can safely do a good deal of the early detection work from the ground or attic without ever getting on the roof:
- Walk the attic with a flashlight after a heavy rain, looking for fresh water staining, damp insulation, or daylight at wall and chimney penetrations
- Check ceilings and walls below chimneys, valleys, and skylights for new or spreading stains
- Use binoculars from the ground to look for visibly lifted tile, rust streaking, or gapped counter-flashing at the chimney
- Clear visible debris from valleys that’s reachable safely from a ladder at the eave, without walking on the tile itself
Tile roofs are genuinely risky to walk on without the right training and footwear — the tiles themselves can crack under uneven weight, and a broken tile creates a brand new leak path exactly where you were trying to fix one. Any actual flashing repair — resetting step flashing, rebuilding a cricket, replacing a valley pan, or correcting a skylight flashing kit — should be handled by a roofer experienced specifically with tile systems. This is one of the areas where an experienced Toronto or Peel Region roofing crew earns their fee: they know how to lift and reset tile without breaking it, which is a skill distinct from general roofing work.
Preventive Maintenance That Extends Flashing Life
A modest annual maintenance routine meaningfully extends the working life of tile roof flashing:
- Clear valleys and gutters each fall before leaves and debris compact and hold moisture against the metal through winter.
- Trim overhanging branches that drop debris directly into valleys or scrape against flashing during wind.
- Re-inspect sealant joints every 2-3 years at chimneys, skylights, and walls, since sealant is almost always the first component to fail — long before the metal itself.
- Address ventilation issues that contribute to ice damming, since ice dams put mechanical stress on eave flashing that accelerates its failure.
- Have a professional inspection every 3-5 years, even with no visible symptoms, since the earliest stages of corrosion often aren’t visible from the tile surface.
This kind of routine upkeep costs a fraction of what emergency interior water damage repair costs, and it’s the single best way to protect the investment in a tile roof over its multi-decade lifespan. If it’s been a few years since your last inspection, browsing our reviews or FAQ page can give you a sense of what a proper assessment involves before you book one.
Regional Considerations Across the GTA
Flashing performance requirements shift slightly depending on where in the GTA a tile roof is located. Homes closer to Lake Ontario, including parts of the Halton Region and southern Toronto, tend to see more wind-driven rain events, which puts extra emphasis on head-lap and side-lap flashing details at walls and skylights. Further north and east, in parts of York Region and Durham Region, heavier and more sustained snow loads make eave flashing, bird stops, and attic ventilation a bigger factor in preventing ice dam-related flashing failures. In every case, though, the underlying principle is the same: flashing has to be sized, lapped, and fastened correctly for the specific tile profile and local climate exposure, not installed generically.
What are the most common tile roof flashing problems and solutions homeowners should know about?
How do I know if my tile roof leak is a flashing problem and not a tile problem?
How long does tile roof flashing typically last before it needs replacing?
Can I repair tile roof flashing myself, or should I hire a professional?
Why does my tile roof keep leaking at the same spot even after being patched?
Does ice damming cause tile roof flashing problems in Toronto winters?
Need Help With Common Tile Roof Flashing?
Diagnosing and correcting flashing problems on a tile roof takes experience specific to tile systems, and getting it right the first time is far cheaper than repeated patchwork. Universal Roofs has been solving exactly these problems for GTA homeowners since 2005.
Call us today at (416) 732-2421 or request a free inspection to get started.
Universal Roofs proudly serves Toronto, Mississauga, Brampton, Vaughan, Markham, Oakville and the GTA since 2005.