
When a handful of shingles lift in a July windstorm or a raccoon decides your ridge line looks like a good place to dig, the difference between a five-minute patch and a full-blown leak often comes down to having the right equipment on hand. Homeowners across the GTA frequently ask us what tools they actually need before they climb a ladder to look at a damaged section of roof, and the honest answer is that shingle repair rewards preparation far more than brute force.
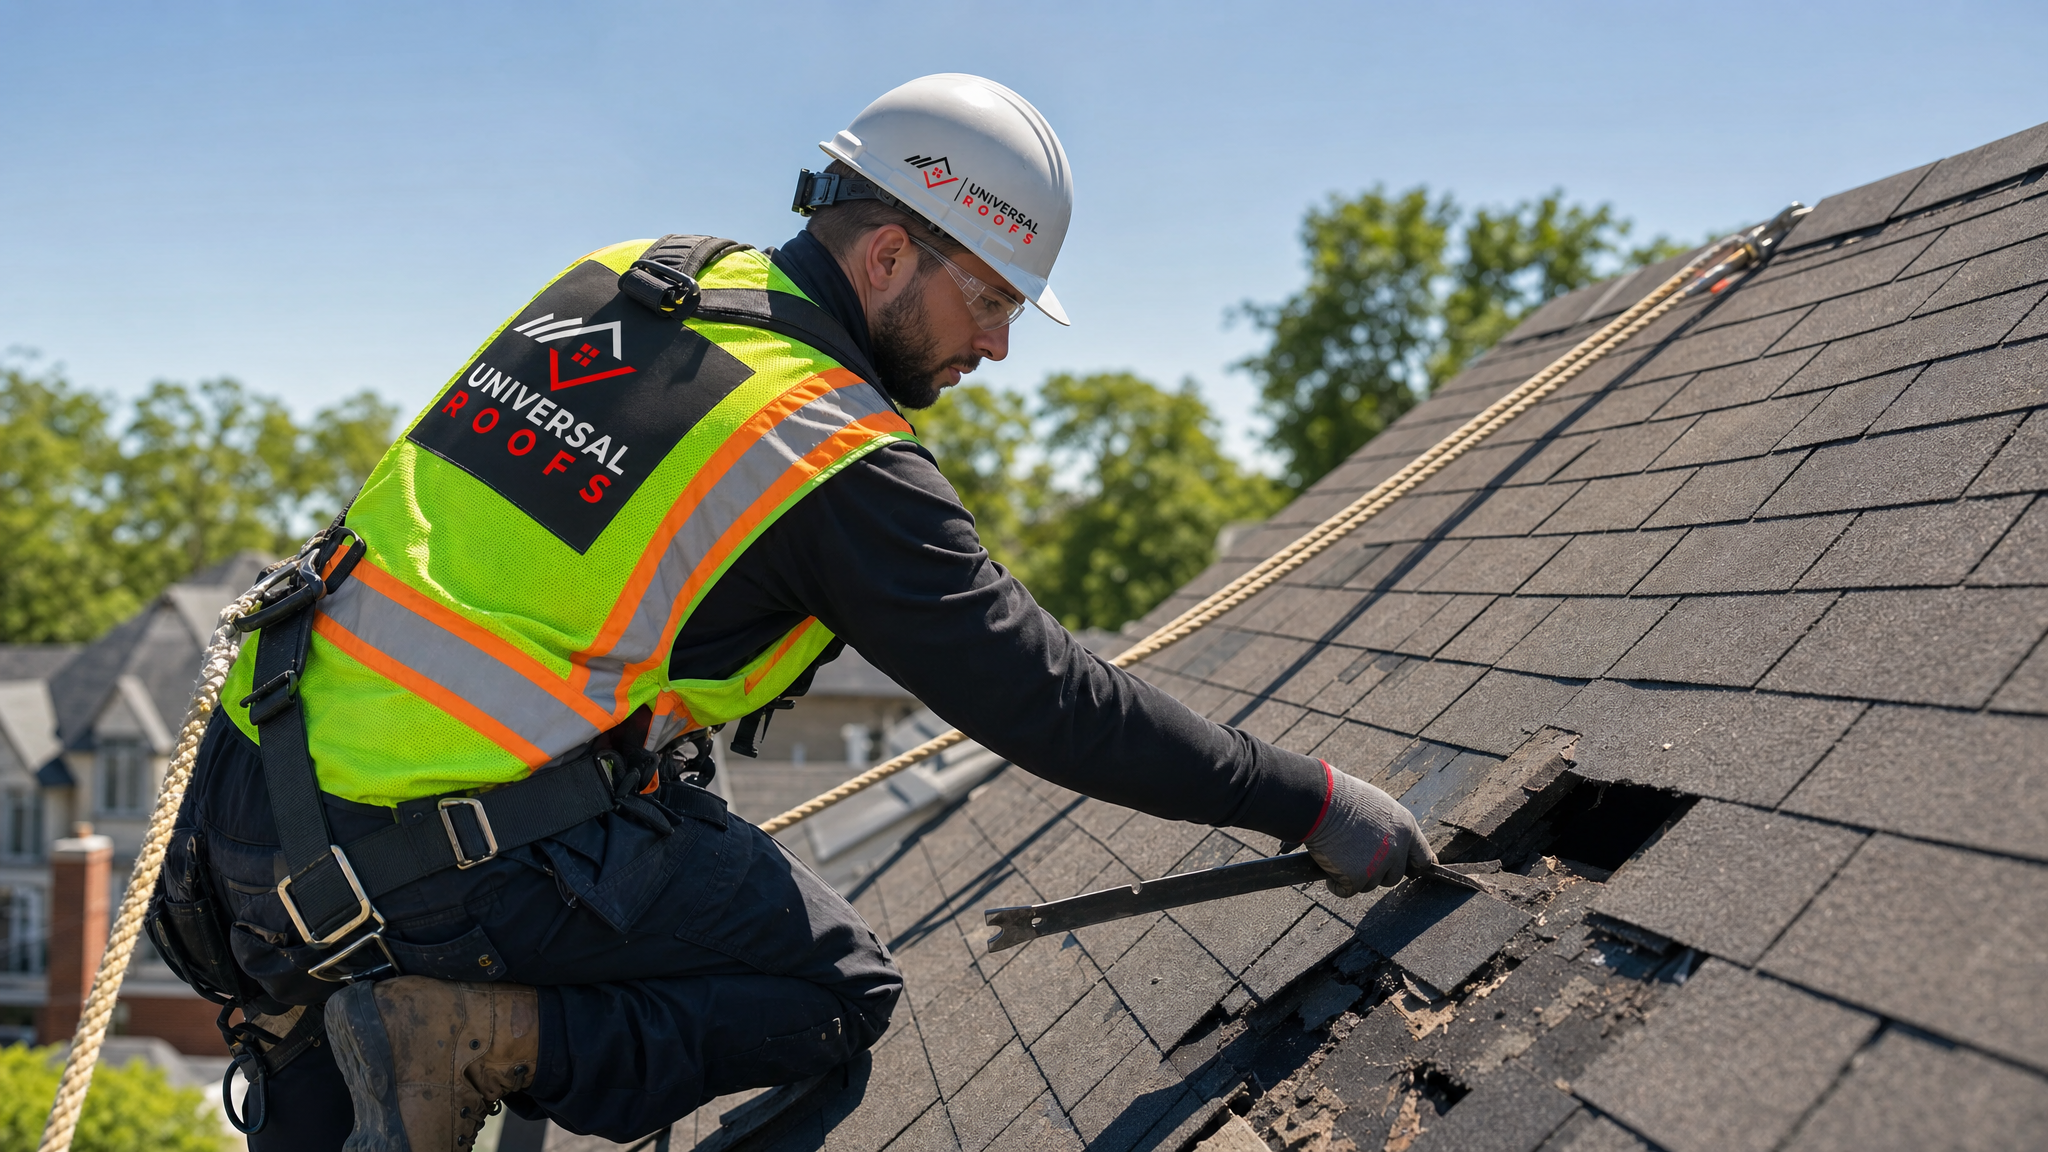
At Universal Roofs, we have been repairing and replacing shingle roofs across the Toronto area since 2005, and the single biggest mistake we see amateur repair attempts make is showing up with the wrong pry bar, the wrong nails, or no fall protection at all. This guide walks through the essential tools for shingle repair, how each one is used correctly, what it costs, and when a job has crossed the line from “weekend project” into “call a licensed contractor” territory.
We will also cover the safety gear that matters just as much as the tools themselves, because Toronto roofs are steep, often wet with morning dew even in summer, and unforgiving of a missed step. If you would rather skip the ladder entirely, our roof repair team can assess and fix the damage safely — but if you are set on doing a small patch yourself, this is what you need in your kit.
Why the Right Tools Matter More Than You Think for Shingle Repair
Asphalt shingles look simple from the ground, but they are a layered, interlocking system. Each shingle is held by four nails, sealed to the course below it with a factory adhesive strip, and often tucked under the shingle above it. Using the wrong tool — a claw hammer instead of a flat pry bar, for example, or a utility knife with a dull blade — tends to tear the shingle mat, crack the surrounding tabs, or leave nail holes that become new leak points. This is exactly why the essential tools for shingle repair list is shorter than most people expect, but each item on it does a specific job that a generic substitute cannot replace.
Toronto’s climate adds another wrinkle. Our freeze-thaw cycles from November through March make asphalt shingles brittle in cold weather and soft, easily scuffed in the heat of a July afternoon. That means the tools you use, and the technique you use them with, need to account for the temperature on the day you are working. Pulling nails on a shingle that has been baking at 30°C all day requires a gentler touch than the same job on a cool October morning, because the mat tears more easily when it is warm and pliable.
Getting the tool selection right the first time also saves money. A contractor-grade flat bar costs roughly the same as three emergency callouts to fix a botched DIY patch, and buying quality once beats replacing cheap tools that round off, bend, or snap mid-repair.
The Core Hand Tools Every Shingle Repair Kit Needs
Below is the foundation of any shingle repair toolkit, whether you are patching a single tab after a windstorm or replacing a full course around a vent boot.
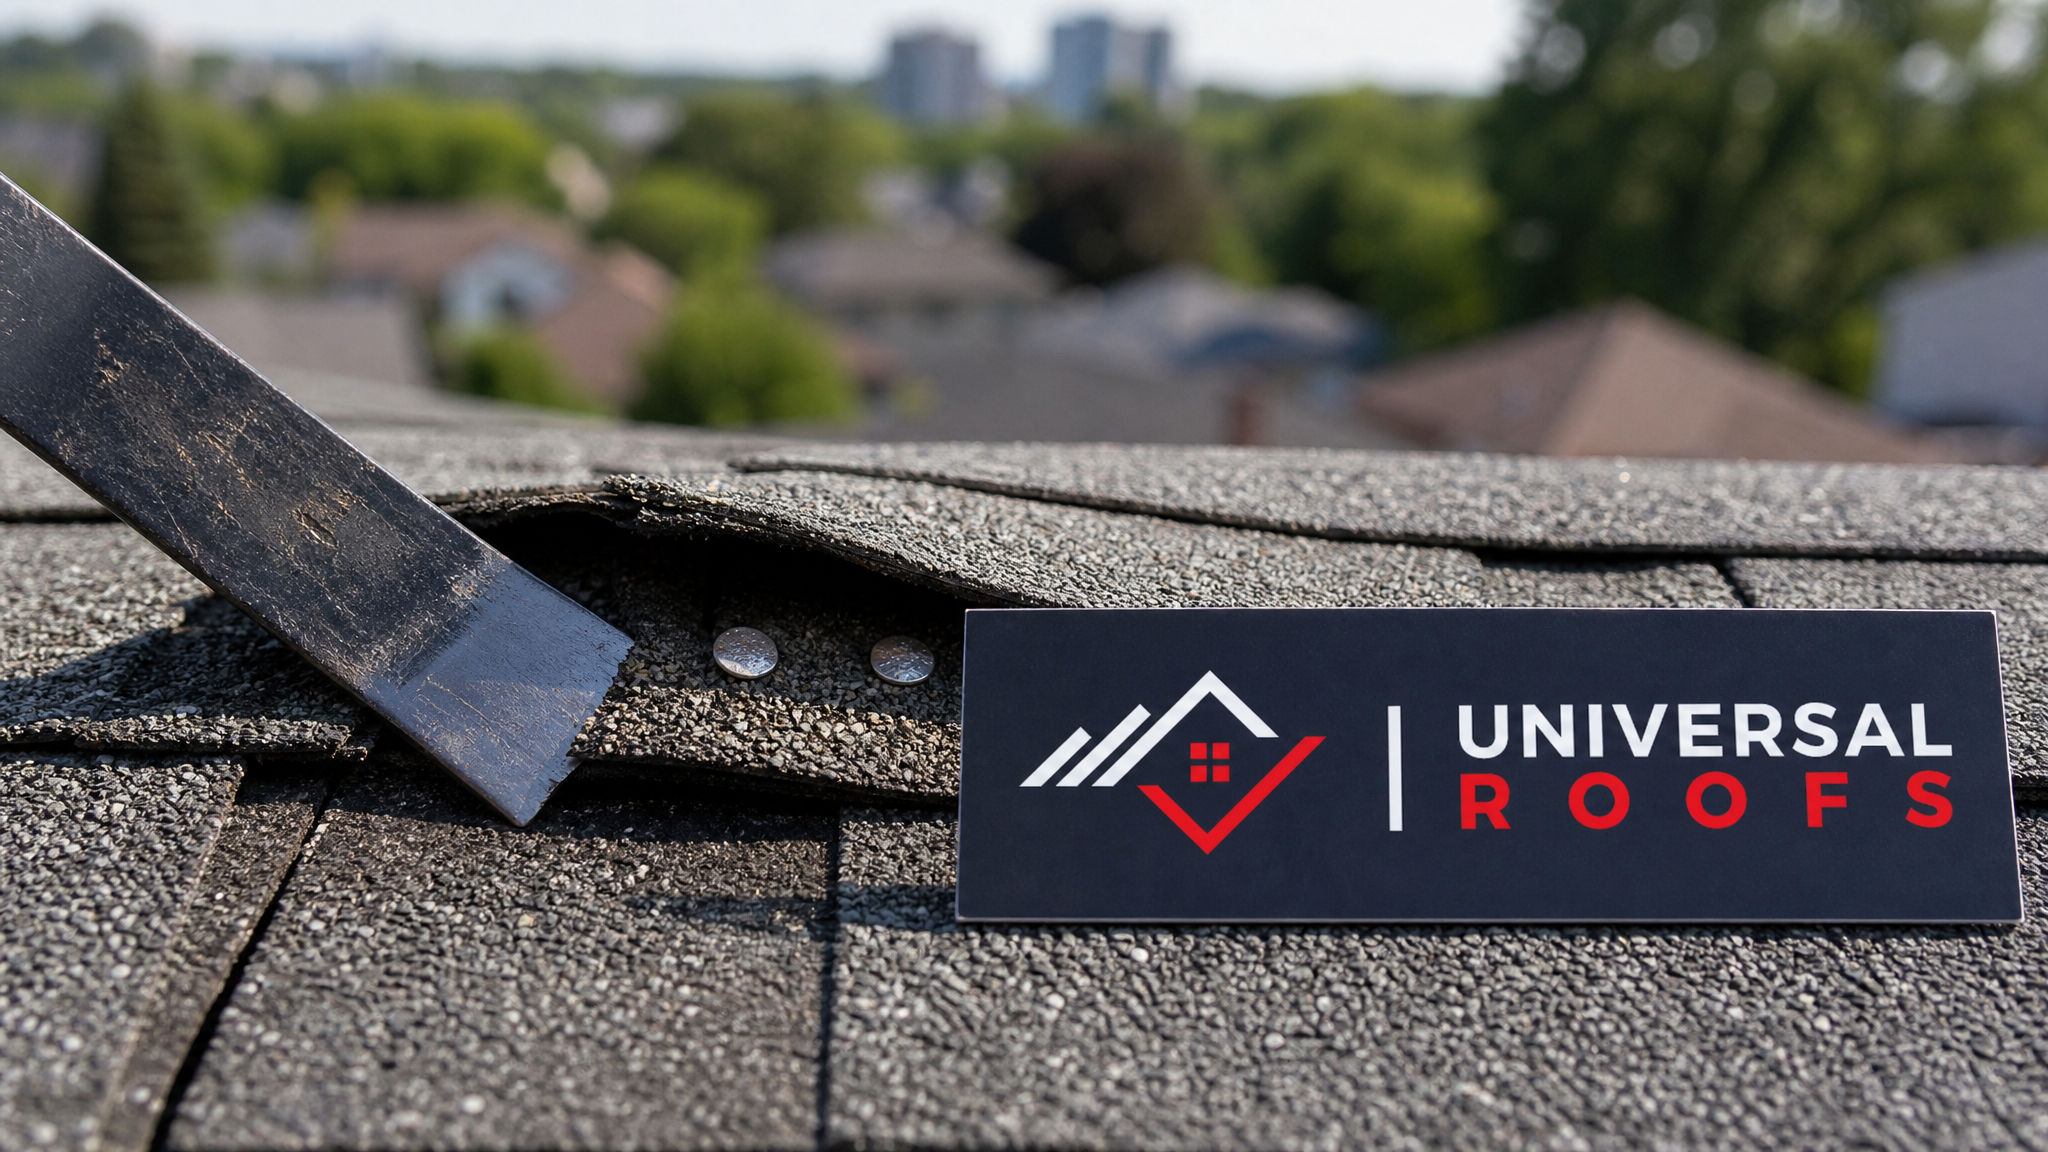
- Flat pry bar (shingle removal bar) — A thin, flat, notched bar designed to slide under a shingle and pop nail heads without tearing the mat. This is the single most important tool on this list and the one substitute homeowners get wrong most often.
- Roofing hammer — Lighter than a framing hammer, with a smaller face and often a hatchet-style blade on one side for trimming shingles. The reduced weight prevents overdriving nails.
- Utility knife with hooked roofing blades — Standard straight blades slip and cut unevenly on asphalt granules. Hooked blades are curved specifically to score shingles cleanly along a straightedge.
- Roofing nails (galvanized, 1-1/4 inch minimum) — Must be long enough to penetrate the decking by at least 19 millimetres. Reused nails or drywall screws are a common and serious mistake.
- Chalk line — Keeps replacement courses straight, especially important when more than one row is being replaced.
- Roofing cement (asphalt plastic cement) — Used to re-seal tabs, seal nail heads, and bond the replacement shingle’s sealant strip until the sun re-activates it.
- Caulking gun — For applying roofing cement in a controlled bead rather than straight from the tin with a putty knife.
- Tape measure and speed square — For measuring exposure lines and cutting replacement shingles to the correct width.
Many homeowners also keep a small wire brush on hand to clean old adhesive and granule debris off the decking before setting a new shingle, which significantly improves how well the new sealant strip bonds.
| Tool | Primary Use | Typical Cost (CAD) | Skill Level Required |
|---|---|---|---|
| Flat pry bar | Lifting shingles and popping nails without tearing | $15 – $35 | Beginner |
| Roofing hammer | Driving and removing roofing nails | $25 – $50 | Beginner |
| Hooked utility knife | Scoring and cutting shingle tabs cleanly | $10 – $20 | Beginner |
| Roofing cement + caulking gun | Sealing tabs, nail heads, and flashing edges | $15 – $30 | Beginner to Intermediate |
| Chalk line | Keeping replacement courses straight | $10 – $20 | Beginner |
| Roofing nail gun (pneumatic) | Faster nailing for multi-shingle or multi-course jobs | $150 – $300 | Intermediate |
Safety Equipment You Cannot Skip
Every year, Toronto emergency rooms treat homeowners who fell attempting a roof repair that should have taken twenty minutes. A shingle repair kit is incomplete, and arguably dangerous, without the following:
- Roof safety harness and rope grab — Anchored to a permanent roof anchor or, at minimum, looped over the ridge and secured with a ridge anchor strap. This is non-negotiable on any pitch steeper than about 4:12.
- Non-slip, soft-soled footwear — Dedicated roofing boots or clean-soled sneakers grip asphalt shingles far better than work boots with aggressive lug treads, which can actually catch and cause a stumble.
- Extension ladder rated for the task — Set at the correct 4:1 angle (one foot out for every four feet of height), extending at least one metre above the roof edge, and tied off at the top.
- Hard hat — Protects against falling debris if anyone else is working nearby, and against contact with gutters or fascia during a slip.
- Safety glasses and work gloves — Roofing nails, granule dust, and old cement residue are all hazards to eyes and hands during removal.
- A second person on the ground — To steady the ladder, hand up tools, and call for help if something goes wrong. Never attempt a roof repair completely alone.
Step-by-Step: Using These Tools to Replace a Damaged Shingle
Once the essential tools for shingle repair are assembled, the actual replacement of a single damaged shingle follows a consistent sequence:
- Lift the shingle above the damaged one. Slide the flat pry bar underneath the tab directly above the damaged shingle to break the adhesive seal without cracking it.
- Locate and pop the nails. Each shingle is secured by nails driven through the top of the shingle below it. Slide the pry bar under each nail head and lift gently until it pops free.
- Remove the damaged shingle. Once all four nails are free, the damaged shingle should slide out. If it resists, check for a nail you missed rather than forcing it, which can crack the shingle above.
- Clean the exposed decking. Use a wire brush to remove old adhesive, granules, and debris so the new shingle seats flat.
- Slide in the replacement shingle. Align it with the chalk line and the surrounding course exposure, sliding it up under the shingle above.
- Nail it in place. Drive four galvanized roofing nails just above the adhesive strip line, being careful not to overdrive them and crush the mat.
- Seal the tabs. Apply a small dab of roofing cement under each corner of the shingle above and the new shingle itself to hold everything down until the sun reactivates the factory sealant.
This sequence works the same whether you are dealing with a single wind-lifted tab or several shingles damaged around a plumbing vent boot. For larger sections, or any area involving flashing, valleys, or a chimney, the risk of a hidden leak rises substantially, and it is worth having our team take a look through the roof repair service before sealing anything up.
Matching the Tool to the Type of Damage
Not every shingle problem calls for the same repair approach. The table below breaks down common summer damage scenarios in the GTA and which tools and techniques apply.
| Type of Damage | Likely Cause | Tools Needed | DIY Suitable? |
|---|---|---|---|
| Single lifted or missing tab | Wind gust, aging sealant strip | Pry bar, roofing cement, caulking gun | Yes, straightforward |
| Cracked or curling shingles (multiple) | Sun exposure, heat cycling, age | Pry bar, hammer, nails, utility knife, chalk line | Yes, with care |
| Granule loss / bald patches | Age, hail impact, foot traffic | Usually requires full shingle replacement, not patching | Case by case |
| Damage around vent boots or flashing | Cracked rubber boot, corroded flashing | Pry bar, roofing cement, replacement boot, sometimes new flashing | Intermediate to professional |
| Damage in a valley or near the chimney | Ice damming, poor flashing, debris buildup | Specialized flashing tools, professional-grade sealants | Call a professional |
| Widespread hail or storm damage | Severe weather event | Full inspection required, often insurance claim | Call a professional |
When a Small Repair Signals a Bigger Problem
One of the most valuable things a set of hand tools can do is reveal problems that a repair alone cannot fix. When you pry up a damaged shingle, take a moment to inspect what is underneath. Soft, spongy decking, dark staining, or a smell of mildew all indicate moisture has been getting into the roof assembly for longer than the visible damage suggests.
This is also a good moment to check your attic. Poor ventilation accelerates shingle aging from underneath, causing the mat to curl and crack years before it should. If you notice heat buildup or moisture in your attic space, it is worth having our attic team assess the ventilation alongside any shingle repair, since fixing the surface without addressing airflow underneath tends to produce repeat failures in the same spot.
Similarly, if the damaged shingles sit near a skylight curb, the tools and technique change substantially, because skylight flashing integrates with the shingle courses in a way that a standard pry-and-patch approach can disturb. Our skylights and skylight replacement pages cover what is involved if that is the source of your leak.
DIY Repair vs. Calling a Professional: A Cost and Timeline Comparison
Homeowners often want to know at what point the tool investment stops making financial sense compared to simply calling a roofer. Here is how the two approaches typically compare for common GTA shingle repair scenarios.
| Scope of Repair | DIY Tool Cost | DIY Time | Professional Cost (approx.) | Professional Timeline |
|---|---|---|---|---|
| 1-3 individual shingles | $80 – $150 (one-time tool purchase) | 1 – 2 hours | $250 – $450 | Same day, often within 48 hours of a call |
| Full course replacement (one row) | $120 – $200 | 3 – 5 hours | $400 – $700 | Half day |
| Vent boot or flashing repair | $150 – $250 (specialty items) | Half day, higher error risk | $350 – $650 | Half day |
| Storm damage across multiple sections | Not recommended | Not recommended | $800 – $2,500+ | 1 – 2 days, insurance coordination available |
If the tool cost and time investment for your specific repair start approaching the professional quote, or if the damage involves flashing, valleys, or more than a few shingles, it usually makes more financial sense to book an assessment. You can compare notes on past jobs on our reviews page, or browse common questions on our FAQ page before deciding.
Seasonal Considerations for Summer Shingle Repairs in the GTA
July and August are actually a favourable window for shingle repair in Toronto, since warm weather keeps the asphalt pliable enough to work with and the sealant strips reactivate quickly once a replacement shingle is nailed down. That said, there are a few summer-specific considerations worth keeping in your back pocket:
- Work in the morning. Shingles that have baked in direct afternoon sun become soft enough to scuff, scratch, or gouge under foot traffic and tools.
- Watch the humidity. Morning dew can make sloped shingle roofs surprisingly slick even on a clear July day — wait until surfaces are fully dry before climbing.
- Store roofing cement properly. Extreme heat can cause tins of asphalt cement to separate or thin; keep it in shade until you are ready to use it.
- Check for thermal expansion gaps. Replacement shingles should be nailed with slightly looser tolerance in high heat, since asphalt shingles contract when temperatures drop in the fall.
By contrast, repairs made in late fall or winter face brittle shingles that crack easily under a pry bar, and sealant strips that will not bond until spring warmth returns — so if you are debating whether to patch now or wait, summer is genuinely the better window.
Tool Maintenance and Storage Between Repairs
Roofing tools that sit in a garage for months at a time need a bit of upkeep to stay reliable for the next repair:
- Wipe pry bars and hammers dry after use to prevent rust, especially given Toronto’s humid summers.
- Store roofing cement tins upright with the lid tightly sealed; once opened, most cements have a limited shelf life of six to twelve months.
- Replace utility knife blades at the first sign of dulling rather than pushing a dull blade through shingle mat, which causes ragged, weakened cuts.
- Inspect harness webbing and rope for fraying or UV degradation before every use, and retire any harness more than five years old regardless of appearance.
- Keep a small supply of matching-colour shingles from your last roof replacement or reroof for quick future patches, since shingle colours are frequently discontinued within a few years.
If you are unsure whether your current roof’s shingle colour and profile are still available, our team can often identify a close match, or advise whether a broader roof replacement makes more sense if the roof is nearing the end of its service life anyway.
Serving Every Corner of the GTA
Whether your home is a century semi in the older parts of Toronto or a newer build out in the Peel Region, York Region, Halton Region, or Durham Region, the same fundamentals apply — but roof pitch, shingle age, and local weather exposure vary block by block. If you would rather not test your own tool collection against a steep Victorian roofline or a modern high-pitch build, we are happy to send someone out to take a look. Learn more about our approach on the about page.
What are the essential tools for shingle repair that every homeowner should own?
Can I use a regular claw hammer instead of a roofing hammer for shingle repair?
Do I really need a fall-protection harness for a small shingle repair?
What roofing nails should I use when replacing a shingle?
Is summer a good time to repair damaged shingles in the GTA?
When should I stop using DIY tools and call a professional for shingle repair?
Need Help With What Are Essential Tools?
Having the right tools is only part of the equation — knowing how to read what is happening underneath your shingles is what actually prevents repeat leaks. Our team at Universal Roofs has been repairing and replacing GTA roofs since 2005, and we are happy to take the ladder-climbing and guesswork off your hands.
Call us today at (416) 732-2421 or request a free inspection to get started.
Universal Roofs proudly serves Toronto, Mississauga, Brampton, Vaughan, Markham, Oakville and the GTA since 2005.