
A cracked, curling, or missing shingle rarely stays a small problem in Toronto. Between the freeze-thaw cycles of a GTA winter and the UV pounding of a summer like this one, an exposed patch of roof deck can let water in within days, not months. Whether you are staring at a single wind-lifted tab after last week’s storm or planning a broader repair, the material underneath the granules matters as much as the repair technique itself. Asphalt shingles reinforced with an organic paper mat behave differently under a pry bar and a nail gun than fibreglass-mat asphalt shingles, and mixing up the two approaches is one of the most common ways a simple repair turns into a bigger leak.
This guide walks through exactly how to diagnose shingle damage, the tools and materials you need, and a full step-by-step repair process for both asphalt (organic-mat) and fibreglass-mat shingles — including where the two diverge. We will also cover when a patch repair is the right call versus when it is time to consider a full roof replacement, and how Toronto’s climate specifically affects the timeline for each material.
We have been repairing and replacing roofs across the Toronto area since 2005, and shingle repairs are one of the most frequent calls we get every spring and after summer wind events. This article distills what our crews look for on every service call, so you can make an informed decision about your own roof — whether you tackle a minor fix yourself or bring in a professional for anything involving the roof deck, flashing, or work at height.
Asphalt vs Fibreglass Shingles: What’s Actually Different
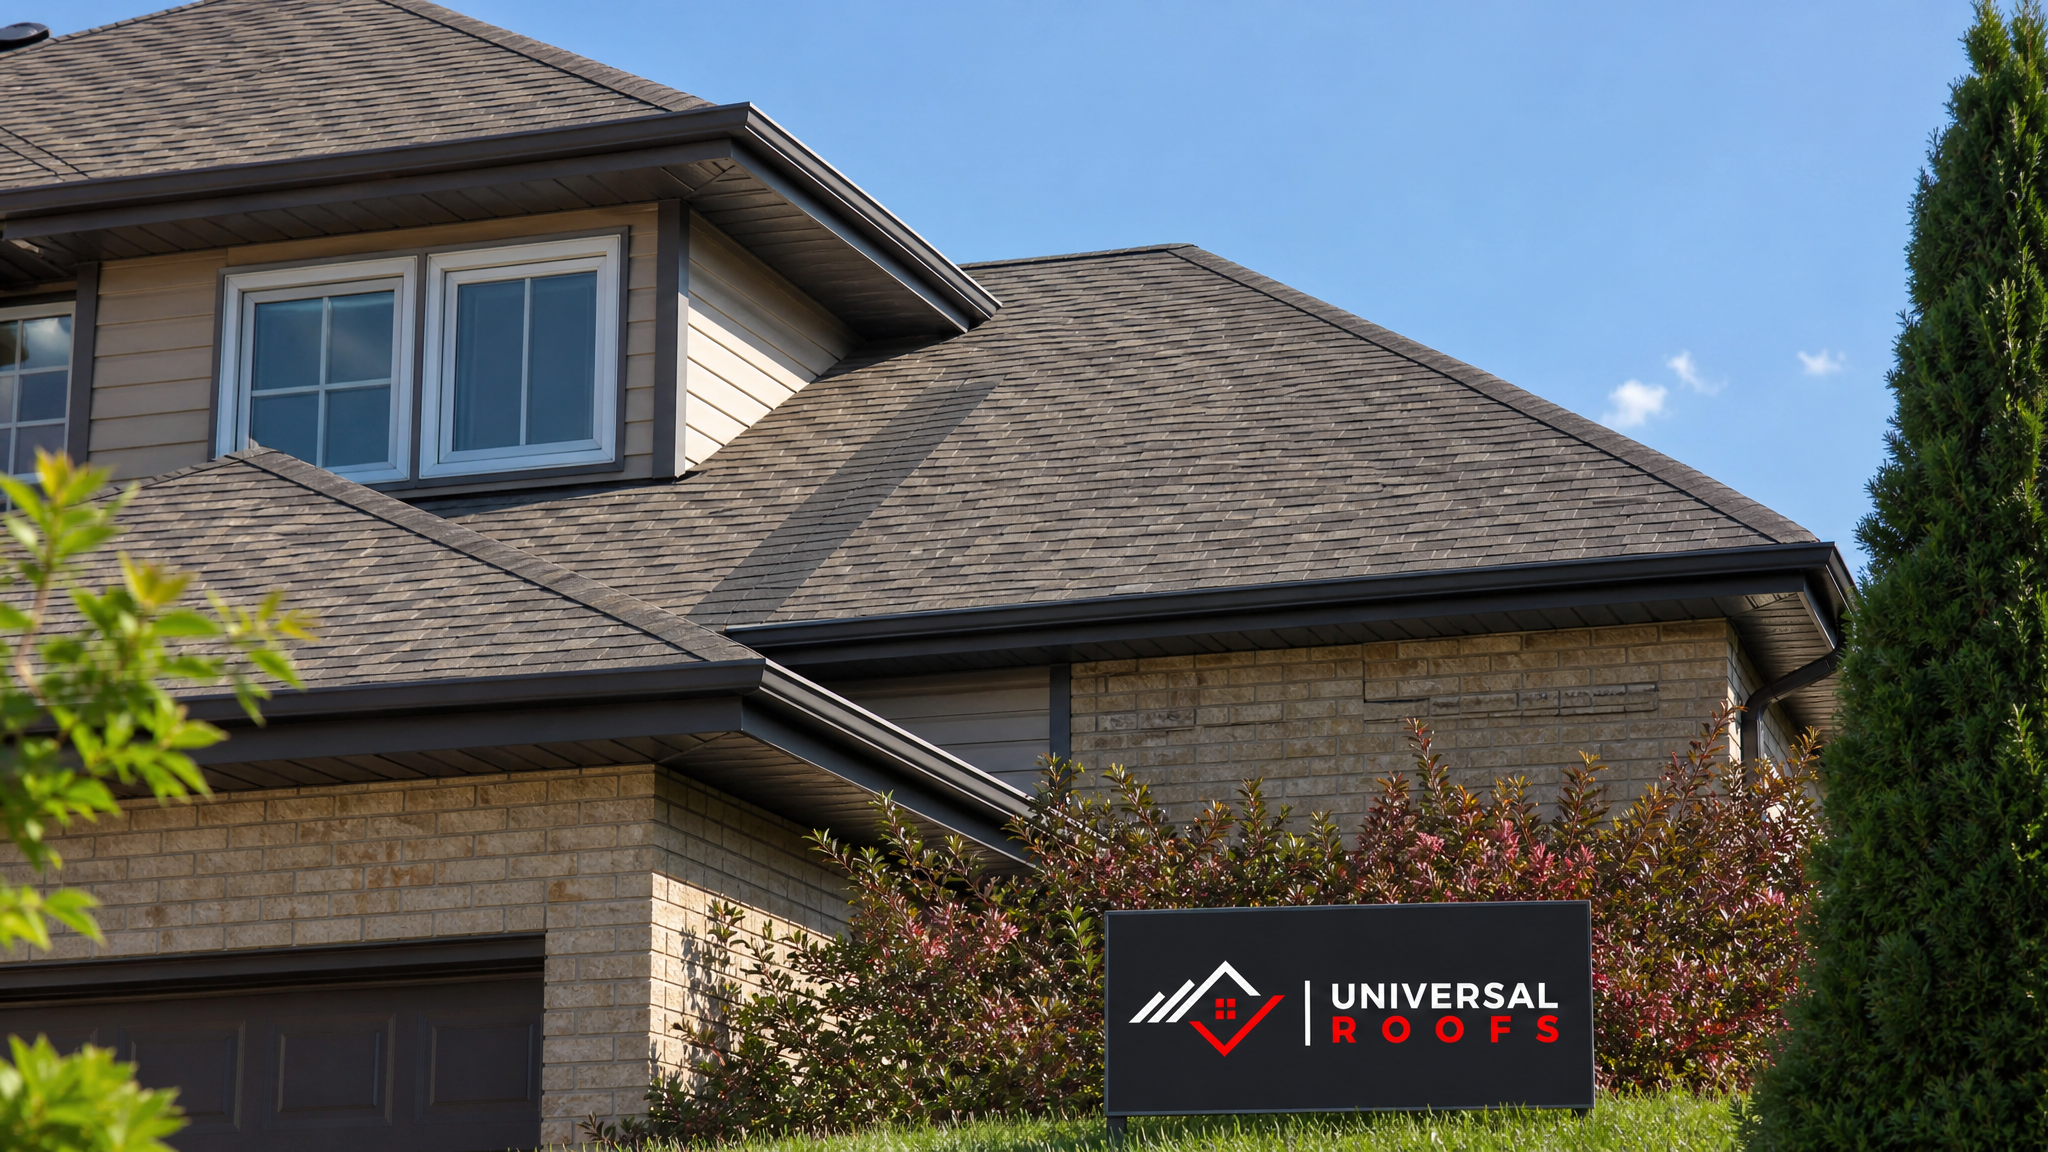
The term “asphalt shingle” is used broadly, but there are two distinct mat constructions underneath the asphalt coating and mineral granules, and repairing shingles asphalt vs fibreglass requires understanding which one you have before you touch a pry bar.
Organic-mat asphalt shingles use a base mat made of recycled paper or wood fibre, saturated in asphalt, then coated again and pressed with granules. These were the standard for decades and are still found on many older Toronto homes built before the early 2000s. They are heavier, more flexible in moderate temperatures, and tend to absorb a small amount of moisture into the mat itself if the surface coating is compromised — which is exactly why a cracked organic shingle can deteriorate faster once water gets past the granule layer.
Fibreglass-mat asphalt shingles (sometimes just called “fibreglass shingles”) use a woven or non-woven fibreglass mat instead of paper. This mat does not absorb water, is lighter, and generally carries a higher fire rating (Class A versus Class C for many organic products). Fibreglass shingles are the standard on nearly all new construction and reroofing jobs in Ontario today, largely because they are more consistent, more resistant to Toronto’s freeze-thaw swings, and easier to source in matching batches.
| Characteristic | Organic (Asphalt) Mat Shingles | Fibreglass Mat Shingles |
|---|---|---|
| Base mat material | Recycled paper/wood fibre saturated in asphalt | Woven or non-woven fibreglass |
| Typical weight per square | Heavier (approx. 240-300 lbs) | Lighter (approx. 180-240 lbs) |
| Moisture absorption | Higher — mat can swell if compromised | Minimal — mat itself does not absorb water |
| Fire rating (typical) | Class C (some products) | Class A (most products) |
| Cold-weather flexibility | More flexible when cold, less prone to cracking during handling | Can be more brittle below roughly 4-7°C; requires care handling in winter |
| Common era installed in GTA | Pre-2000s builds, some older re-roofs | 2000s-present; standard on new construction |
| Typical lifespan (Toronto climate) | 15-20 years | 20-30 years depending on grade |
Why does this matter for a repair? Fibreglass shingles are more prone to cracking if you try to lift or bend them in cold or even cool conditions, so summer and early autumn are actually the easiest windows to do this kind of work — the shingle is pliable, adhesive strips seal faster, and you are less likely to snap a tab while lifting the course above the damaged shingle. Organic shingles tolerate a bit more flex during handling but can hide moisture damage in the mat that isn’t visible from the surface, which is why a soft, spongy feel underfoot on an older organic roof is a signal to look closer, not just patch and move on.
How to Diagnose Which Shingles You Have and What’s Actually Wrong
Before buying replacement shingles or booking a repair, you need two answers: what type of shingle is on your roof, and what is actually damaged versus just cosmetically worn.
To identify the mat type without removing a shingle, check your original roofing invoice or permit paperwork if you have it — most Toronto-area suppliers list the product name and manufacturer, and a quick model number search tells you the mat type immediately. If you don’t have documentation, a licensed roofer can identify it from the ground or during a roof repair visit by examining a broken edge or lifted tab, where the mat layer becomes visible.
For diagnosing the actual damage, walk your property line and look up rather than climbing onto the roof yourself — most homeowner injuries from DIY shingle repairs happen from falls, not from the repair itself. Binoculars work well for a first pass. Look for:
- Missing shingles or tabs — usually from wind, and the most urgent to address since the underlayment is directly exposed
- Curling or cupping edges — a sign of age, heat cycling, or ventilation problems, more common on organic mats nearing end of life
- Cracking across the shingle face — often thermal cycling damage, more common on fibreglass shingles that were installed or repaired in cold weather
- Granule loss — visible as bald, darker patches, or as granule buildup in gutters and downspouts
- Bruising or soft spots — usually hail impact, which can be hard to spot without an up-close inspection
- Lifted or exposed nail heads — a leak point waiting to happen, especially after freeze-thaw movement
If you see soft decking, daylight through the attic near the roofline, or staining on interior ceilings, the damage has likely already reached the roof deck, and this moves beyond a shingle-level repair. That is the point to bring in a professional rather than continue with a surface patch, since a deck-level problem needs proper assessment of the plywood or board sheathing underneath, not just a new shingle on top.
Tools and Materials for a Shingle Repair
The tool list is nearly identical for both shingle types, though fibreglass repairs benefit from a slightly gentler touch given the mat’s stiffness.
| Item | Purpose | Notes for Asphalt (Organic) | Notes for Fibreglass |
|---|---|---|---|
| Flat pry bar / shingle removal tool | Lifting adjacent courses and removing nails | Standard use | Use slow, steady pressure — brittle in cool weather |
| Roofing nails (galvanized, 1-1/4″) | Fastening replacement shingle | Standard 4-nail pattern | Same, but avoid overdriving — can crack the mat |
| Roofing hammer or nail gun | Driving fasteners flush | Standard | Set nail gun depth slightly shallower |
| Roofing cement / plastic roof cement | Sealing nail heads and shingle edges | Standard application | Standard application, ensures a fully weatherproof seal |
| Replacement shingles (matching profile and colour) | The actual patch material | Match mat type — organic and fibreglass are not interchangeable | Match mat type; confirm manufacturer batch/colour if possible |
| Utility knife | Trimming shingle tabs to fit | Standard | Score lightly, fibreglass can splinter if forced |
| Chalk line | Keeping courses straight during larger patches | Standard | Standard |
| Fall protection harness and rope | Personal safety on any slope over roughly 4:12 pitch | Required for any roof work at height | Required for any roof work at height |
A note on the last row: this is not a formality. Ontario building and workplace safety guidance treats unprotected roof work as a serious fall hazard, and most homeowner roof injuries we see referenced in incident reports happen on roof pitches that “didn’t look that steep” from the ground. If your roof has any pitch beyond a gentle walkable slope, or if the repair is anywhere near an edge, valley, or second storey, this is exactly the kind of job where calling in a professional crew with proper harnesses and ladder stabilization is the safer and often cheaper option once you account for the cost of a fall.
Step-by-Step: Repairing a Single Damaged Asphalt (Organic-Mat) Shingle
This process applies to spot repairs — a handful of damaged or missing shingles, not a widespread failure across the roof plane.
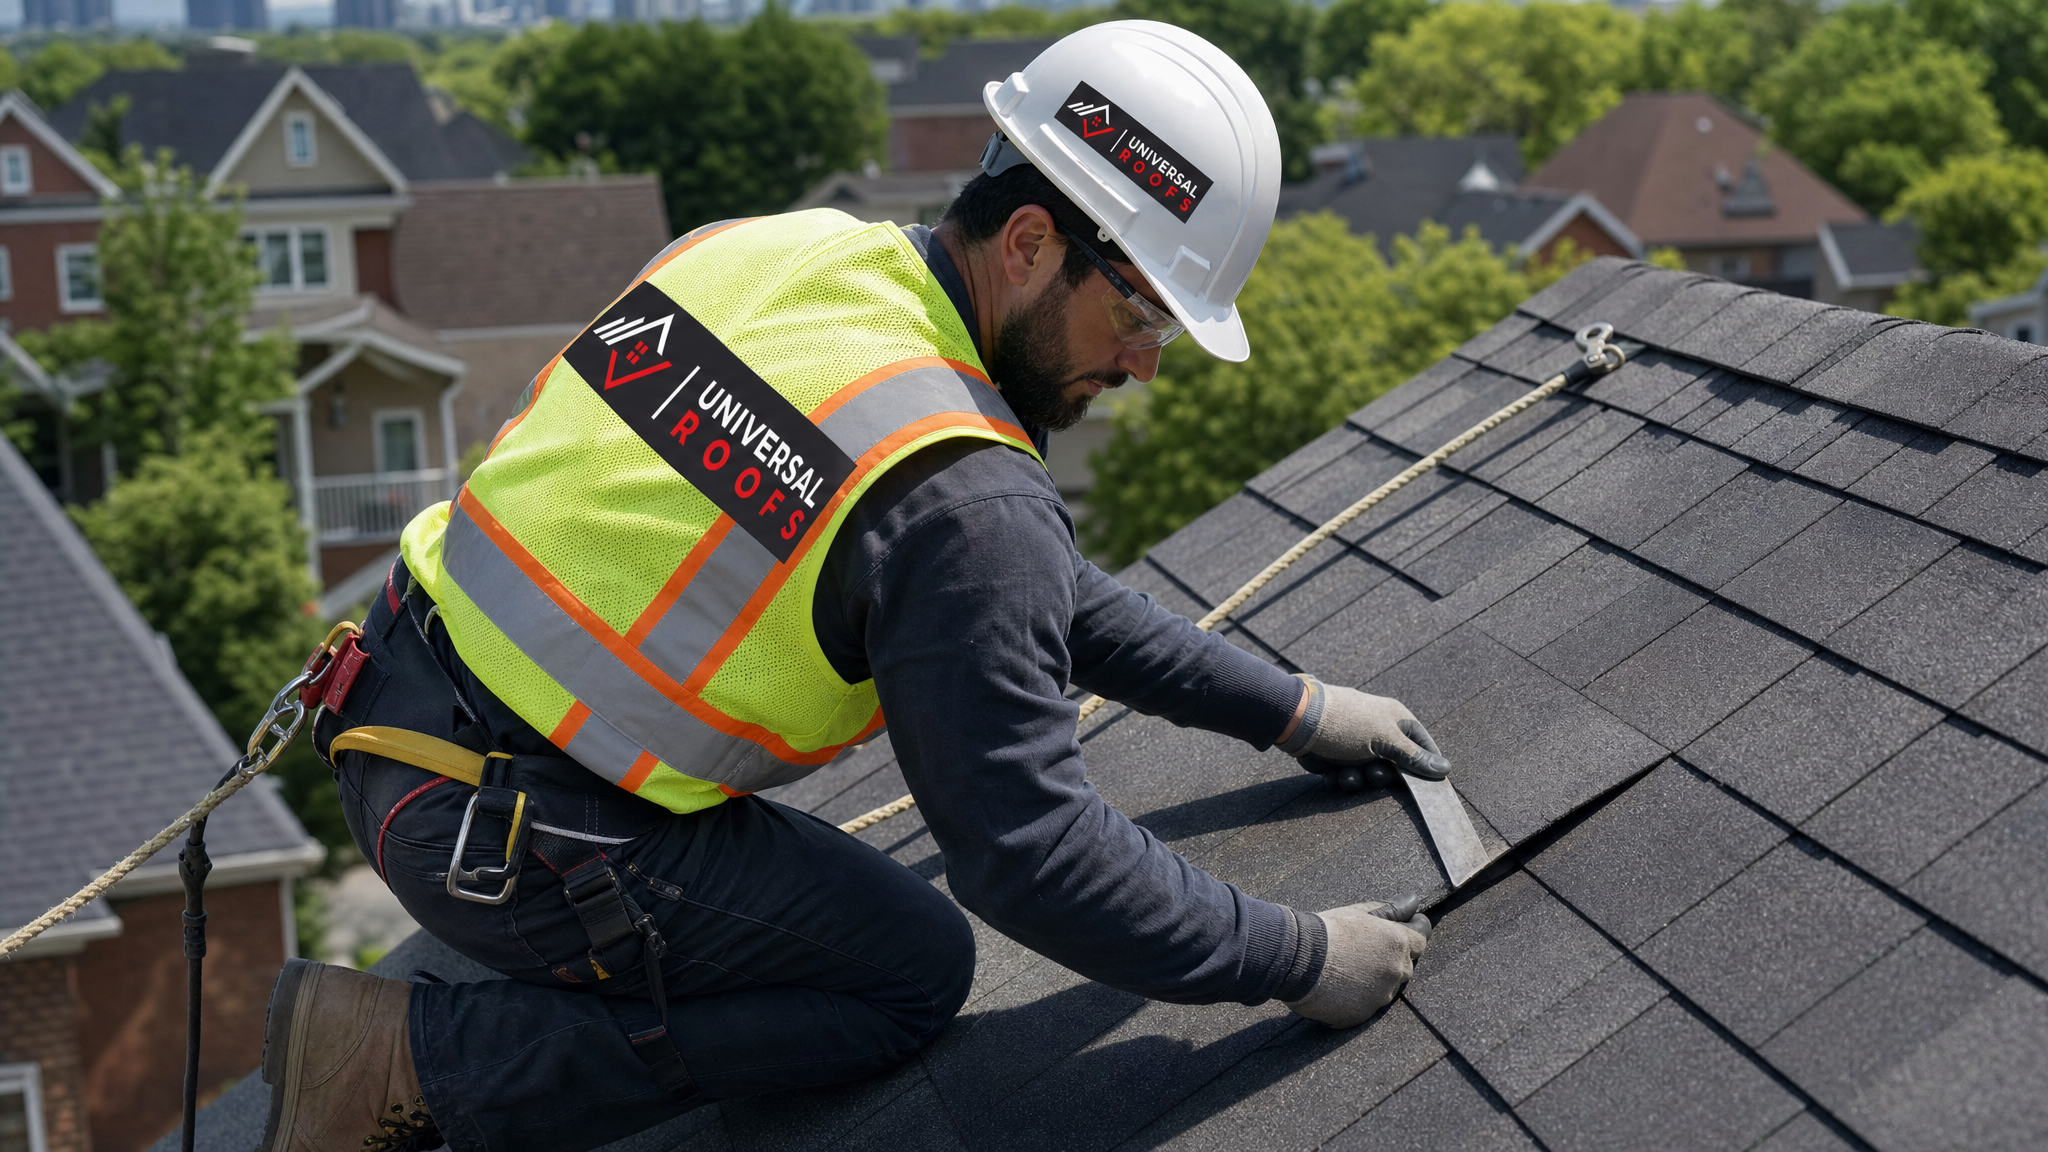
- Set up safely. Use a properly footed extension ladder, wear a harness anchored to the roof structure, and work only in dry conditions — wet organic shingles are especially slick.
- Lift the shingle course above the damaged shingle. Organic shingles flex reasonably well; gently pry up the tabs directly above the damaged shingle using a flat bar to expose the nails holding the damaged shingle in place.
- Remove the nails. There are usually four nails per shingle, positioned just above the tab cutouts. Slide the pry bar under each nail head and lift it out — avoid ripping through the mat.
- Slide out the damaged shingle. Once the nails are free, the damaged shingle should slide out from under the course above it.
- Inspect the exposed underlayment. Check for any tearing, staining, or soft spots on the felt or synthetic underlayment before installing the new shingle. If you find damage here, this is the point to stop and get a professional opinion — underlayment repair is a different scope of work than a shingle swap.
- Slide the replacement shingle into position. Match the existing coursing exactly, ensuring the tab cutouts line up with the surrounding shingles.
- Nail the new shingle. Use four galvanized roofing nails in the standard nailing zone, just below the adhesive strip line, driven flush (not overdriven).
- Reseal the lifted course above. Apply a small dab of roofing cement under each corner of the lifted tabs above and press them back down firmly.
- Seal exposed nail heads. Dab roofing cement over any nail head that will sit exposed to weather.
- Let the adhesive strips bond. Summer heat helps the factory adhesive strips seal within a day; in cooler weather this can take longer, which is another reason summer is a favourable season for this kind of repair.
Step-by-Step: Repairing a Single Damaged Fibreglass-Mat Shingle
The process is largely the same, with adjustments for the fibreglass mat’s stiffness and lower flexibility in cool conditions.
- Choose a warm part of the day. Fibreglass shingles become noticeably more brittle below about 4-7°C. On a mild summer day this is rarely an issue, but if you are doing this repair in shoulder-season weather, work during the warmest hours to reduce cracking risk.
- Set up fall protection as above. The safety requirements do not change based on shingle type.
- Lift the course above slowly. Apply gradual, even pressure with the pry bar rather than a quick yank — fibreglass mats can crack at the fold line if forced too fast, especially on shingles that have already been through a few winters.
- Remove nails carefully. Same four-nail pattern as organic shingles, but take extra care not to tear the mat around the nail holes, since fibreglass doesn’t self-heal around a torn fastener hole the way a thicker organic mat sometimes does.
- Slide out the damaged shingle and inspect underneath. Same inspection standard as above — check the underlayment and deck before proceeding.
- Position and trim the replacement shingle if needed. Fibreglass shingle profiles can vary slightly between manufacturers, so dry-fit the piece before nailing and trim with a sharp utility knife if the tab width doesn’t match exactly.
- Nail with a slightly shallower set. Overdriving a nail gun into a fibreglass shingle can crack the mat around the fastener; set the gun to seat the nail flush without punching through.
- Reseal the lifted course. Same roofing cement approach as with organic shingles.
- Seal all exposed fasteners. Fibreglass shingles rely heavily on an unbroken surface coating for weatherproofing since the mat itself won’t absorb and redistribute moisture the way an organic mat can — so any exposed nail head is a direct path for water.
- Confirm adhesive strip contact. Press firmly along the adhesive strip; fibreglass shingles depend on this bond more than the coursing above for wind resistance.
Cost and Timeline Comparison
Costs vary by scope, roof pitch, and accessibility, but here is a general range for what Toronto homeowners typically see for shingle repair work in 2026.
| Repair Scope | Typical Cost Range (CAD) | Typical Timeline | Asphalt vs Fibreglass Difference |
|---|---|---|---|
| Single shingle replacement (DIY, materials only) | $15-$40 | 30-60 minutes | Minimal — matching colour/profile is the main challenge for both |
| Single shingle replacement (professional) | $150-$350 (often includes minimum service call fee) | Same day, under 1 hour on site | Fibreglass slightly faster to seal in summer heat |
| Multi-shingle patch (5-15 shingles, one roof plane) | $350-$900 | Half day | Organic mats may reveal hidden moisture damage requiring extra time |
| Storm damage patch with underlayment repair | $800-$2,000+ | 1 full day | Depends on deck condition more than shingle type |
| Full re-roof (if repair isn’t viable) | $8,000-$18,000+ depending on size | 1-3 days | Fibreglass now standard on virtually all new installs |
If your roof is already 15+ years old and organic-mat, and you are seeing repeated repair calls in the same areas, it is often more cost-effective to start planning for a roof replacement rather than continuing to patch a roof that is nearing the end of its practical service life. Our crews will always tell you honestly when a repair no longer makes financial sense compared to replacement — that assessment is part of every inspection we do.
Common Mistakes That Turn a Simple Repair Into a Bigger Problem
Most of the callbacks we get for previously “repaired” roofs trace back to one of these issues:
- Mismatched shingle types. Installing a fibreglass-mat shingle patch on an organic-mat roof (or vice versa) can create inconsistent expansion and contraction behaviour across the roof plane, leading to premature cracking at the seams.
- Skipping the underlayment check. A shingle that looks fine on top can be hiding a torn or saturated underlayment underneath — replacing just the visible shingle without checking below leaves the actual leak path in place.
- Working in the wrong weather. Cold-weather fibreglass repairs without pre-warming the shingle (even briefly, in direct sun or with a heat gun on low) are one of the most common causes of on-the-spot cracking during installation.
- Overdriving nails. Whether by hand or nail gun, a nail driven too deep breaks the seal and creates a direct water entry point — arguably worse than the original damage.
- Ignoring valleys and flashing. Shingle damage near a valley, chimney, or vent stack is frequently a flashing problem, not a shingle problem. Replacing shingles alone without addressing the flashing underneath will not stop the leak.
- Not matching granule colour/batch. Purely cosmetic, but a mismatched patch on a highly visible roof plane can affect resale appeal — manufacturers change granule blends between production runs, so exact matches on older roofs can be difficult.
When to Repair vs When to Call a Professional
A single missing or damaged shingle, on a low, easily accessible roof plane, in good weather, is a reasonable DIY project for a comfortable homeowner with the right tools and a proper harness setup. Beyond that, the calculus shifts quickly:
- Multiple damaged shingles across different roof planes often signals a broader wind or hail event that warrants a full inspection, not spot patching.
- Any damage near a valley, chimney, skylight, or vent stack usually involves flashing, which requires different techniques and materials than a flat-plane shingle swap. If your damage is near a skylight, it is worth having the flashing around it checked alongside the shingles — sometimes a full skylight replacement is the more durable fix if the unit itself is failing.
- Steep roof pitches or multi-storey homes significantly raise the risk of a DIY repair and are exactly the jobs our crews are equipped and insured to handle safely.
- Uncertainty about shingle mat type — mixing organic and fibreglass repairs on the same roof plane can cause long-term issues that are hard to diagnose later.
- Signs of deck-level damage — soft spots, sagging, or interior water stains mean the problem has moved past the shingle layer.
- Attic ventilation concerns. Repeated shingle curling or granule loss across an entire slope, rather than a single damaged spot, often points to an underlying attic ventilation issue that no amount of shingle patching will resolve on its own.
We serve homeowners across Toronto, the Peel Region, York Region, Halton Region, and Durham Region, and our crews see the full range of shingle ages and mat types across the GTA’s housing stock — from 1960s builds still carrying original organic-mat shingles to brand-new fibreglass reroofs. If you are ever unsure which type you have, or whether a repair is enough, an on-site look takes the guesswork out of it.
Maintaining Your Roof Between Repairs
Whether your shingles are organic or fibreglass, a few habits extend the life of any repair and reduce how often you need one in the first place:
- Clear gutters and downspouts regularly so water isn’t backing up under the shingle edge, especially during spring melt and after autumn leaf drop.
- Trim overhanging branches that can abrade shingle surfaces during wind or drop debris that traps moisture against the roof.
- Check attic ventilation seasonally — poor airflow accelerates shingle aging from underneath, regardless of mat type, and is a frequent contributor to premature curling.
- Schedule a professional inspection after major storms — wind and hail damage isn’t always visible from the ground, and catching it early keeps a repair small.
- Keep a record of your shingle type and installation date so future repairs (by you or a contractor) start with the right material match instead of guesswork.
You can read about how other GTA homeowners have experienced our repair and replacement work on our reviews page, and our FAQ page covers additional common questions about roofing materials, warranties, and scheduling.
Repairing Shingles: Asphalt vs Fibreglass — Frequently Asked Questions
What’s the real difference when repairing shingles asphalt vs fiberglass?
Can I mix asphalt and fibreglass shingles on the same roof repair?
How do I tell if my shingles are organic asphalt or fibreglass?
Is it safe to repair shingles myself in Toronto’s summer heat?
How much does it cost to repair a few damaged shingles?
When should I stop repairing shingles and replace the whole roof?
Need Help With Step by Step Guide?
Diagnosing and repairing shingles correctly — whether asphalt organic-mat or fibreglass — takes the right materials, the right technique, and the right safety setup. Universal Roofs has been handling shingle repairs, full re-roofs, and everything in between across the GTA since 2005.
Call us today at (416) 732-2421 or request a free inspection to get started.
Universal Roofs proudly serves Toronto, Mississauga, Brampton, Vaughan, Markham, Oakville and the GTA since 2005.