
If your older Toronto home has ice damming along the eaves every winter, a stuffy second floor every summer, or dark staining creeping across the attic sheathing, the culprit is very often poor roof ventilation. Homes built before the 1990s were rarely designed with today’s ventilation standards in mind, and decades of re-roofing, insulation top-ups, and renovations often make the problem worse rather than better.
Improving roof ventilation in older homes takes more than tossing in a couple of extra vents. It requires understanding how your specific attic was originally built, where the intake and exhaust airflow is being blocked, and how to balance the whole system so it actually works the way it should. At Universal Roofs, we have spent years diagnosing and correcting ventilation problems on century homes, 1960s bungalows, and everything in between across the GTA.
This guide walks through exactly how attic ventilation is supposed to work, why older homes so often fall short, and the practical, code-compliant fixes our crews use to bring an older roof back into balance.
Why Roof Ventilation Matters So Much in Older Homes
An attic ventilation system has one simple job: move outside air continuously through the attic space, from low intake vents at the soffit up to high exhaust vents near the ridge. When this airflow is working correctly, it does three things for your home.
First, it keeps the roof deck at close to outdoor temperature in winter, which prevents the classic Toronto ice dam cycle where heat escaping into the attic melts snow on the upper roof, only for that meltwater to refreeze at the cold eaves. Second, it flushes out humid air that rises from the living space below, which prevents condensation, wood rot, and mould growth on the underside of the roof sheathing. Third, it reduces summer heat buildup in the attic, which lowers cooling costs and extends the life of asphalt shingles by keeping them from baking from underneath.
Older homes struggle with all three of these functions for a set of very predictable reasons.
Common Ventilation Problems Found in Older GTA Homes
When we inspect roofs on homes built in the 1950s through 1980s across Toronto, Mississauga, and the surrounding regions, the same handful of issues turn up again and again.
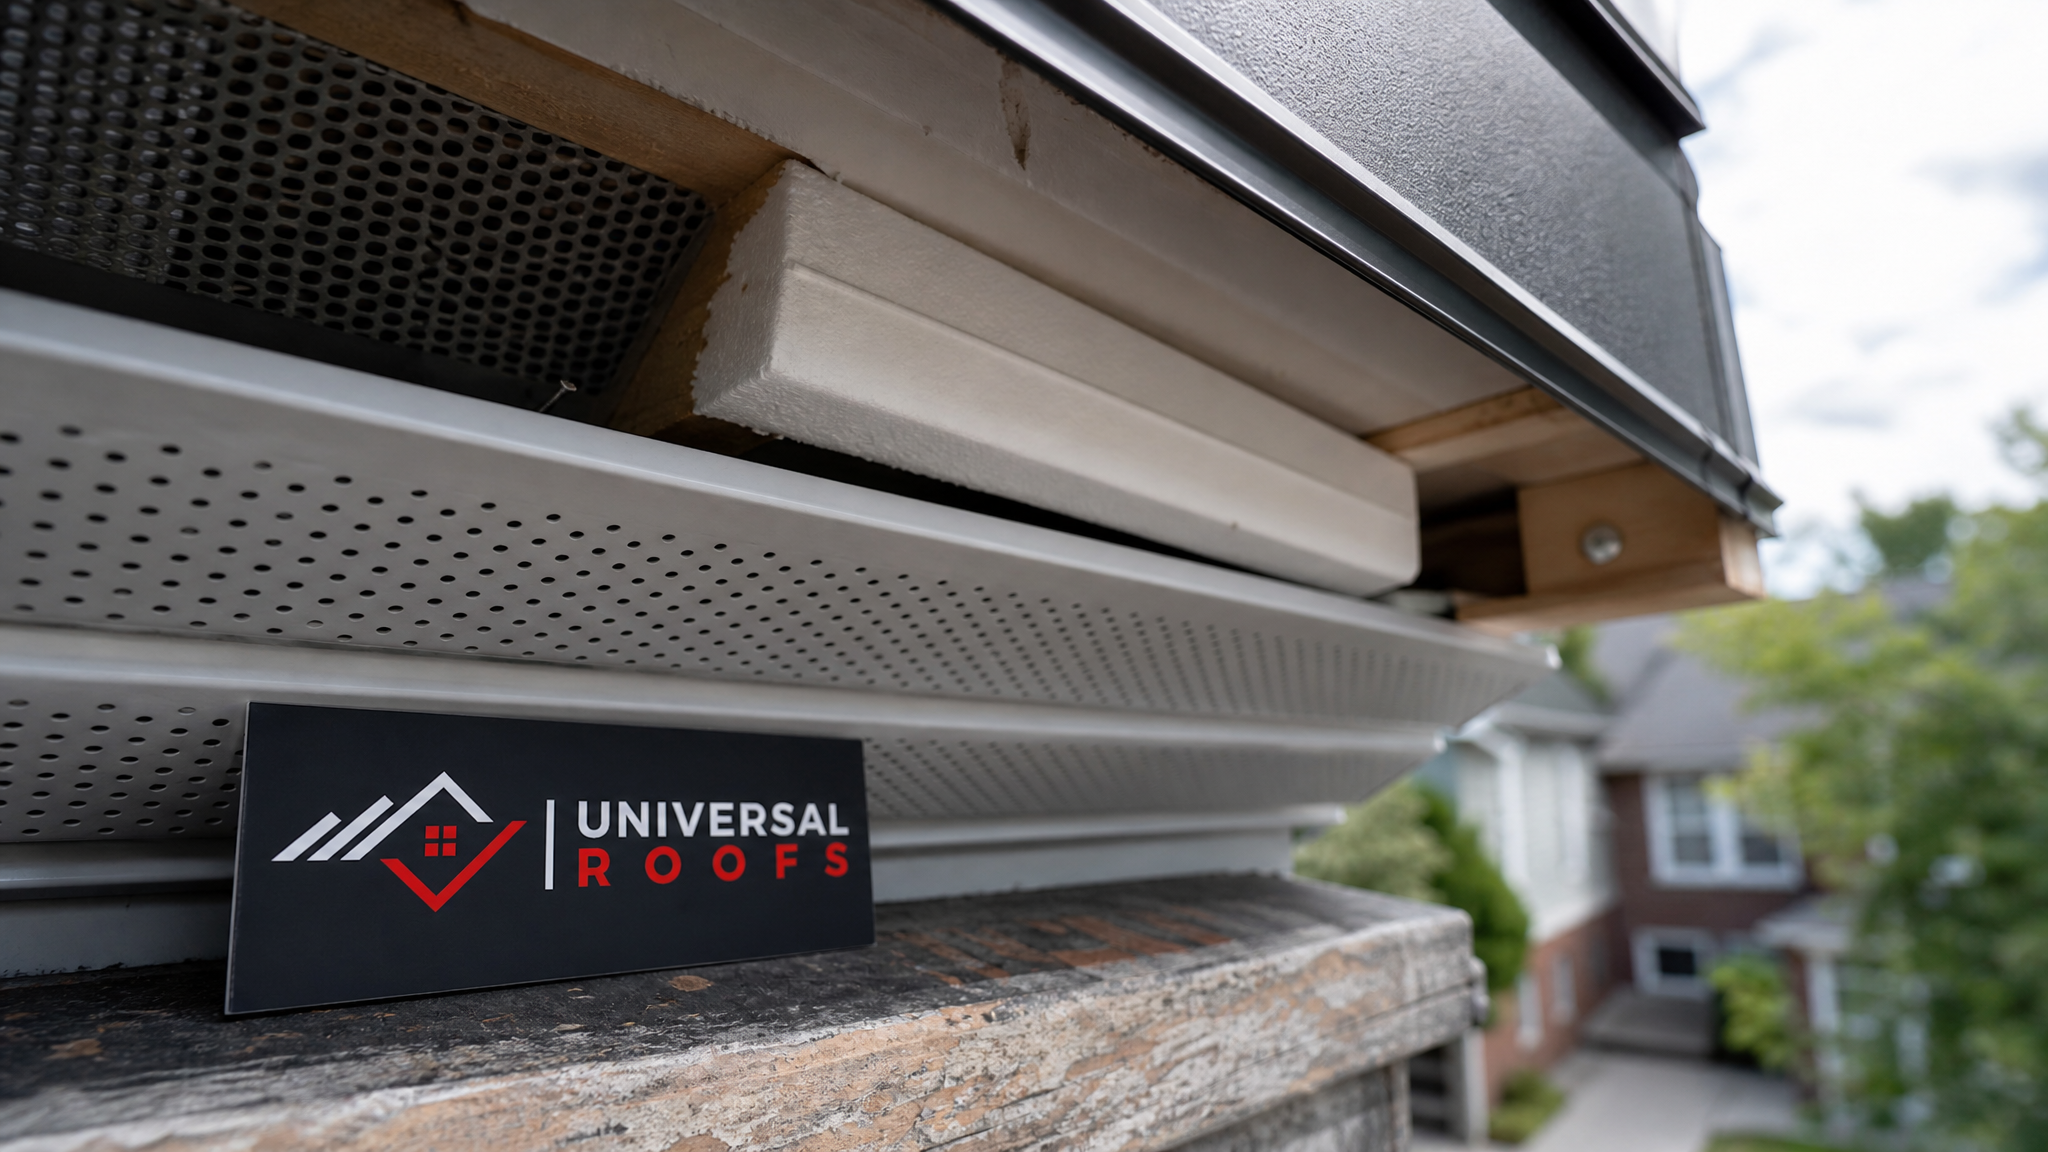
Blocked or missing soffit intake. Many older homes have narrow, solid wood soffits with no perforation at all, or soffit vents that have been painted over, stuffed with insulation, or covered by aluminum cladding installed decades ago without matching venting. Without intake airflow at the eaves, exhaust vents at the ridge have nothing to pull from and barely function.
Insulation blocking the eaves. As homeowners have topped up attic insulation over the years to improve energy efficiency, loose-fill insulation frequently gets pushed or settles right up against the roof deck at the eaves, sealing off the soffit vents from inside the attic even if the vents themselves are clear.
Mismatched or insufficient exhaust. Older roofs often rely on a handful of small static roof vents, a single gable vent, or an undersized turbine that cannot move enough air for the attic’s actual square footage. In some cases, previous re-roofing jobs added a ridge vent without removing the old gable vents, creating short-circuited airflow that pulls air across the ridge instead of up from the soffits.
Bathroom and kitchen fans venting into the attic. It was common practice decades ago to simply vent bathroom exhaust fans into the open attic rather than through the roof or wall to the exterior. This dumps warm, moist air directly into the attic space every time a fan runs, overwhelming whatever ventilation exists and often causing frost or mould directly above the bathroom.
Renovations that seal off original vent paths. Additions, dormers, finished attic spaces, and spray foam retrofits can all inadvertently cut off sections of the original ventilation channel, leaving isolated pockets of attic space with no airflow at all.
How to Diagnose a Ventilation Problem Before You Fix It
Before any work begins, a proper diagnosis prevents wasted money on the wrong fix. Our technicians typically walk through the following checks on any older home.
We start with an attic inspection looking for moisture signs: dark staining or streaking on the underside of the roof deck, rusted nail tips (a sign of trapped humidity), soft or delaminating sheathing, and any visible mould, particularly near the eaves and above bathrooms. We then check insulation depth and placement at the perimeter to confirm soffit vents are not blocked from inside. Baffles (also called vent chutes) should be visible holding a clear air channel from the soffit to the open attic.
Next we inspect the soffits themselves from outside, checking whether they are actually perforated or solid, and whether any perforated panels have been blocked by insect screens clogged with debris, or painted shut. We calculate the attic’s net free ventilation area against the 1-in-300 (or 1-in-150 in specific conditions) ratio required by Ontario Building Code, and compare existing intake against existing exhaust to see whether the system is balanced or lopsided. Finally, we trace bathroom and kitchen exhaust ducting to confirm it terminates outside the building envelope rather than dumping into the attic.
This full picture tells us whether the fix is as simple as clearing blocked soffits and adding baffles, or whether it requires a more significant intervention like re-decking with new soffit panels or relocating exhaust vents entirely.
Ventilation Options Compared
There is no single “best” ventilation system for every older home — the right combination depends on roof shape, attic layout, and what is already in place. The table below compares the main intake and exhaust options we use on GTA re-roofing and retrofit projects.
| Ventilation Component | Function | Best Suited For | Typical Cost Range (CAD) |
|---|---|---|---|
| Continuous perforated soffit panel | Intake | Homes with solid wood or blocked soffits needing a full upgrade | $8 – $14 per linear foot |
| Individual soffit vents (round or rectangular) | Intake | Spot-adding intake to existing solid soffits without full replacement | $25 – $45 per vent installed |
| Continuous ridge vent | Exhaust | Roofs with a straight, accessible ridge and matching soffit intake | $6 – $10 per linear foot |
| Static box (louvre) vents | Exhaust | Hip roofs or roofs without a long usable ridge line | $120 – $220 per vent installed |
| Power attic vent (fan-assisted) | Exhaust | Complex rooflines or attics with persistent hot spots not solved by passive venting | $450 – $850 installed |
| Insulation baffles / vent chutes | Airflow channel | Every attic with insulation near the eaves — prevents soffit blockage | $4 – $8 per baffle |
For most older homes we recommend a passive system — continuous soffit intake paired with a continuous ridge vent installed during a roof replacement — because it requires no electricity, has no moving parts to fail, and provides the most even airflow across the entire attic. Power vents can help in specific trouble spots, but they should never be used as a substitute for adequate intake, since a fan pulling air with no soffit supply will instead draw conditioned air up from the living space through ceiling penetrations, which increases energy costs rather than solving the moisture problem.
Step-by-Step: How We Improve Ventilation in an Older Attic
Every project is a little different, but our general approach to correcting ventilation in an older home follows the same sequence.
Step 1 — Clear and confirm intake. We remove any insulation blocking the eaves and install rigid baffles at every rafter bay to guarantee a permanent air channel from the soffit to the attic, regardless of how much insulation is added later.
Step 2 — Upgrade soffit venting. Where soffits are solid or under-perforated, we install continuous perforated soffit panel or add supplemental round vents to reach the required net free area.
Step 3 — Correct exhaust venting. Depending on the roofline, we install a continuous ridge vent, add or replace static box vents, or in select cases add a power vent for a documented hot spot. Old, mismatched gable vents that would short-circuit airflow from a new ridge vent are sealed at this stage.
Step 4 — Reroute bathroom and kitchen exhaust. Any fan ducting found terminating inside the attic is rerouted through insulated ducting to a proper roof or wall exterior cap.
Step 5 — Verify the balance. We recalculate total intake versus total exhaust net free area to confirm the system meets code and is properly balanced — intake should always equal or slightly exceed exhaust.
This sequence is frequently paired with other attic work. If insulation levels are also below current recommendations, we address that at the same time through our attic insulation and ventilation services, since ventilation and insulation upgrades are almost always more cost-effective when done together rather than as separate visits.
What Ventilation Upgrades Typically Cost and How Long They Take
Homeowners understandably want a sense of budget and timeline before committing to a ventilation project. The table below reflects typical ranges we see on older GTA homes, though every quote depends on roof access, soffit condition, and attic complexity.
| Project Scope | Typical Timeline | Typical Cost Range (CAD) | Notes |
|---|---|---|---|
| Add baffles + clear existing soffit vents | Half day | $300 – $600 | Fastest fix when soffit venting already exists but is blocked |
| Install supplemental soffit vents (spot fix) | Half day to 1 day | $500 – $1,200 | Good for solid soffits that can’t be fully replaced right away |
| Full soffit replacement with continuous venting | 1 – 2 days | $2,500 – $6,000+ | Cost varies with total soffit linear footage and fascia condition |
| Ridge vent installed during reroof | Included in reroof timeline | $500 – $1,500 (as add-on to reroof) | Most cost-effective time to add, since the ridge is already exposed |
| Reroute bathroom fan duct to exterior | Half day per fan | $350 – $700 per fan | Often the single highest-impact fix for attic moisture problems |
| Full attic ventilation overhaul (intake + exhaust + baffles) | 1 – 3 days | $3,000 – $8,000 | Recommended when multiple deficiencies are found together |
Because ridge venting is far cheaper to install while a roof is already stripped down, we always recommend addressing ventilation as part of any roof replacement rather than waiting and paying for a standalone retrofit later. If your roof still has years of life left, a targeted roof repair visit can still correct soffit and exhaust issues without a full tear-off.
Ventilation Around Skylights and Flat Roof Sections
Many older Toronto homes have had skylights or flat-roofed additions (over kitchens, sunrooms, or garages) added at some point, and these sections need their own ventilation consideration. A skylight well cuts straight through the attic’s air channel, so proper flashing and, where needed, a small ventilation bypass around the shaft keeps that section from becoming an isolated dead-air pocket prone to condensation on the shaft’s interior drywall. When we handle skylight installation or skylight replacement on an older home, we always check that the surrounding attic still has continuous airflow past the shaft framing.
Flat roof sections behave differently altogether, since they typically have little or no traditional attic space above them. These roofs rely on tapered insulation, vapour barriers, and sometimes mechanical ventilation rather than soffit-to-ridge airflow. If your home has a flat-roofed addition alongside a traditional sloped roof, it is worth having both assessed together, since moisture problems on one side can sometimes be mistaken for a leak on the other. Our flat roofing team handles this type of mixed-roof assessment regularly across older GTA homes.
Troubleshooting Guide: Matching Symptoms to Causes
Homeowners often notice a symptom well before they understand the underlying ventilation cause. This table maps the signs we hear about most often to their likely root cause and the fix we would typically recommend.
| Symptom | Likely Cause | Recommended Fix |
|---|---|---|
| Ice dams along the eaves every winter | Heat escaping into attic with insufficient intake/exhaust to carry it away | Add/clear soffit intake, install baffles, upgrade ridge or exhaust venting |
| Frost or dark staining on roof deck in winter | Warm moist air condensing on cold sheathing | Reroute bathroom fans, improve exhaust venting, add baffles |
| Musty smell or visible mould in attic | Trapped humidity with no airflow to dry it out | Full intake/exhaust balance correction, check for blocked soffits |
| Second floor uncomfortably hot in summer | Heat buildup in an under-ventilated attic radiating downward | Add exhaust capacity (ridge vent, box vents, or power vent) plus confirm intake |
| Shingles curling or aging faster than expected | Excess attic heat baking shingles from underneath | Balance ventilation system; consider during next reroof |
| Visible daylight or drafts but still humid attic | Gable vents or old openings short-circuiting proper soffit-to-ridge flow | Seal conflicting vents, standardize on one balanced intake/exhaust path |
Ventilation Requirements and Ontario Building Code Basics
Ontario Building Code requires attic ventilation equal to at least 1/300 of the insulated ceiling area, split between intake and exhaust, with at least 25 percent (and generally closer to half) of that total allocated to the lower (soffit) vents. In practice, this means a typical 1,500 square foot attic needs roughly 5 square feet of net free ventilation area total, split between soffit and roof-level vents. Homes with a low-slope roof pitch, or where the vapour barrier and insulation are not well matched, may require the stricter 1-in-150 ratio.
These numbers describe net free area, not the overall physical size of a vent, since insect screening and louvres reduce the actual open area of any given vent product. This is exactly why simply adding “a vent or two” rarely solves a ventilation problem on an older home — the math has to work out across the whole attic, not just at one spot. Getting these calculations right is one of the main reasons we recommend a full inspection rather than guessing at a fix, particularly on homes across Toronto, Peel Region, York Region, Halton Region, and Durham Region where roof ages and past renovation work vary widely from house to house.
Signs Your Older Home Needs a Ventilation Assessment Now
Not every home needs immediate intervention, but certain signs suggest a ventilation assessment shouldn’t wait. If you have noticed recurring ice dams for more than one winter in a row, any visible mould or persistent musty smell in the attic, ceiling stains that appear seasonally rather than after a single storm, unusually high heating or cooling bills relative to comparable homes nearby, or if you are planning a re-roof or major insulation top-up, it is worth having ventilation assessed as part of that project rather than after the fact.
Summer is actually one of the better times of year to have this assessment done. Attic access is more comfortable, any winter condensation staining is still visible and easy to document, and if soffit or ridge work is needed, it can be completed well before the next heating season arrives. Waiting until the first snowfall to address a ventilation problem often means facing another full winter of ice damming before repairs can be scheduled.
Why Work With a Local Specialist Instead of a General Contractor
Ventilation problems are deceptively easy to misdiagnose. A roofer unfamiliar with attic airflow may simply patch a leak or replace a few shingles without ever addressing the moisture source underneath, which means the same damage returns within a year or two. Correcting ventilation properly requires understanding both roofing assembly and building science together — how insulation, air sealing, and airflow all interact inside the same attic space.
Universal Roofs has been diagnosing and correcting these issues on older GTA homes since 2005. Our crews carry the training and safety certifications to work safely on steep, aging rooflines, and we document every attic inspection with photos so homeowners can see exactly what we found and why we’re recommending a specific fix. You can read what past clients have said about that approach on our reviews page, and browse answers to more general roofing questions on our FAQ page. To learn more about our background and service area, visit our about page.
What are the first signs I need help improving roof ventilation in older homes?
Can I improve roof ventilation in an older home without replacing the whole roof?
Why do older homes have worse roof ventilation than newer builds?
How much does it cost to improve roof ventilation in an older home in the GTA?
Does adding a power attic fan fix ventilation problems in an older home?
Is summer a good time to fix roof ventilation issues before winter?
Need Help With Improving Roof Ventilation in?
If you have noticed ice dams, attic moisture, or uneven indoor temperatures in your older home, the team at Universal Roofs can properly diagnose the cause and correct it with a system built to last.
Call us today at (416) 732-2421 or request a free inspection to get started.
Universal Roofs proudly serves Toronto, Mississauga, Brampton, Vaughan, Markham, Oakville and the GTA since 2005.