
If your roof trusses are original to a house built decades ago, chances are they are showing their age in ways that go beyond a single crack or storm-damaged member. Old and worn out trusses are the result of decades of cumulative stress: thousands of freeze-thaw cycles, generations of squirrels and raccoons using the attic as a highway, rusted-out connector plates, sagging chords, and wood that has simply dried, checked, and lost some of its original strength. This is different from a fresh crack after a windstorm or a single termite-damaged member. It is the slow, compounding wear that shows up in homes built in the 1960s through the 1990s across Toronto, Mississauga, Brampton, and the rest of the Greater Toronto Area, and it needs a different repair strategy than a one-off structural fix.
The good news is that in the vast majority of cases, an old and worn out truss system does not need to be torn out and replaced. Four proven repair solutions, used correctly and in the right combination, can restore structural capacity to trusses that have lost strength through age: sistering with new lumber, steel gusset plate reinforcement, epoxy consolidation for checked or split wood, and full connector and hardware replacement. Which one (or which combination) is right for your roof depends on how the trusses are aging, how much of the original wood section is still sound, and whether the movement you are seeing is cosmetic or genuinely structural.
This guide walks through how to recognize an aging truss system before it becomes an emergency, the four best repair solutions in detail, what each one costs and how long it lasts, and when the smarter financial decision is a partial or full roof replacement instead of another round of patch repairs. We have been assessing and repairing roof structures across the GTA since 2005, and old, worn out truss systems are one of the most common calls we get from owners of resale homes.
How to Tell If Your Roof Trusses Are Old and Worn Out
Age-related truss wear rarely announces itself with a single dramatic event. It shows up gradually, and most homeowners only notice it once several signs have stacked up. Before choosing a repair solution, it helps to understand what you are actually looking at.
Visible sag along the ridge or roof plane. Stand across the street and look down the ridge line of your roof. A truss system that has lost strength over the decades will often show a shallow dip or wave rather than a perfectly straight line. A small amount of deflection is normal in older homes, but a sag that has visibly worsened over a few years is a sign the wood is losing its ability to carry the design load.
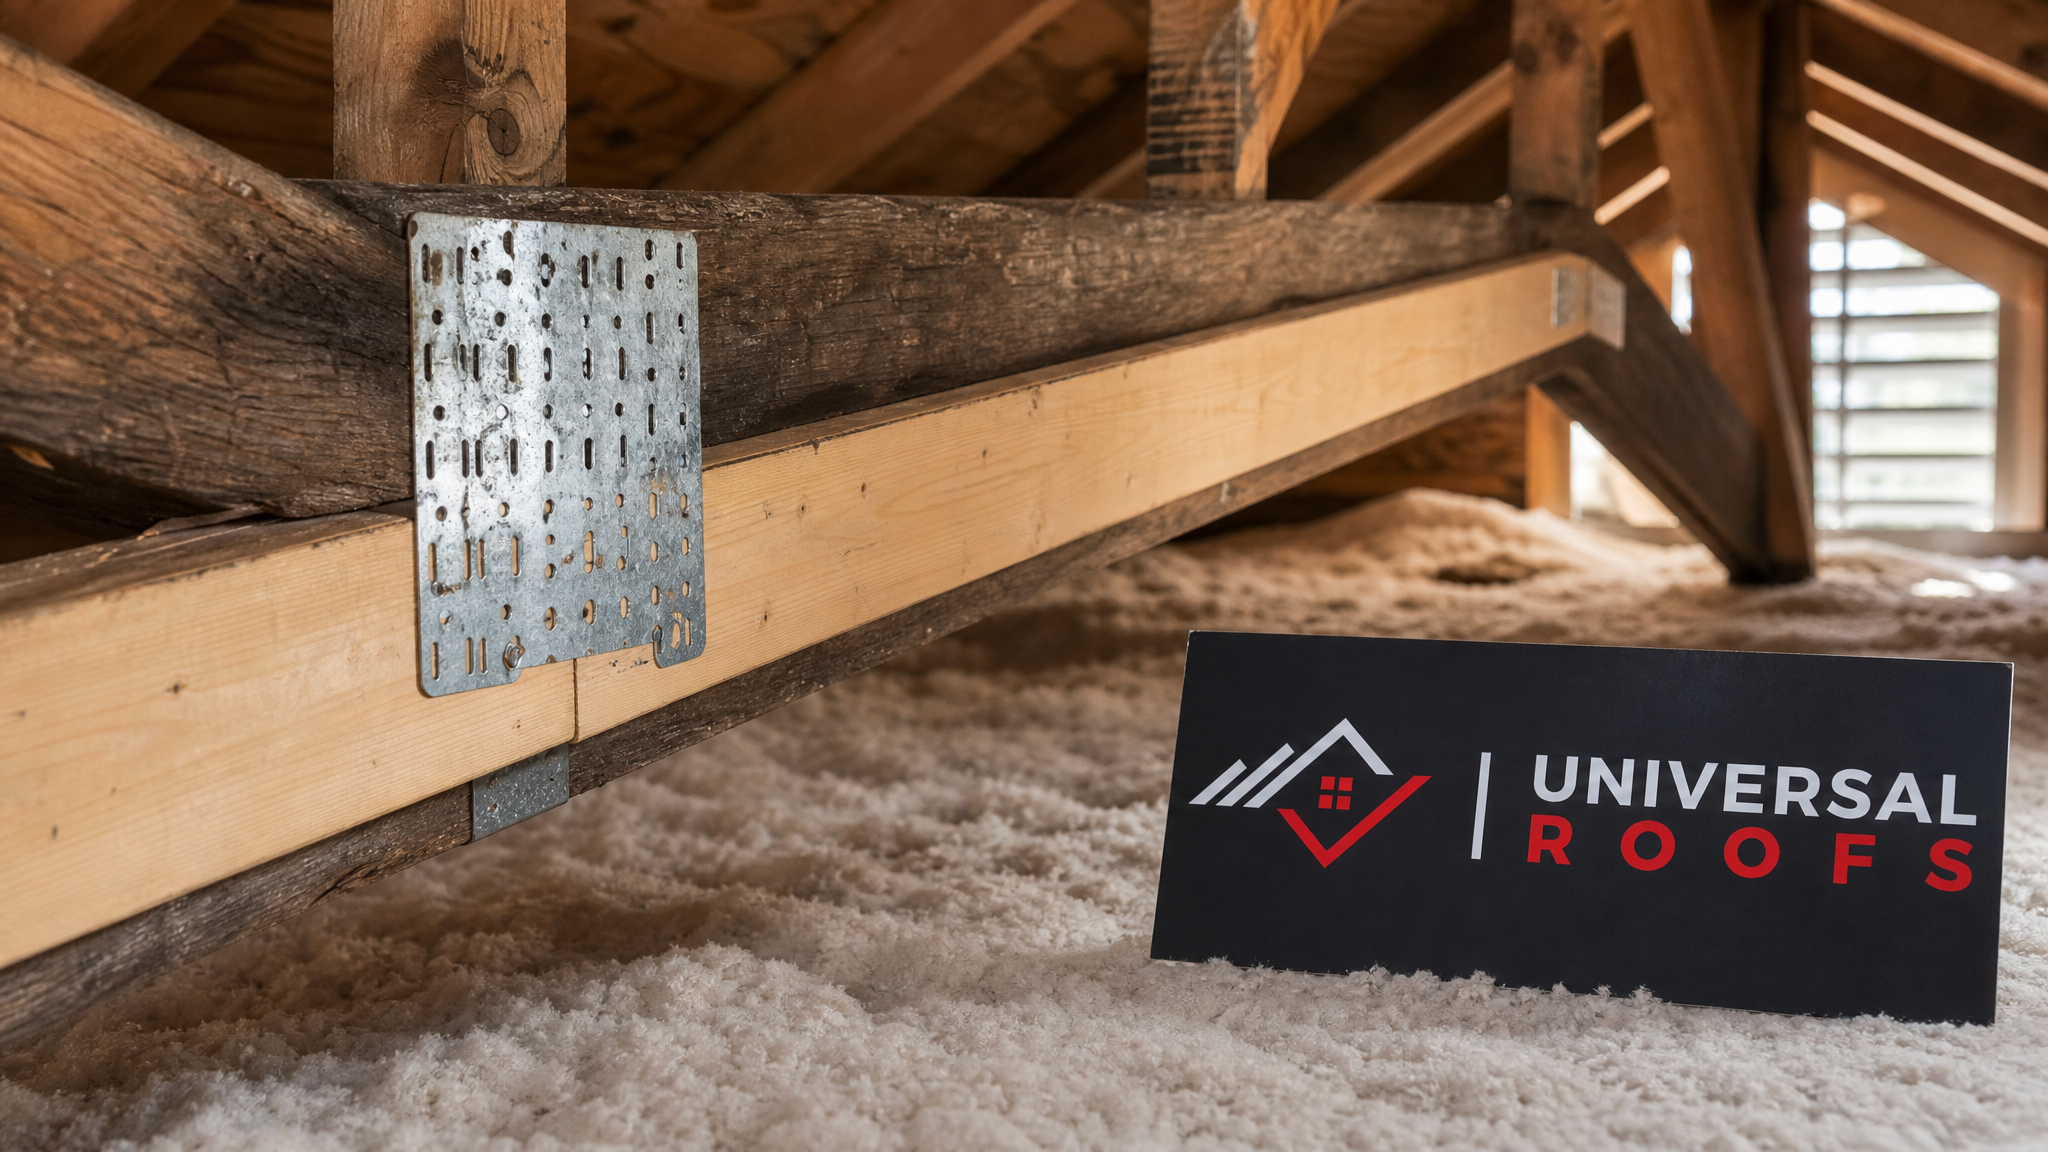
Rust streaking or flaking on metal connector plates. Most factory-built trusses use galvanized steel gusset plates at every joint. In older homes, especially ones with historically poor attic ventilation, these plates corrode over 30 to 50 years. Rust weakens the plate’s grip on the wood fibres, and a corroded connector is often the true point of failure, not the wood itself.
Grey, silvery, or checked wood surfaces. Wood that has been through decades of seasonal humidity swings develops surface checking (small parallel cracks along the grain) and can take on a dry, silvery look, particularly near soffit vents or anywhere moist attic air moves across it. Surface checking alone is usually cosmetic, but deep checks that run more than a third of the way through a chord reduce its effective strength.
Soft or spongy wood at bearing points. Press a screwdriver gently into the wood where a truss rests on the top plate of an exterior wall. If it sinks in easily or the wood feels soft, you are likely dealing with historical moisture damage and early-stage rot, common at the eaves where old roof edges leaked for years before anyone noticed.
Cracking drywall, sticking doors, or gaps at the ceiling-wall joint. These are downstream symptoms of truss movement. As an old truss system settles or sags further, the load path shifts slightly and interior finishes react. On their own these signs are not conclusive, but combined with visible attic wear they point toward a truss system that needs attention.
If you notice active daylight coming through a crack, a truss that visibly moves when someone walks near it, or fresh sagging after a heavy snow load, treat that as an emergency rather than routine wear and call a structural professional immediately rather than working through this guide step by step.
Why Toronto and GTA Roofs Age Trusses Faster Than You’d Expect
Two structural factors specific to our climate accelerate truss wear compared to milder regions. First, the freeze-thaw cycle. The GTA typically sees dozens of freeze-thaw transitions each winter, and every cycle causes microscopic expansion and contraction in wood fibres and at metal-to-wood connections. Over 30 or 40 years, that repeated micro-movement is what turns a tight joint into a slightly loose one, and a solid connector plate into one with hairline separation.
Second, older homes across Toronto, Mississauga, Brampton, and Vaughan were frequently built with attic ventilation that fell well short of current code. Poor ventilation traps warm, moist air against the underside of the roof deck and the top chords of the trusses, especially in winter. Over decades, this slow moisture cycling is a major contributor to the soft wood and rust we described above. If your attic still has minimal soffit or ridge venting, addressing that alongside a truss repair is worth discussing, since fixing the trusses without fixing the ventilation just restarts the same aging process. Our attic ventilation services are often paired with older-home truss repairs for exactly this reason.
Summer matters here too. July and August bring intense heat into unventilated attics, sometimes 20 to 30 degrees warmer than outdoor temperature, which dries wood aggressively and accelerates surface checking on top chords. If you are inspecting your attic this summer, expect worn trusses to look drier and more checked than they would in a spring or fall inspection.
Solution 1: Sistering With New Lumber
Sistering is the most common and most cost-effective solution for old trusses that have lost strength through general wear, drying, and minor checking, but where the wood itself has not rotted through. The technique involves fastening a new piece of lumber, matched in dimension to the existing truss member, directly alongside the original chord or web member for its full length or at least well past the weak section on both sides.
The new “sister” board shares the load with the old member, effectively doubling the section’s capacity at the point of weakness. It is bolted or structurally screwed through both pieces at a spacing determined by the load being carried, not just a handful of nails. Sistering works especially well on straight chord and web members with surface checking, minor sag, or generalized age-related softening, and it is usually the first solution a framing contractor reaches for because it is fast, reliable, and does not require removing roof decking.
The limitation is that sistering needs enough sound wood remaining in the original member to anchor fasteners securely. If a section is rotted through or has lost more than roughly a third of its cross-section to decay, sistering alone will not restore adequate capacity, and it needs to be paired with a more aggressive solution below.
Solution 2: Steel Gusset Plate Reinforcement
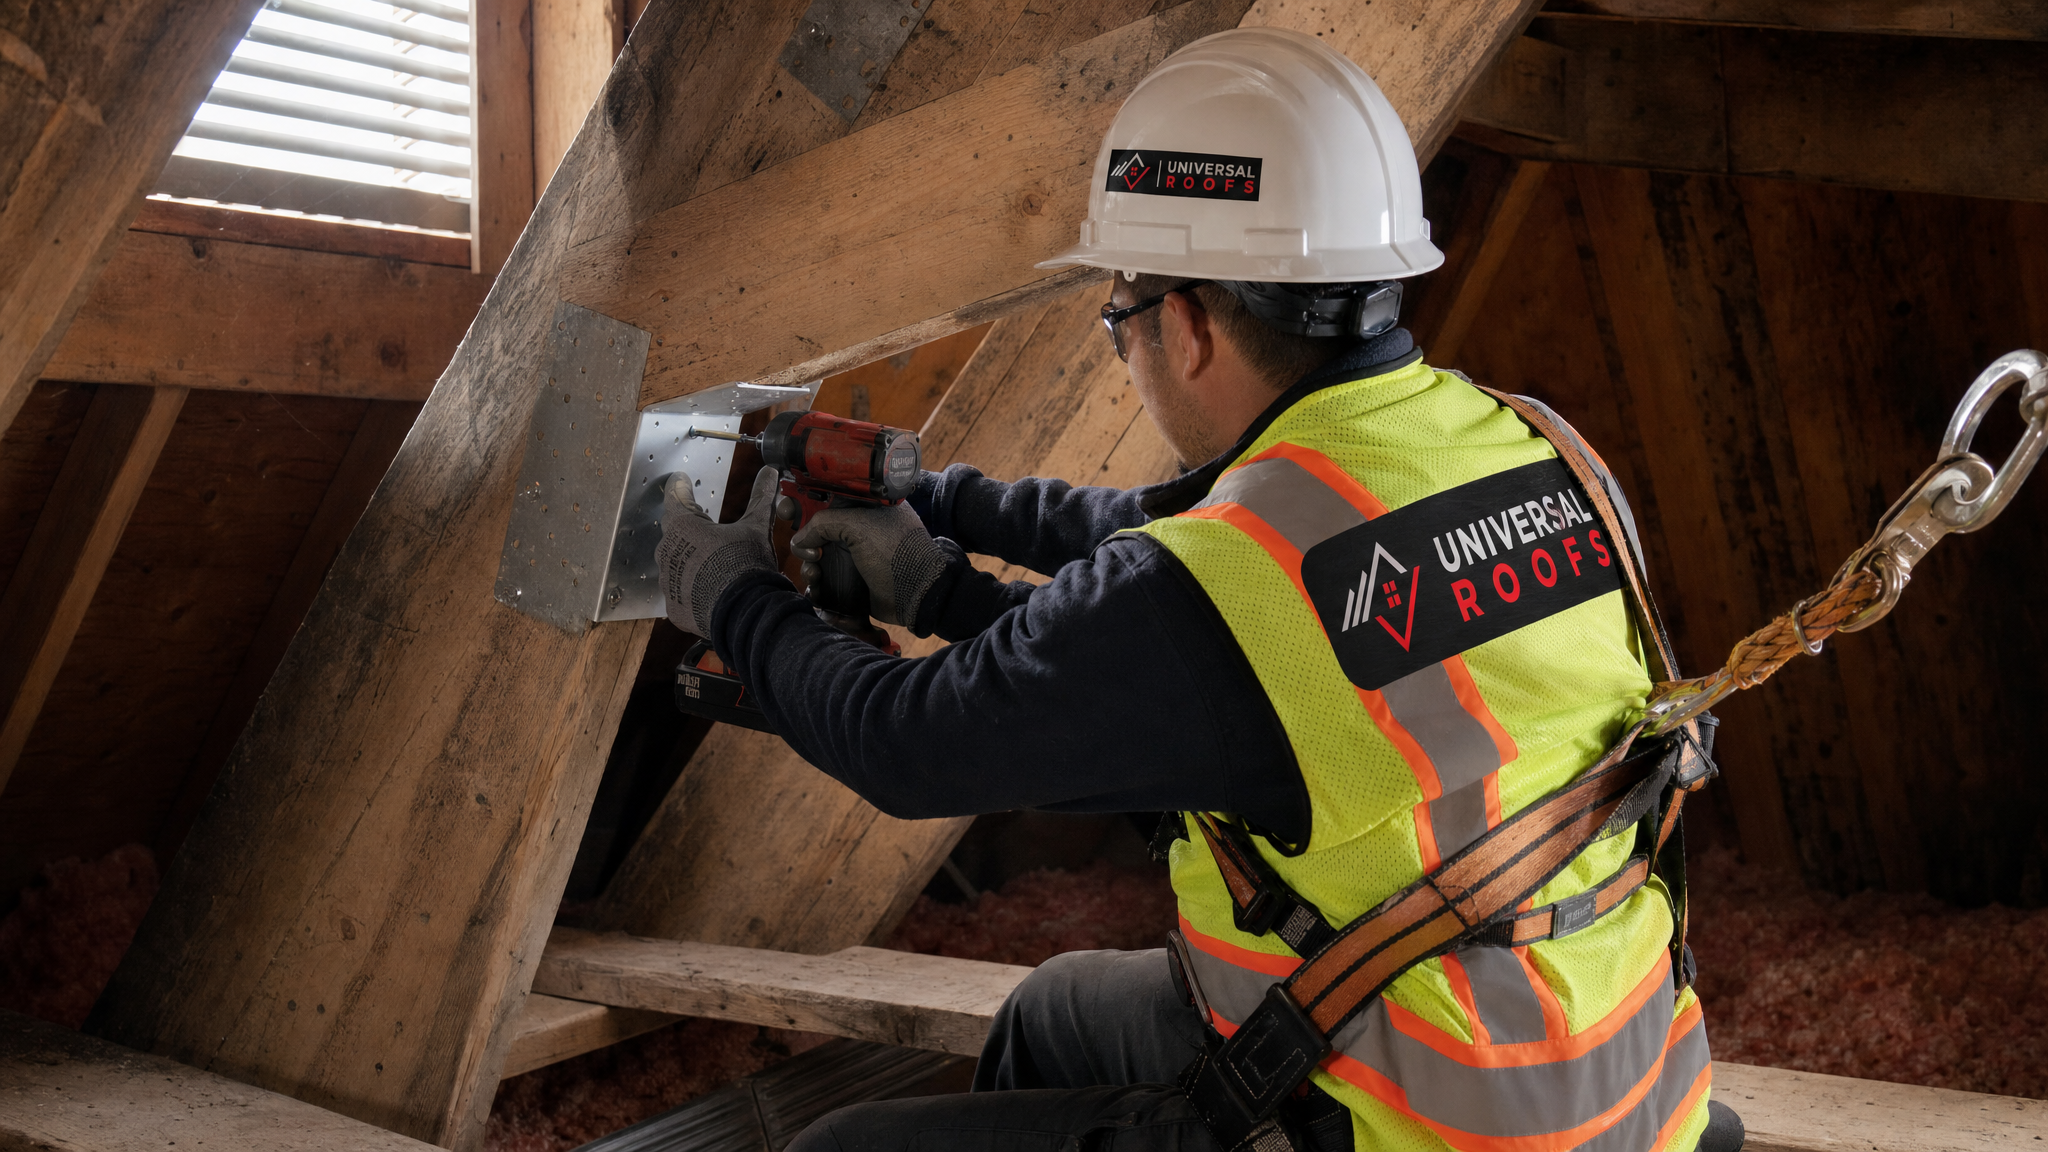
When the problem is at the joints rather than along the length of a chord, steel gusset plate reinforcement is usually the right call. Original connector plates on old trusses corrode, lose their tooth-plate grip on the wood, or were simply undersized for the loads the truss ends up carrying decades later (a common issue if attic insulation was added later without checking whether the truss was rated for the added dead load).
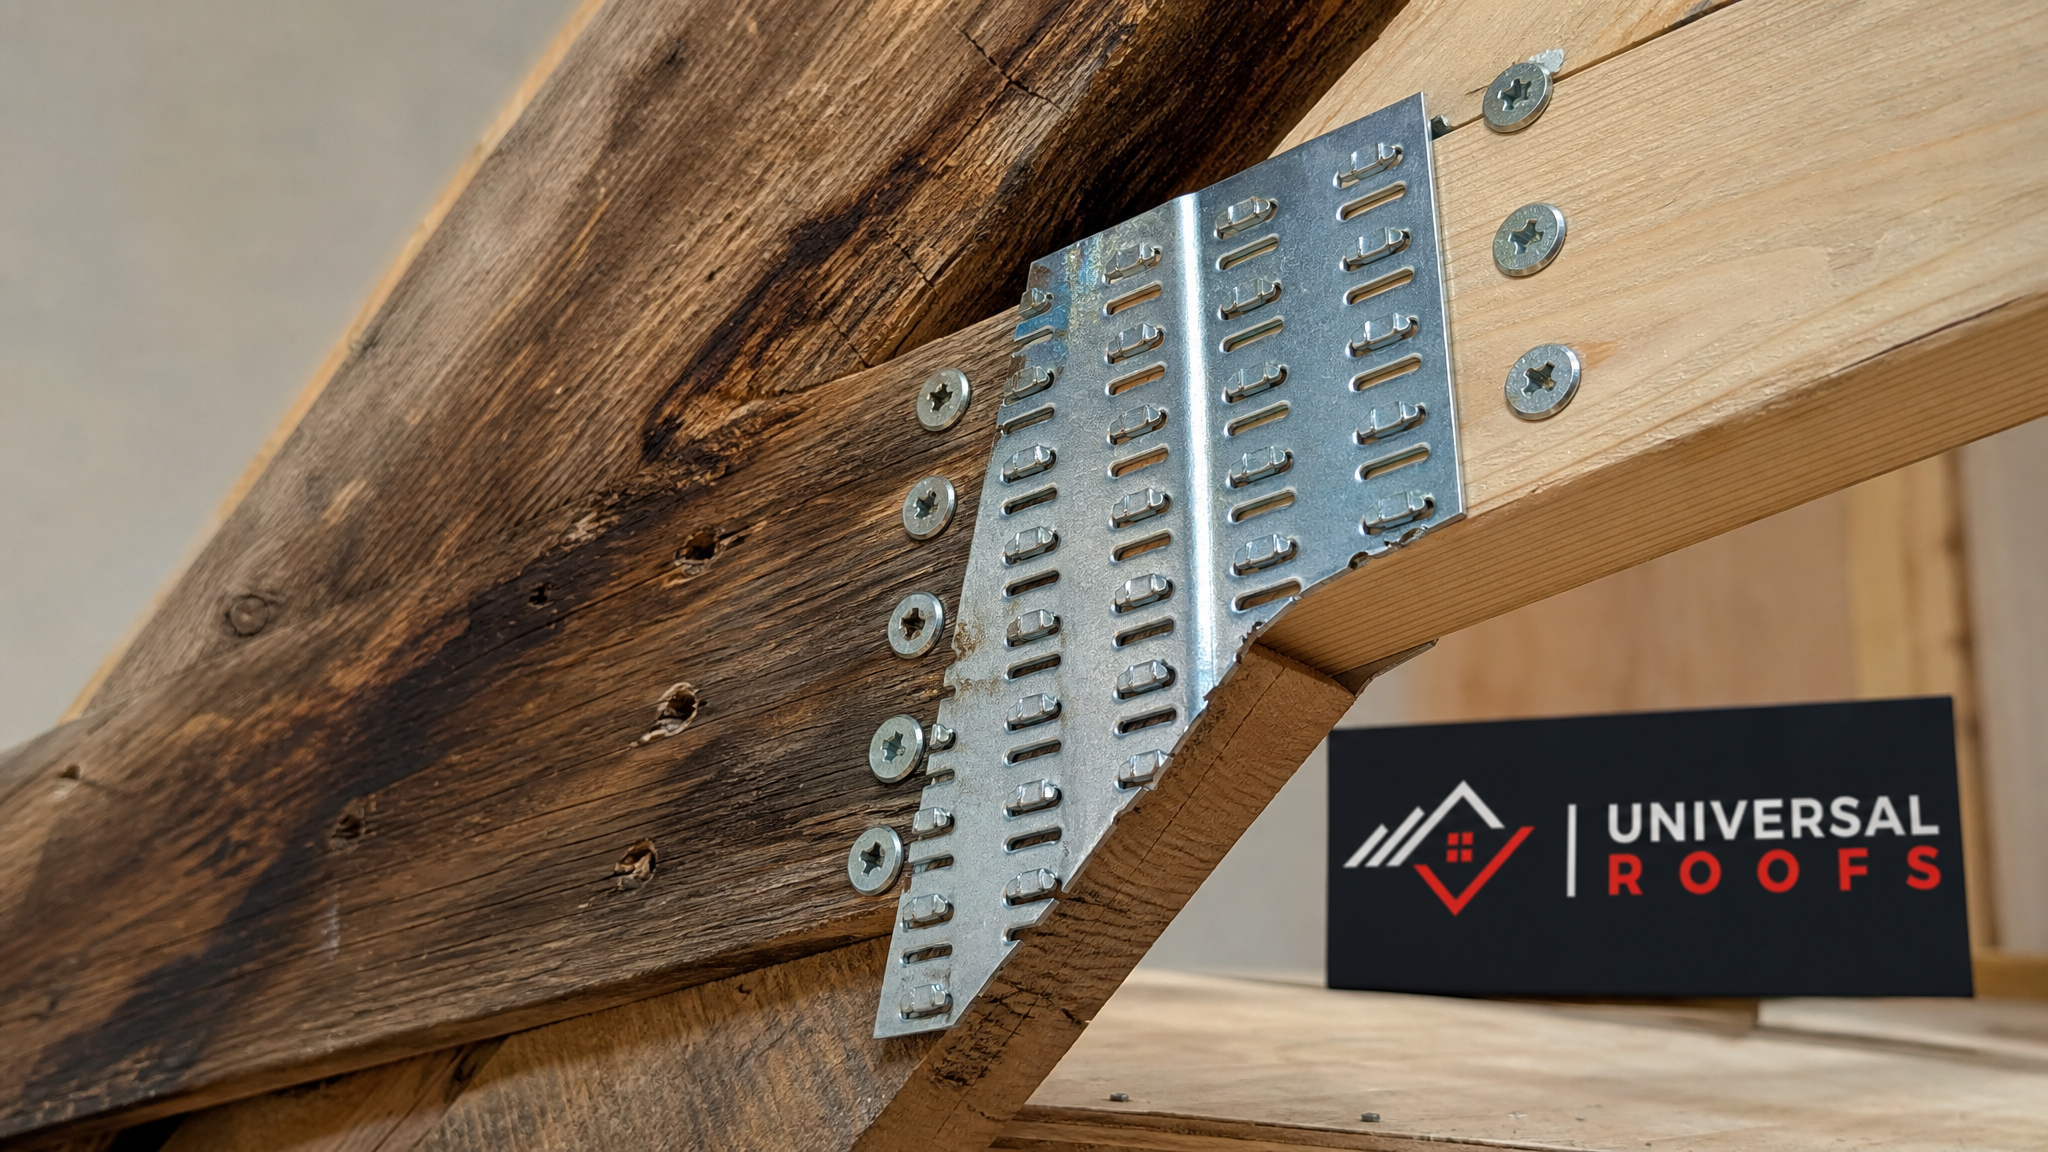
The repair involves installing new, properly sized galvanized or stainless steel plates over each weakened joint, fastened with structural screws or through-bolts depending on the joint geometry. This restores the full triangulated strength of the truss system at the connection points, which is often where age-related failure actually initiates, even though homeowners usually notice the sag in the middle of a chord first.
Gusset plate reinforcement is typically done in combination with sistering, since a joint repair alone does not address wood that has weakened between joints. Together, these two solutions cover the majority of age-related truss repairs we see across the GTA.
Solution 3: Epoxy Consolidation for Checked and Split Wood
Deep surface checking that has not fully separated the wood fibres, but has progressed far enough that simple sistering feels insufficient on its own, is a good candidate for structural epoxy consolidation. This method uses a two-part epoxy resin, sometimes paired with fibreglass or steel reinforcing rods (a technique called epoxy pinning), injected directly into the checks and voids in the wood.
The epoxy penetrates the cracked fibres, cures to a rigid bond, and effectively re-glues the wood back into a single structural unit. Unlike sistering, which adds capacity alongside the original member, epoxy consolidation restores capacity within the original member itself, which makes it especially useful for trusses in visible locations, decorative exposed-beam applications, or heritage homes where adding a second piece of lumber would be visually intrusive.
Epoxy repairs require dry, stable wood and controlled application, which is why this is not a do-it-yourself weekend project for anything load-bearing. It is also typically the most expensive per-repair solution of the four, so it tends to be reserved for situations where preserving the original timber matters, either structurally, visually, or because the truss is difficult to access for a full sistering repair.
Solution 4: Full Hardware and Connector Replacement
Sometimes the wood itself is in reasonably good condition, but the hardware holding the truss system together (nail plates, hurricane clips, ridge straps, and bearing hardware) has simply worn out. This is common in homes where the original builder used lower-grade fasteners, or where 30-plus years of humidity cycling has corroded galvanized coatings down to bare, rusting steel.
Full hardware replacement means systematically removing failed connectors and installing modern, code-rated equivalents: properly sized truss plates, structural screws instead of common nails, and hurricane ties at bearing points where the original installation may have had none at all (a frequent gap in homes built before Ontario updated wind-uplift requirements). This solution is often the most affordable of the four when the wood is sound, and it also future-proofs the truss system against the next several decades of freeze-thaw cycling rather than just addressing today’s visible wear.
In practice, most old and worn out truss repairs use two or three of these four solutions together. A typical assessment might sister two chords showing surface checking, replace three corroded gusset plates, and add hurricane clips at the bearing points that never had them. A qualified inspection is the only reliable way to know which combination applies to your specific attic.
Comparing the Four Repair Solutions
| Repair Solution | Best For | Typical Cost (per truss) | Expected Lifespan After Repair |
|---|---|---|---|
| Sistering with new lumber | General wear, minor sag, surface checking along chords | $180 – $450 | 25+ years |
| Steel gusset plate reinforcement | Corroded or undersized connector joints | $120 – $350 per joint | 30+ years |
| Epoxy consolidation | Deep checking, exposed or heritage timber | $400 – $900 | 20 – 25 years |
| Full hardware replacement | Sound wood with failed or missing connectors | $90 – $280 per connection | 30+ years |
These figures are general GTA ranges and vary with truss span, roof pitch, attic accessibility, and whether insulation needs to be temporarily moved to reach the work area. A licenced contractor will always confirm exact pricing after an in-person inspection.
Signs Repair Isn’t Enough: When to Consider Replacement
Repair is the right answer for the large majority of old truss systems, but there is a point where patching an aging structure stops making financial and structural sense. Watch for these thresholds.
| Condition | Repair Usually Works | Replacement Usually Needed |
|---|---|---|
| Percentage of trusses affected | Under 25% of the system | Over 40% showing significant wear |
| Wood condition at bearing points | Firm, minor surface checking | Soft, spongy, or crumbling to the touch |
| Ridge line sag | Stable for several years, minor | Progressive, worsening year over year |
| Prior repair history | First or second repair to the system | Third or later repair to the same members |
| Planned roof work | No other major roof work planned | Already planning a full roof replacement |
If you are already booking a full roof replacement for other reasons, such as shingles reaching the end of their service life, it is almost always more cost-effective to address the trusses at the same time rather than repairing them now and disturbing the same area again in a few years during the reroof.
DIY Truss Inspection vs. When to Call a Professional
Homeowners can safely do a visual inspection of their attic trusses. What you should not do yourself is any structural repair work, including sistering, gusset plate installation, or epoxy injection, on a load-bearing truss. Even a well-intentioned repair with the wrong fastener spacing or an undersized sister board can create a false sense of security while leaving the actual load path unresolved.
| Task | Safe for Homeowner DIY | Requires a Licenced Contractor |
|---|---|---|
| Visual inspection with a flashlight | Yes | — |
| Photographing cracks or rust for records | Yes | — |
| Improving attic ventilation (adding vents) | Sometimes, if accessible | Recommended for larger jobs |
| Sistering a load-bearing chord | No | Yes |
| Installing gusset plates or hurricane clips | No | Yes |
| Structural epoxy consolidation | No | Yes |
An inspection is also the right time to check for related issues that often accompany old truss systems, including deteriorated flashing, aging insulation, and roof deck moisture. Our team frequently evaluates roof repair needs and truss condition together, since a leak that has gone unnoticed for years is often the underlying reason the wood softened in the first place.
Preventing Premature Truss Wear Going Forward
Once an old truss system has been repaired, a few maintenance habits meaningfully extend the life of the fix. Keep attic ventilation clear of stored boxes and insulation that can block soffit and ridge vents, since restricted airflow is what accelerated the original wear. Have your roof inspected every three to five years, ideally after winter, to catch new checking or connector corrosion early rather than after it has progressed. If you notice new water staining on the underside of the roof deck, address the leak immediately rather than letting moisture cycle against the trusses for another season.
It is also worth checking whether your attic insulation was added after the original truss design was engineered. Trusses are rated for a specific dead load, and homeowners sometimes add several inches of blown-in insulation over the years without confirming the truss system was designed to carry it. A quick load check during your next inspection avoids creating new problems while you are fixing old ones.
What are the best solutions for old and worn out roof truss repair?
How do I know if my old roof trusses need repair or full replacement?
Can I sister or reinforce an old roof truss myself?
Why do roof trusses in Toronto homes age faster than expected?
How much does it cost to repair an old, worn out roof truss?
What are the warning signs of an old or worn out roof truss?
Need Help With 4 Best Solutions for?
Old and worn out trusses are one of the most repairable structural issues a GTA homeowner will face, but getting the diagnosis right matters just as much as the repair itself. Universal Roofs has been assessing and reinforcing aging roof structures across the Greater Toronto Area since 2005, and we know exactly what decades of freeze-thaw cycling and attic humidity do to older truss systems.
Call us today at (416) 732-2421 or request a free inspection to get started.
Universal Roofs proudly serves Toronto, Mississauga, Brampton, Vaughan, Markham, Oakville and the GTA since 2005.