
A flat roof is only as good as its seal. Unlike sloped shingle roofs that shed water quickly, flat and low-slope roofs rely on a continuous, watertight membrane to keep moisture out — and in Toronto’s climate, where summer heat waves give way to freeze-thaw cycles within months, that seal takes a beating. Understanding essential flat roof sealing practices is the difference between a roof that lasts fifteen years and one that starts leaking in three.
At Universal Roofs, we’ve resealed and repaired thousands of flat roofs across the Greater Toronto Area since 2005, from bungalows in Scarborough to commercial additions in Mississauga. The patterns are consistent: most premature flat roof failures trace back to a handful of sealing mistakes that are entirely preventable. This guide walks through five essential tips for sealing a flat roof properly, plus the materials, timing, and troubleshooting knowledge every GTA homeowner should have before hiring a contractor or attempting a DIY patch.
Whether you’re maintaining an existing flat roofing system or planning a full recoat this summer, these tips apply directly to your project.
Why Flat Roof Sealing Matters More in Toronto’s Climate
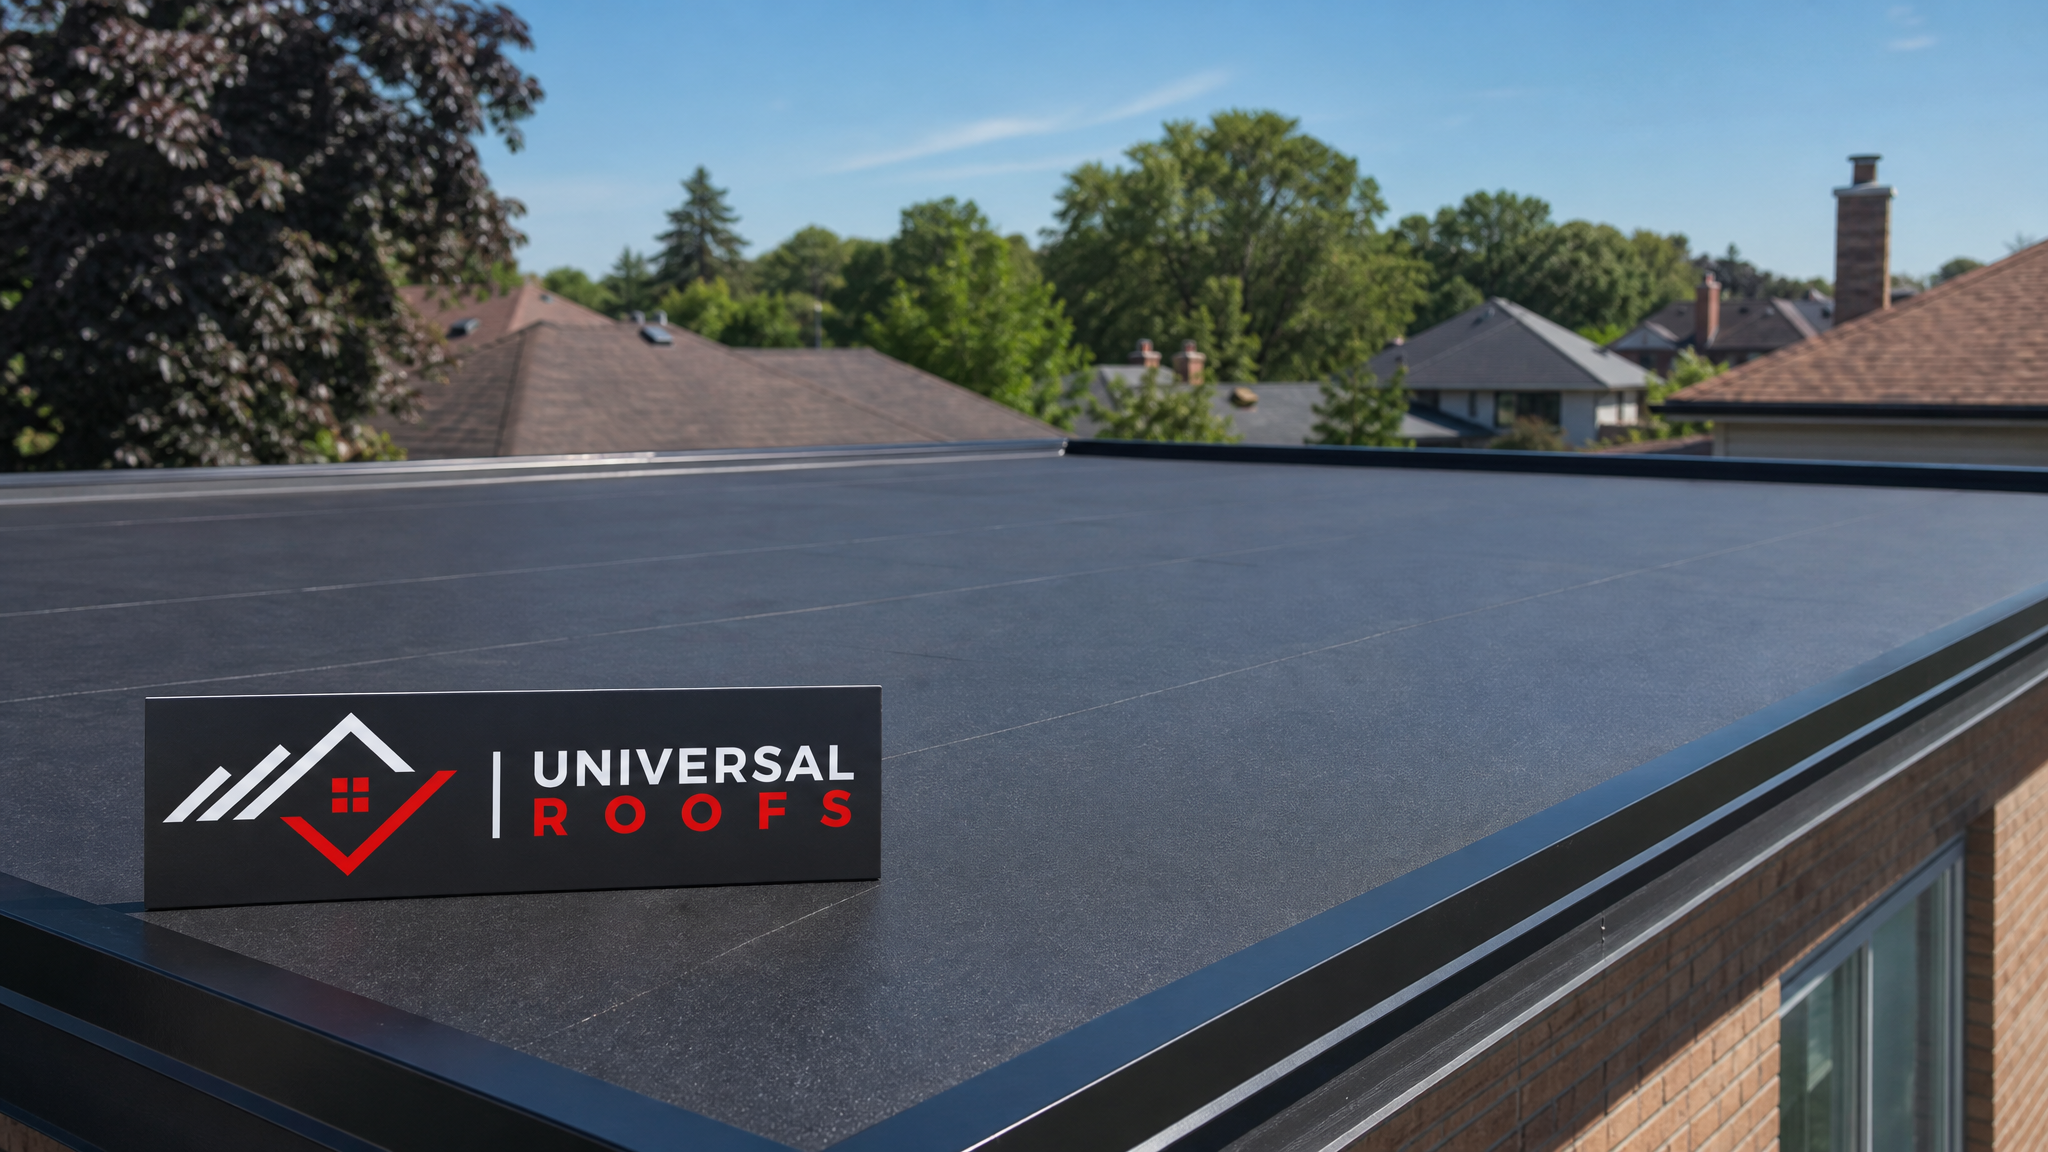
Flat and low-slope roofs are common on additions, garages, porches, and commercial buildings throughout the GTA, but they face a harder job than a pitched roof. Water doesn’t run off quickly — it can sit, pond, and slowly find its way through even a pinhole gap in the membrane. Add Toronto’s climate swings, and the sealing job becomes even more demanding.
Summer sun bakes membranes with intense UV exposure, causing asphalt-based systems to dry out and crack over time. Then winter arrives with repeated freeze-thaw cycles: meltwater seeps into a hairline crack during a mild afternoon, refreezes overnight, and expands the gap. By spring, a barely visible flaw has become an active leak. This cycle repeats every year a roof goes unsealed or under-maintained, which is why regular inspection and resealing is not optional maintenance — it’s structural insurance.
A well-executed seal also protects what’s underneath. Moisture that penetrates a flat roof membrane doesn’t just damage the deck; it travels into insulation, ceiling drywall, and framing, and can compromise attic ventilation systems by introducing trapped humidity. Catching and sealing minor flaws early is dramatically cheaper than the alternative: full membrane replacement or interior water damage remediation.
Tip 1: Choose the Right Sealant for Your Membrane Type
The single most common mistake we see on GTA flat roofs is using the wrong sealant for the membrane material. Not all flat roof coverings are the same, and sealants formulated for one substrate can fail — or even damage — another.
Modified bitumen roofs generally pair best with asphalt-based or rubberized asphalt sealants, which bond chemically with the existing surface. EPDM (rubber) roofs require EPDM-compatible sealants or specialized rubber-splicing tape, because petroleum-based products can actually break down rubber membranes over time. TPO and PVC roofs need heat-welded seams or manufacturer-approved single-ply sealants; using a generic silicone on TPO can void the manufacturer’s warranty and fail to bond properly to the material’s slick surface.
Silicone roof coatings have become popular for full recoats because they resist ponding water and UV degradation exceptionally well, but they are unforgiving to apply over incompatible primers. Always confirm compatibility before applying anything to your roof, and when in doubt, request a free inspection so a professional can identify your exact membrane type before recommending a product.
| Membrane Type | Recommended Sealant | Avoid | Typical Lifespan After Sealing |
|---|---|---|---|
| Modified Bitumen | Asphalt-based mastic, rubberized asphalt coating | Pure silicone without primer | 8-12 years |
| EPDM (Rubber) | EPDM lap sealant, rubber splicing tape | Petroleum-based sealants | 10-15 years |
| TPO (Single-Ply) | Manufacturer-approved TPO sealant, heat welding | Generic silicone, solvent-based products | 10-14 years |
| PVC (Single-Ply) | PVC-compatible sealant, heat welding | Asphalt-based products | 12-16 years |
| Built-Up Roof (BUR) | Asphalt cutback, elastomeric coating | Incompatible acrylic coatings | 10-13 years |
Tip 2: Prioritize Seams, Flashings, and Penetrations First
If you only have time or budget to seal one part of a flat roof properly, seal the seams and penetrations. Roughly 80% of flat roof leaks originate at seams, flashings, and roof penetrations — not the open field of the membrane itself. Vent pipes, HVAC curbs, drains, and the edges where the roof meets a parapet wall or wall flashing are all high-risk zones because they involve transitions between materials, and transitions are where seals fail first.
Every seam should be inspected for lifting edges, blistering, or gaps before any coating is applied over the field of the roof. A coating applied over a failing seam simply hides the problem temporarily rather than fixing it. Reinforcing fabric embedded in sealant at seams and around penetrations adds tensile strength that prevents the seal from splitting again under thermal movement.
If your flat roof has a skylight installed, the flashing around its curb deserves particular attention — skylight flashings are a frequent source of flat roof leaks because the curb creates a raised transition that must be sealed on all four sides. If the flashing looks worn, cracked, or was never properly integrated with the membrane, it’s worth having it assessed alongside a full skylight replacement if the unit itself is aging.
Tip 3: Time Your Sealing Project for the Right Weather Window
Sealant application is highly sensitive to temperature, humidity, and moisture on the roof surface. Applying sealant too cold causes poor flow and bonding; applying it in direct, blistering summer heat can cause the product to skin over before it properly cures, trapping solvents underneath and creating bubbles.
In the GTA, the ideal sealing windows are generally late spring through early autumn, when daytime temperatures sit comfortably between 10°C and 27°C and overnight temperatures won’t dip below the product’s minimum cure threshold. Since it’s currently mid-summer, this is actually a strong window for sealing work — just avoid scheduling application during a heat warning or immediately before a forecasted storm, since most sealants need at least 4-24 hours of dry weather to cure properly depending on the product.
Humidity matters as much as temperature. A roof surface that feels dry to the touch can still hold residual moisture from morning dew, which will compromise adhesion. Professional crews check surface moisture with a meter before starting, not just a visual check, because trapped moisture under a new seal is one of the leading causes of coating failure within the first year.
| Season | GTA Sealing Suitability | Key Consideration | Cure Time Impact |
|---|---|---|---|
| Spring (Apr-Jun) | Good | Watch for rain and lingering frost mornings | Standard, may extend if humid |
| Summer (Jul-Aug) | Excellent | Avoid application during extreme heat warnings | Fastest cure times |
| Early Fall (Sep-Oct) | Good | Best window before frost returns | Standard cure time |
| Late Fall / Winter | Poor | Most sealants won’t cure properly below 5°C | Significantly delayed or incomplete cure |
Tip 4: Prep the Surface Thoroughly Before Any Sealant Goes Down
Surface preparation is unglamorous, but it determines whether a seal lasts five years or fifteen. Every flat roof accumulates debris — leaves, grit, granule loss from asphalt-based membranes, algae growth in shaded areas, and standing dust — and all of it interferes with adhesion if left in place.
A proper prep sequence includes clearing all debris, power washing or scrubbing to remove algae and chalking residue, and allowing the roof to dry completely before any product is applied. Any blistered, cracked, or delaminated sections of membrane need to be cut out and patched before sealing, not sealed over. Applying a fresh coating over a compromised area just delays the same failure and wastes material.
Primer is often the step that gets skipped by inexperienced DIYers, but on many substrates — particularly modified bitumen and BUR roofs — primer is what allows the sealant to chemically bond rather than simply sit on top of the surface. Skipping primer on a primer-required product is one of the fastest ways to see a coating peel within a single season.
Tip 5: Apply Sealant in the Correct Thickness and Number of Coats
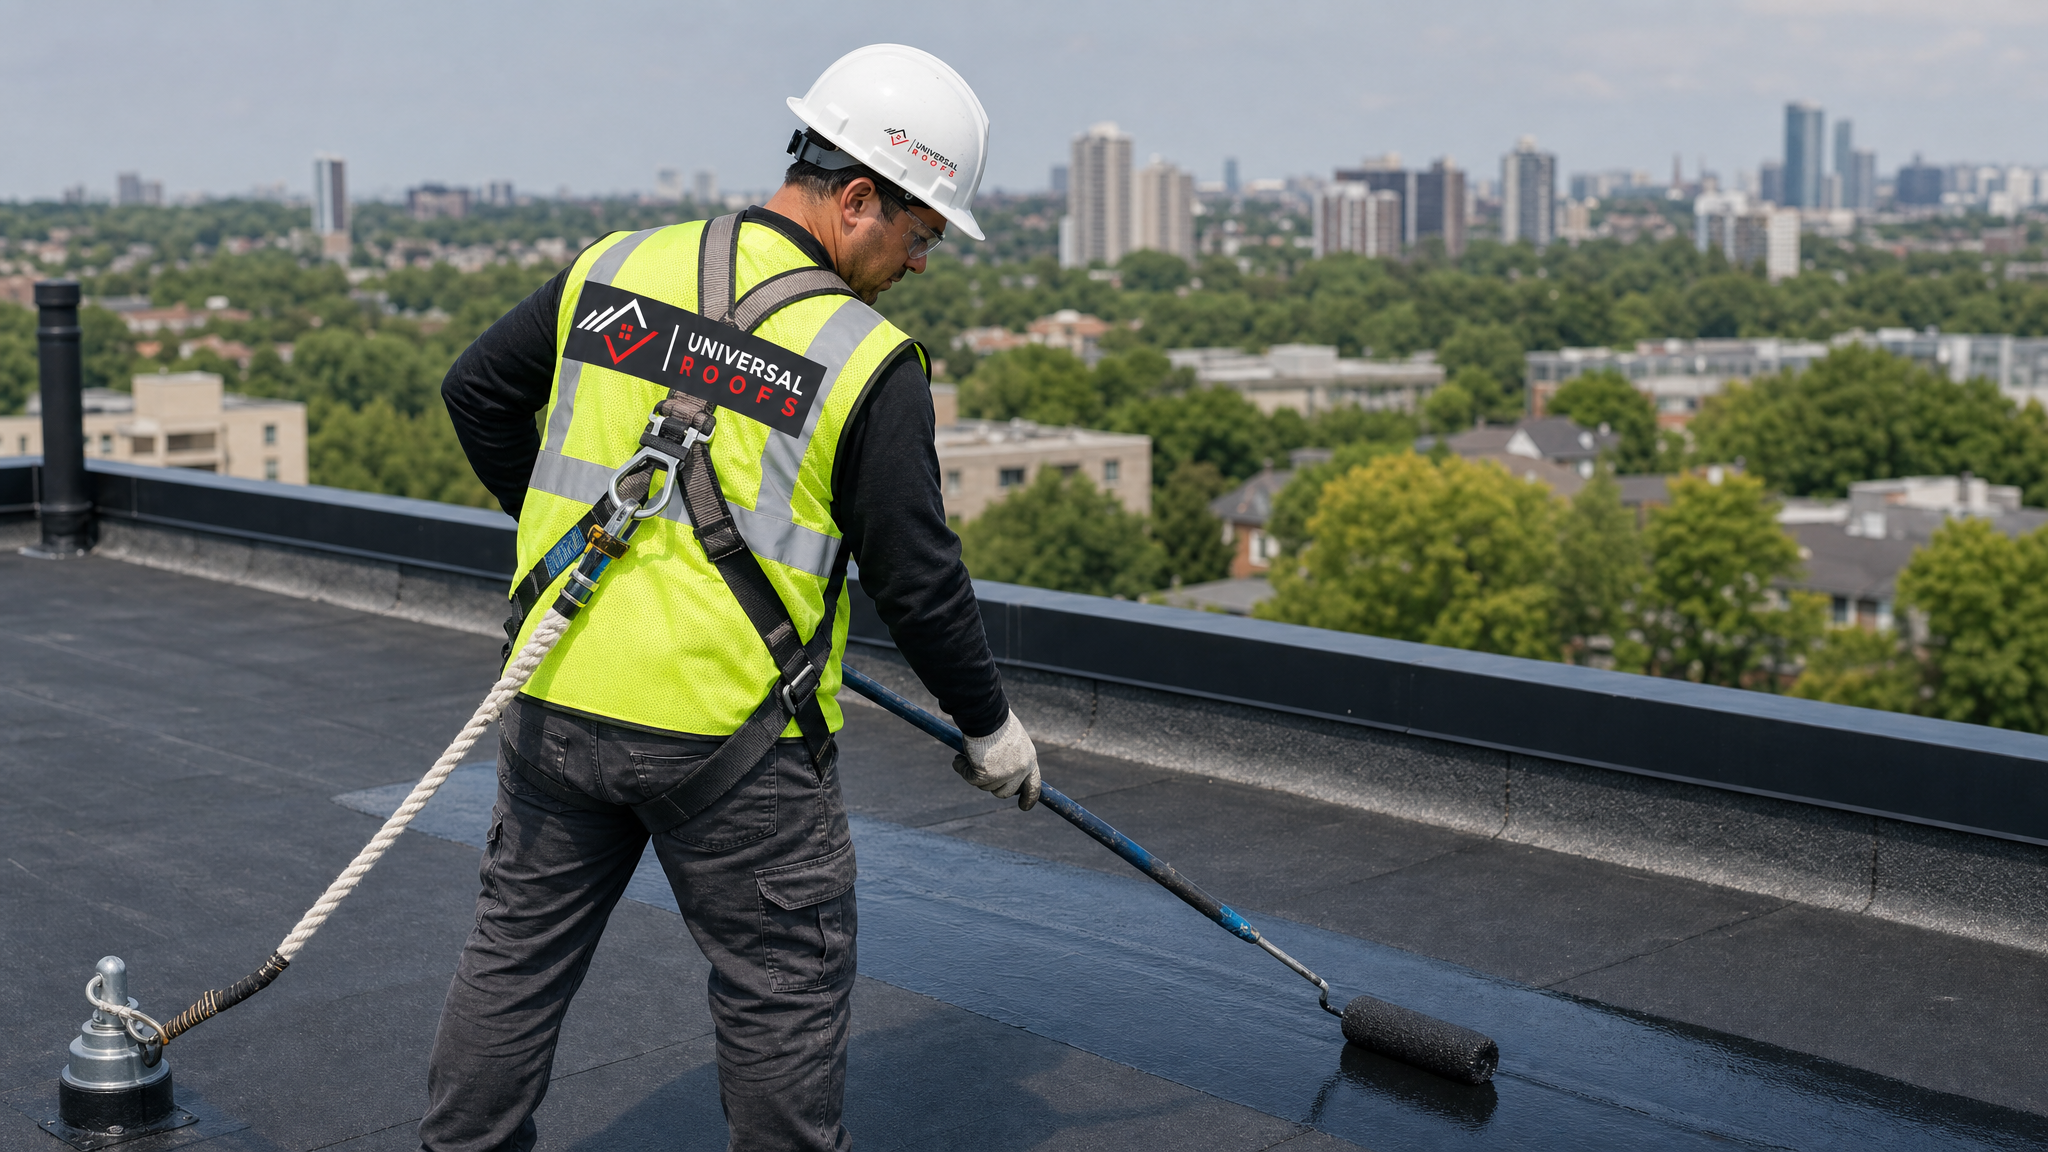
More sealant is not automatically better. Every product has a manufacturer-specified wet mil thickness, and applying too thin leaves the membrane under-protected while applying too thick can cause the surface to crack as it cures, or prevent proper curing altogether because the interior of a thick coat never fully dries.
Most quality elastomeric and silicone coatings require two coats applied in different directions — for example, north-south on the first pass and east-west on the second — to eliminate pinholes and ensure even coverage across the entire field. Skimping down to a single coat to save material is one of the most common corner-cuts on budget flat roof jobs, and it shows up as leaks within a year or two.
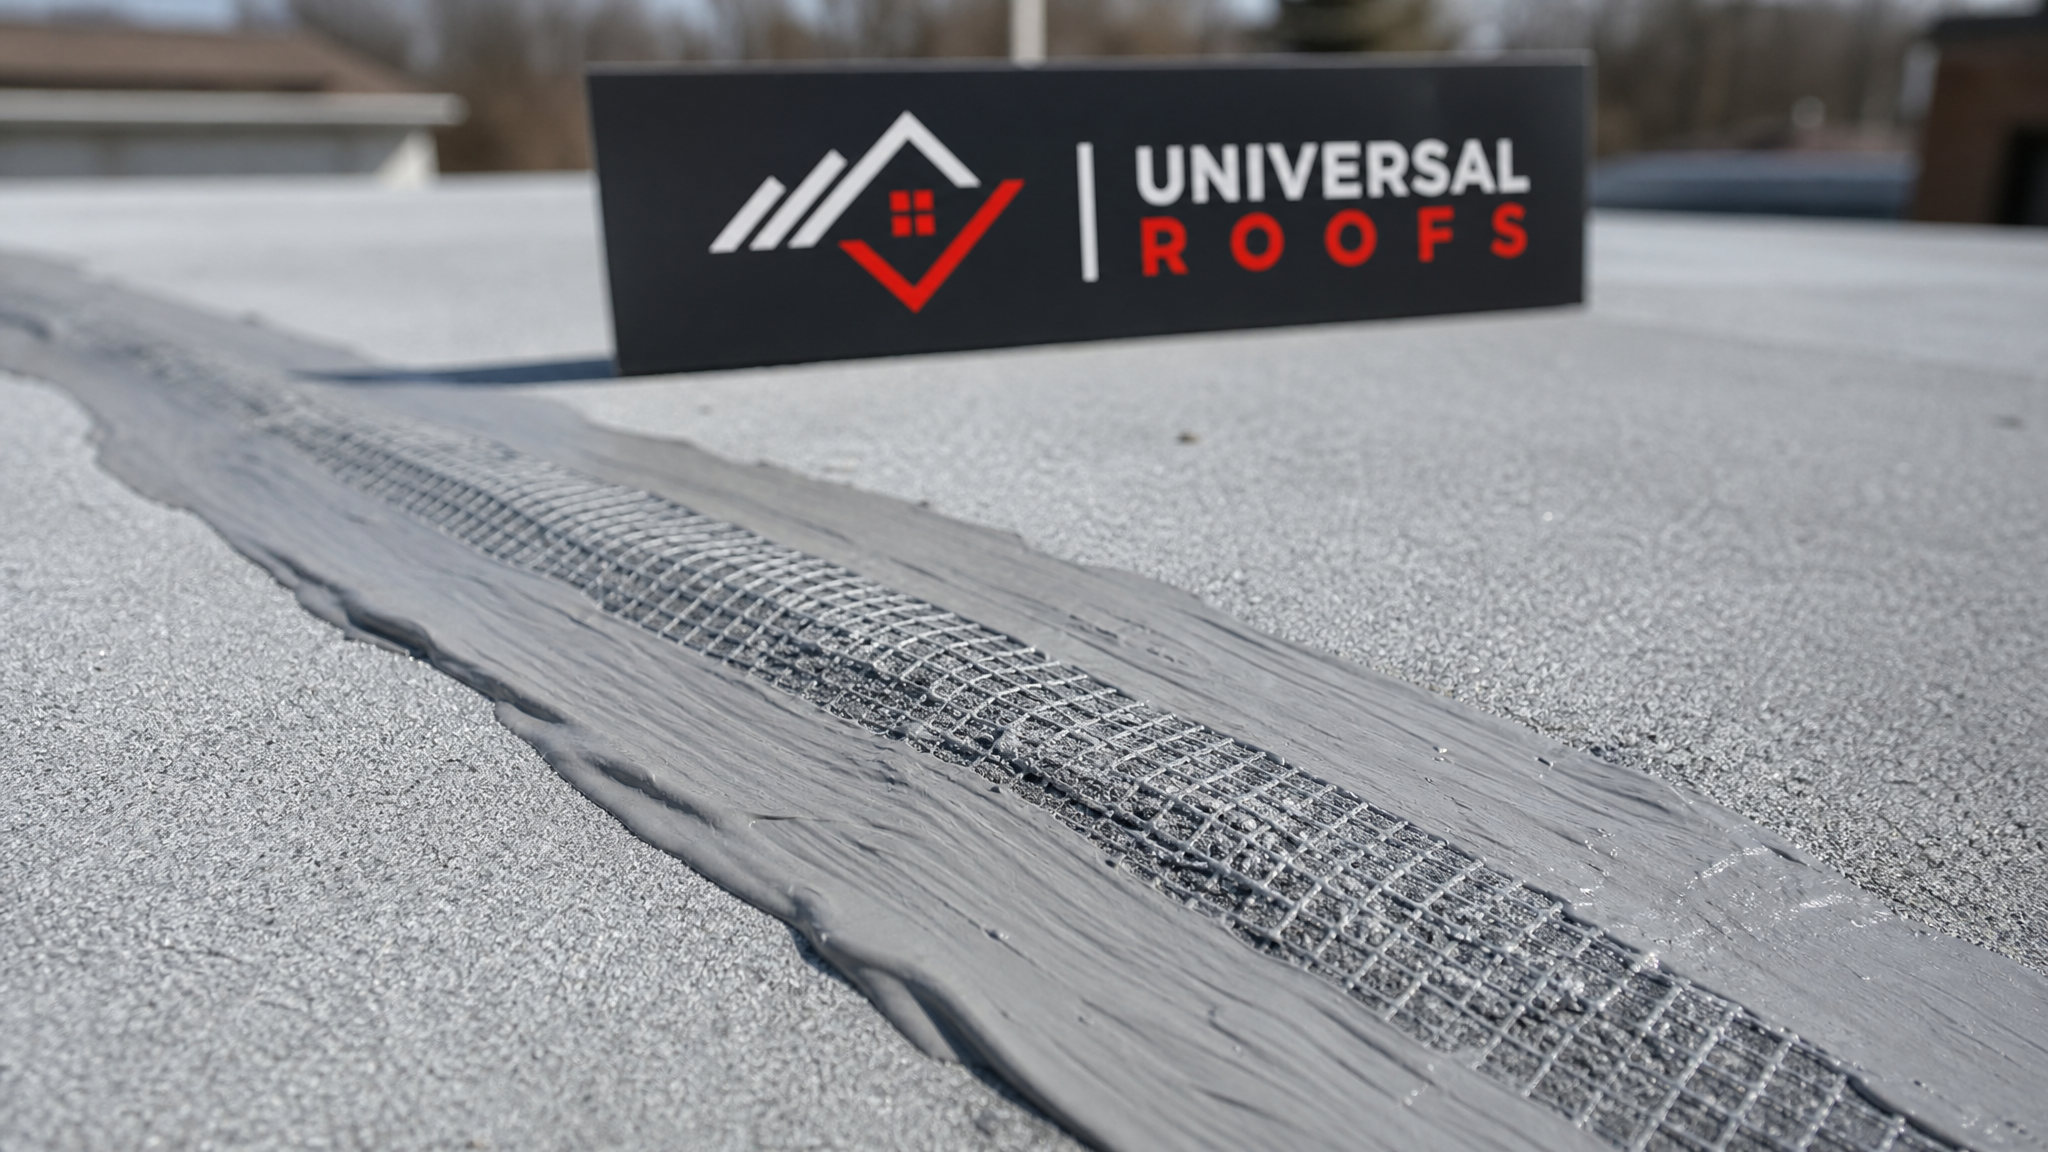
Reinforcing fabric should be embedded into the base coat at all seams, penetrations, and any cracks wider than a hairline, then covered with the top coat once the base has set. This “sandwich” method — base coat, fabric, top coat — is the single most reliable technique for permanently sealing a vulnerable spot on a flat roof.
| Application Mistake | Consequence | Correct Practice | Typical Cost to Fix |
|---|---|---|---|
| Single coat instead of two | Pinholes, uneven coverage, early leaks | Apply two coats in perpendicular directions | $400-$1,200 to recoat |
| Skipping primer | Poor adhesion, peeling within one season | Prime per manufacturer instructions | $300-$900 to redo |
| Sealing over wet or dirty surface | Blistering, delamination | Clean, dry, and inspect before applying | $500-$1,500 depending on damage |
| No reinforcing fabric at seams | Seam splitting under thermal movement | Embed fabric in base coat at all seams | $200-$600 per seam repair |
| Applying in wrong temperature window | Incomplete cure, product failure | Apply within manufacturer’s temperature range | Full recoat may be required |
DIY Sealing vs. Hiring a Professional
Small, well-defined repairs — a single cracked seam or a small blister — can sometimes be handled by a confident homeowner with the right product and a dry day. But full flat roof recoating is a different scale of project. It requires accurate assessment of membrane condition, correct product selection, safe access and fall protection at height, and application technique that affects the roof’s performance for a decade or more.
Professional roofers also carry the tools to properly diagnose issues that aren’t visible from the surface, such as trapped moisture in the insulation layer beneath the membrane. A roof that looks fine on top can already be saturated underneath, and sealing over that condition just locks moisture in rather than solving the underlying problem. If your flat roof is older, has a history of ponding, or shows widespread wear rather than a single isolated flaw, it’s worth having a professional assess whether sealing is sufficient or whether it’s time to plan for roof replacement.
For most homeowners, a hybrid approach works well: handle minor visual monitoring yourself, and call in professionals for surface prep, primer application, and full recoats. If you notice a leak or active damage, prompt roof repair is almost always more cost-effective than waiting.
Building a Long-Term Flat Roof Maintenance Routine
Sealing a flat roof isn’t a one-time event — it’s part of an ongoing maintenance rhythm that keeps the whole system performing. A practical routine includes a visual inspection each spring and fall, clearing debris and checking drains after major storms, and a full professional assessment every two to three years even if nothing looks obviously wrong.
Keep a simple record of when the roof was last sealed or recoated and what product was used. This matters because reapplying an incompatible product over an existing coating years later can cause adhesion failure. If you’ve moved into a home with an existing flat roof and don’t know its sealing history, that’s a good reason to request an inspection before assuming the roof is due — or overdue — for resealing.
Homeowners across our service areas in Toronto, Peel Region, York Region, Halton Region, and Durham Region all face similar freeze-thaw stress on flat roofs, which is why we recommend the same maintenance cadence throughout the GTA regardless of neighbourhood.
Warning Signs Your Flat Roof Seal Has Failed
Knowing what to look for lets you catch a failing seal before it becomes an interior leak. Ponding water that lingers more than 48 hours after rain is a red flag, since it means the roof isn’t draining properly and any weak point in the seal is under sustained pressure. Bubbling or blistering on the membrane surface usually indicates trapped moisture or gas beneath the coating. Cracking, especially in a spiderweb pattern, often signals UV degradation of an aging sealant that has become brittle.
Inside the building, water stains on ceilings below the flat roof, a musty smell in the attic space, or visible mould growth near the roofline are all downstream indicators that the seal has already been compromised for some time. Catching these signs early and scheduling repair before winter arrives can prevent a manageable patch job from turning into a full membrane replacement.
Frequently Asked Questions About Flat Roof Sealing
What is the most essential flat roof sealing tip for GTA homeowners?
How often should a flat roof be resealed?
Can flat roof sealing be done in the summer?
Is silicone or asphalt-based sealant better for flat roofs?
What are the signs that flat roof sealing has failed?
Should I attempt essential flat roof sealing myself or hire a professional?
Need Help With 5 Essential Flat Roof?
Getting the seal right the first time protects your home from years of hidden water damage, and the team at Universal Roofs has the experience to diagnose your specific membrane, climate exposure, and roof history before recommending a solution.
Call us today at (416) 732-2421 or request a free inspection to get started.
Universal Roofs proudly serves Toronto, Mississauga, Brampton, Vaughan, Markham, Oakville and the GTA since 2005.