
If you’ve ever noticed a rusty ring on your shingles near a small pipe poking through the roof, or a soft, discoloured patch on the ceiling below your bathroom fan, the culprit is almost always the same: failed or missing flashing around an exhaust vent. Homeowners across the GTA often focus on shingles, gutters, and eavestroughs when they think about roof maintenance, but the small metal collars and boots around plumbing stacks, bathroom fan vents, and kitchen exhaust outlets do an outsized amount of work protecting the home from water damage.
Roof flashing is important for exhaust vents because every roof penetration is a built-in weak point. Every time a pipe, duct, or vent stack passes through the roof deck, it interrupts the shingle pattern and creates a seam where water can travel sideways or downward if it isn’t properly sealed. In Toronto’s climate, with heavy spring rain, summer thunderstorms, and repeated winter freeze-thaw cycles, that seam is under constant stress. Flashing is the component engineered specifically to keep water out of that gap, and when it fails, the damage is rarely limited to the roof itself.
In this guide, we’ll explain exactly what exhaust vent flashing does, why it fails, how to recognize the warning signs, what proper repair or replacement looks like, and how much homeowners in the Greater Toronto Area typically pay to have it done right.
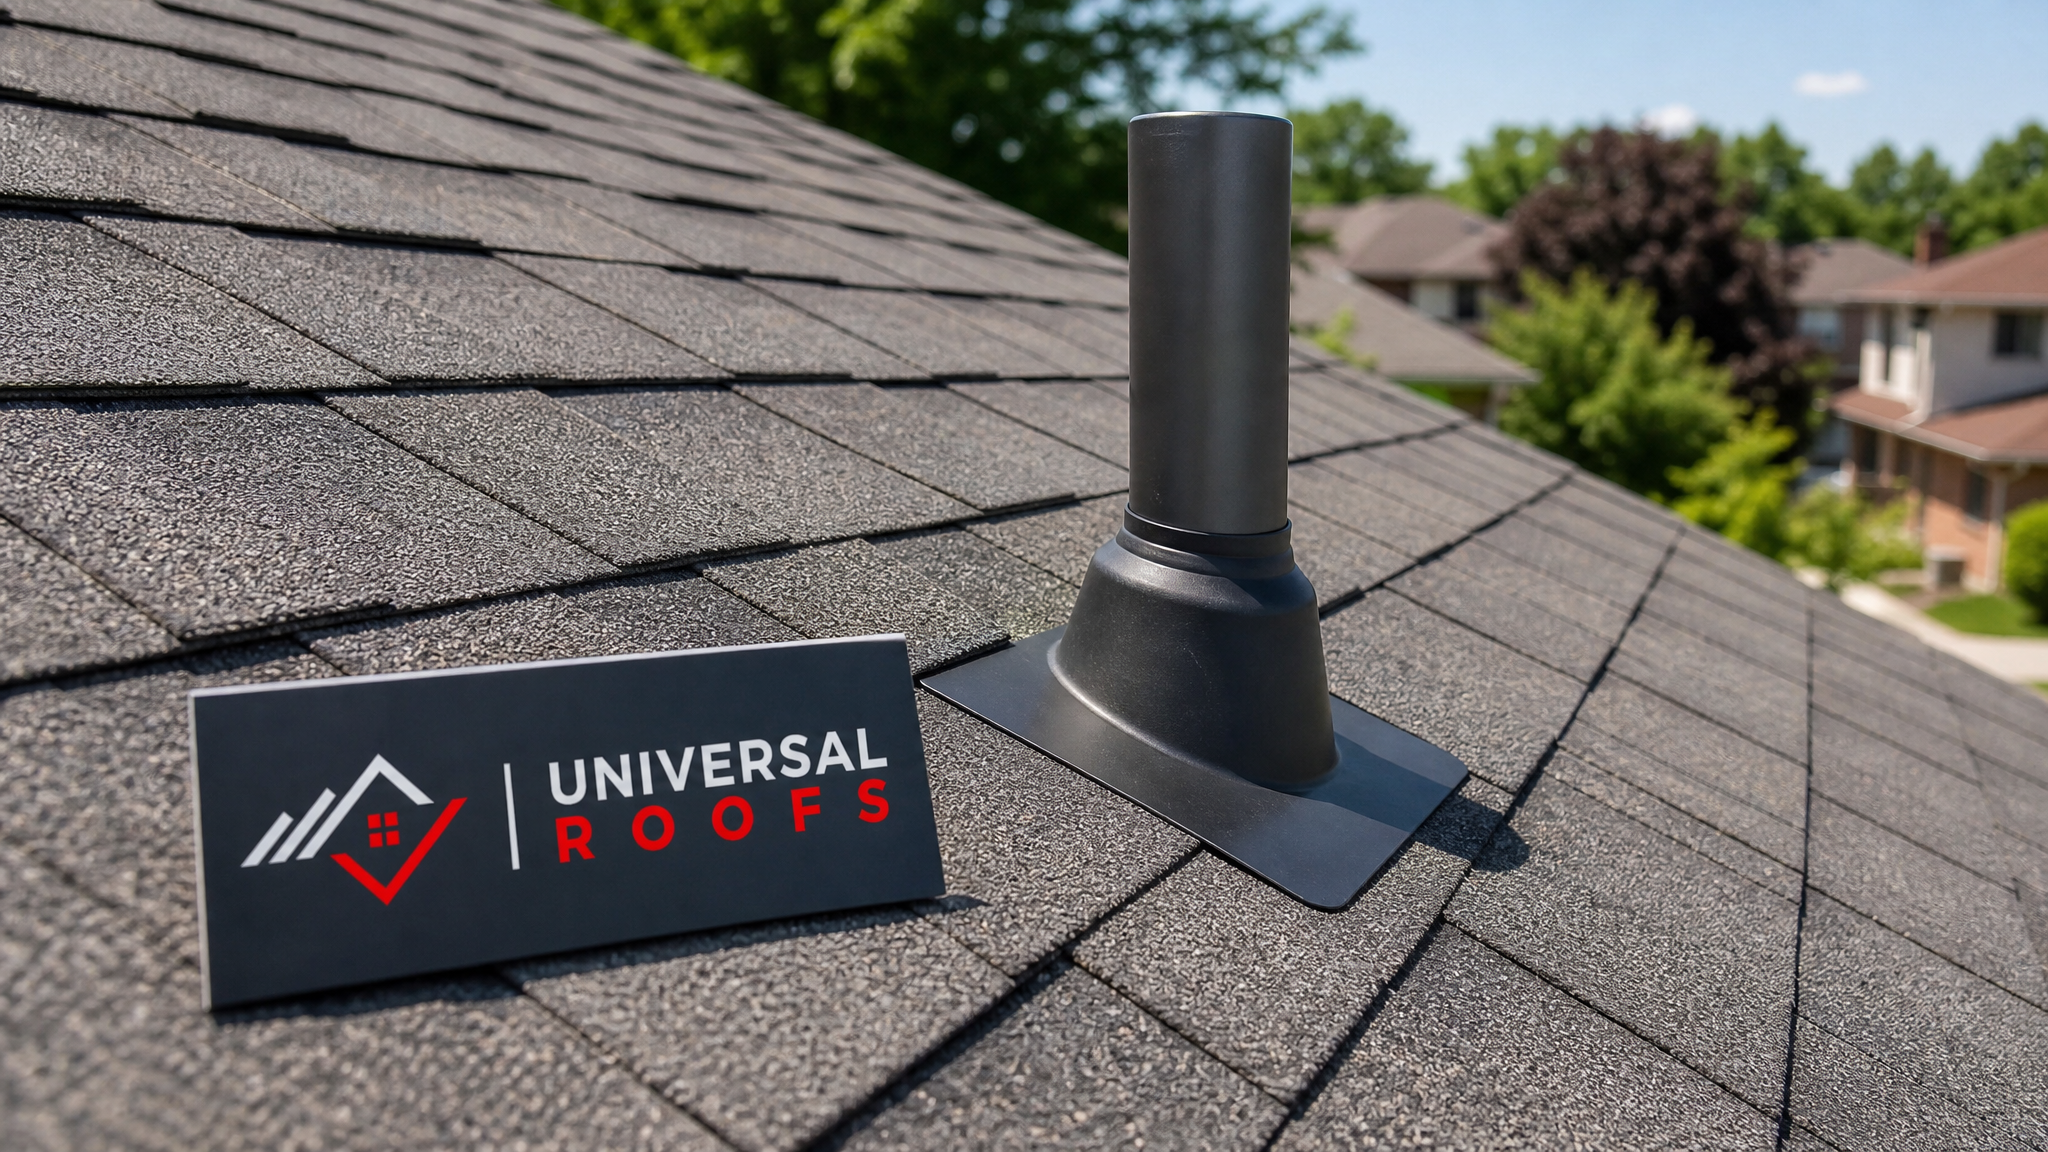
What Roof Flashing Actually Does Around Exhaust Vents
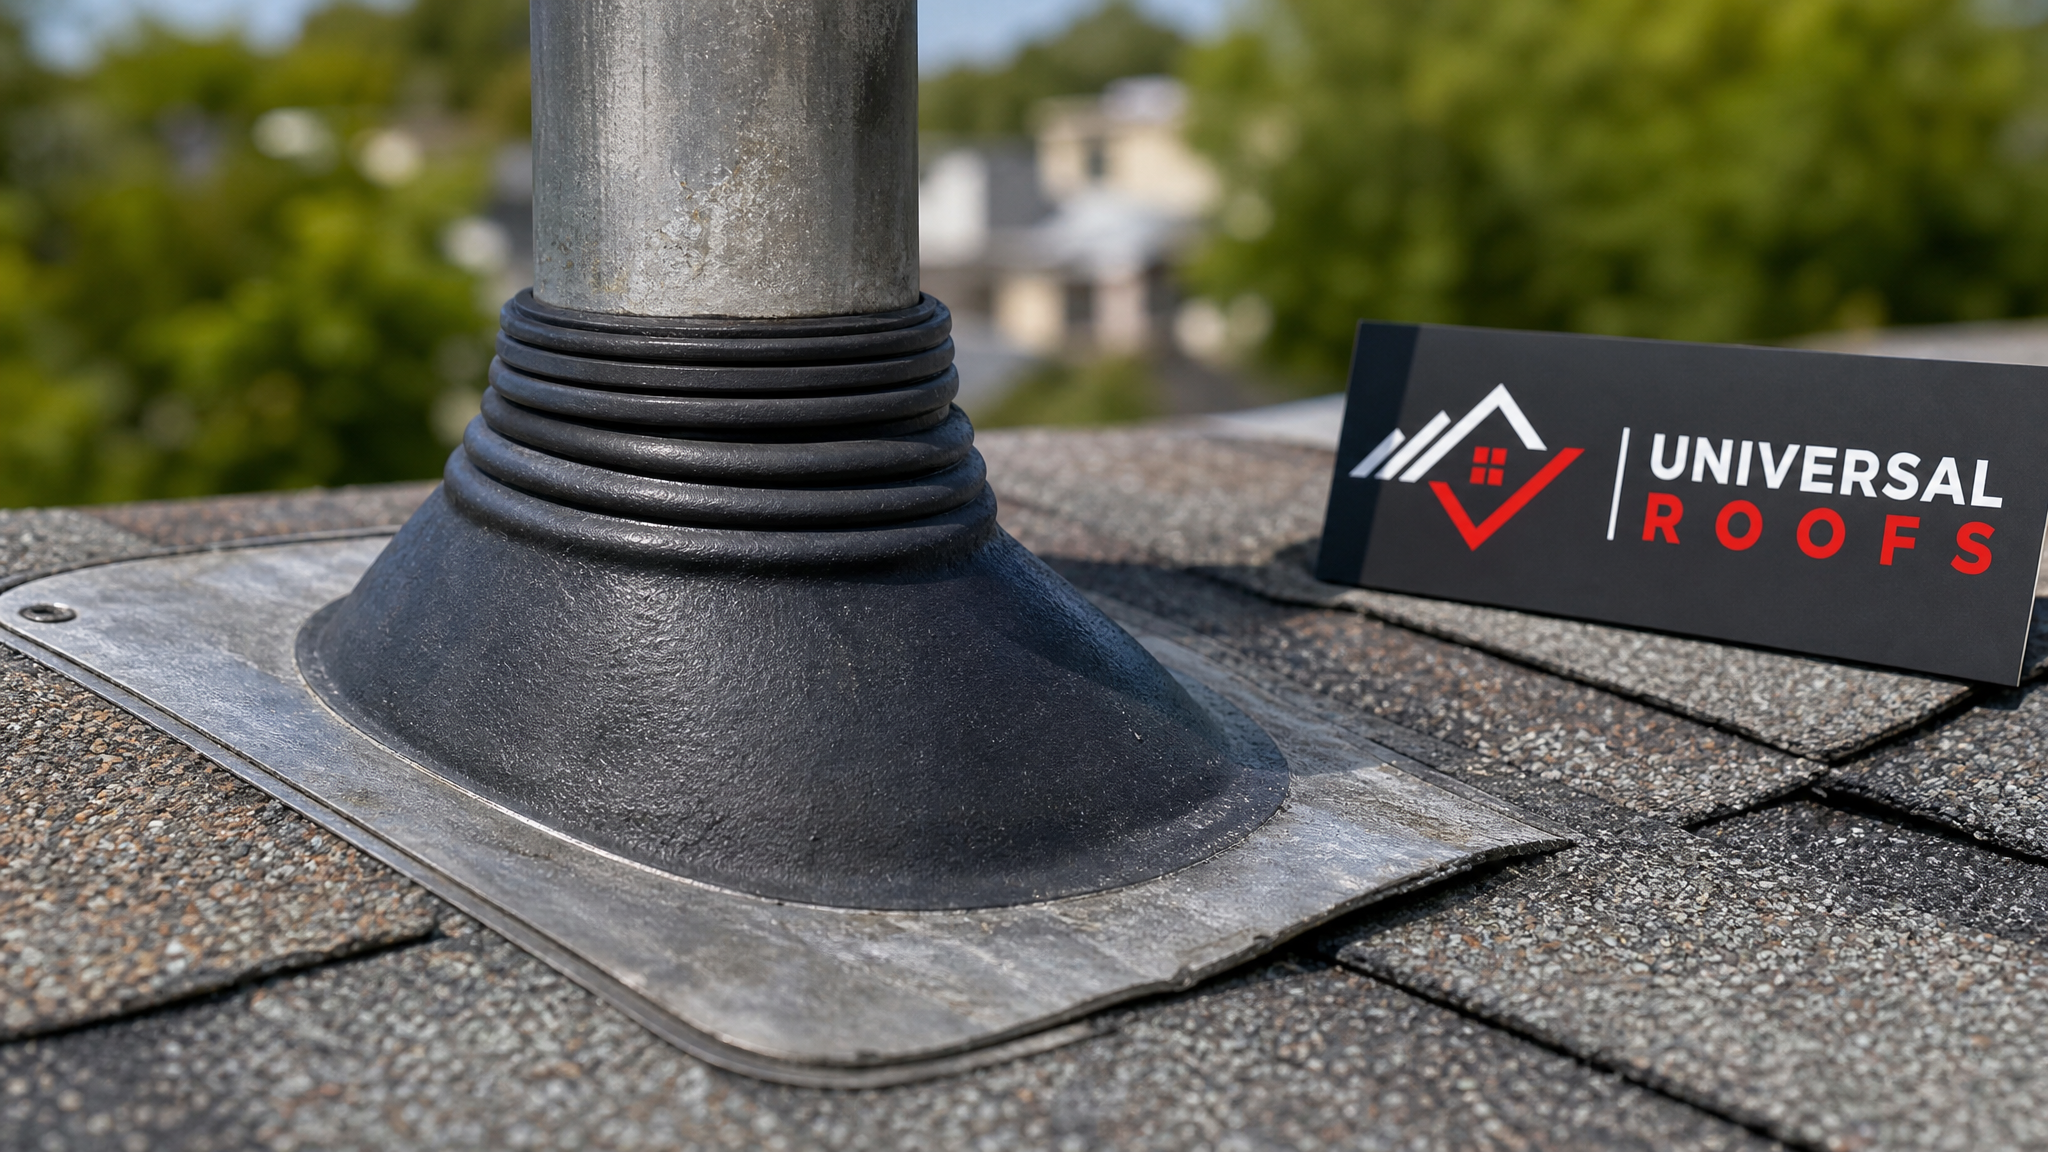
Flashing is a piece of corrosion-resistant material, usually galvanized steel, aluminum, or a moulded rubber and metal combination, installed at any point where the roof surface is broken by another structure. Around an exhaust vent, this typically takes the form of a “vent boot” or “pipe boot”: a metal base plate with a flexible rubber or thermoplastic collar that slips over the pipe and compresses tightly against it.
The base plate sits under the shingles on the upper (uphill) side of the vent and over the shingles on the lower (downhill) side. This layering, sometimes called shingle interweaving, ensures that water flowing down the roof surface is directed over the flashing and away from the penetration rather than pooling around it or seeping underneath.
Without this system, every exhaust vent, whether it serves a bathroom fan, a kitchen range hood, a dryer, a furnace, or a plumbing stack, would be an open invitation for water to enter the attic. The flashing is not decorative or optional; it is the single component standing between a small round hole in your roof deck and the wood framing, insulation, and drywall below it.
Why Flashing Is Especially Critical for Exhaust Vents
Exhaust vent flashing faces a harder job than flashing around a chimney or a skylight for a few reasons. First, the pipe itself is often narrow, which means the rubber collar must maintain a tight seal against a relatively small diameter of material that expands and contracts with temperature. Second, many exhaust vents carry warm, moist air from bathrooms, kitchens, or dryers. That warm air meets the cold underside of the roof deck in winter, and any gap around the flashing becomes a spot for condensation and even ice damming, not just rainwater intrusion.
Third, rubber and thermoplastic boots degrade faster than metal flashing because they are exposed to direct UV radiation for years at a time. A shingle roof in full summer sun in Toronto can see surface temperatures well above 60 degrees Celsius, and that heat, combined with UV exposure, dries out and cracks rubber collars long before the shingles themselves need replacing.
This is why professional roofers treat vent boot flashing as a distinct maintenance item, separate from the surrounding shingles. A roof can be only ten or twelve years old with plenty of life left in the shingles, yet still need new flashing collars around every exhaust vent. If you are unsure whether your roof falls into this category, a roof repair assessment can quickly tell you whether the flashing alone needs attention or whether broader work is required.
Common Signs of Failed Exhaust Vent Flashing
Because vent flashing sits on the roof surface and is easy to overlook from the ground, most homeowners only discover a problem once water has already reached the interior. Catching the early warning signs saves significant money and prevents mould growth in the attic. Watch for the following:
- Cracked, curled, or brittle rubber around the base of any vent pipe
- Rust staining or streaking on the shingles below a metal vent stack
- Water stains on the ceiling directly below a bathroom, kitchen, or dryer vent
- A musty smell in the attic near a vent penetration
- Visible daylight around the pipe when viewed from inside the attic
- Shingles lifting or separating from the flashing base plate
- Soft or spongy roof decking felt underfoot near the vent, a sign of prolonged leaking
Any one of these signs justifies a closer look. If you notice several at once, especially interior water stains, it usually means the leak has been active for some time and has already reached the attic insulation or roof sheathing.
How Exhaust Vent Flashing Fails Over Time
Flashing failure is rarely sudden. It is a slow process driven by a combination of material fatigue, weather cycling, and, in some cases, poor original installation. Understanding the failure pattern helps homeowners know what to expect and when to intervene.
| Failure Cause | What Happens | Typical Timeline | Warning Sign |
|---|---|---|---|
| UV degradation of rubber boot | Rubber collar dries out, cracks, and loses its grip on the pipe | 8-12 years | Visible cracking around pipe base |
| Thermal expansion and contraction | Repeated freeze-thaw cycles loosen fasteners and separate seams | 10-15 years | Nail pops, lifted flashing edges |
| Poor original installation | Incorrect shingle interweaving allows water to bypass the flashing | Can leak within 1-3 years | Early interior staining despite a new roof |
| Ice dam damage | Trapped meltwater backs up under flashing and shingles | Any age, worse in older roofs | Leaks appearing only in winter or early spring |
| Wind uplift | Strong gusts pry up flashing edges or shingle tabs around the vent | After major storm events | Sudden leak following high winds |
Because so many of these failure modes are weather-driven, GTA homeowners should pay particular attention to flashing condition after major spring thaws and after any severe summer storm with high winds or hail. A quick visual check, or a professional inspection through our roof repair service, can catch a cracked boot before it becomes a ceiling stain.
Materials Used for Exhaust Vent Flashing
Not all vent flashing is built the same way, and material choice affects both lifespan and cost. Homeowners comparing quotes or troubleshooting a leak should understand what they currently have and what the available upgrade options are.
| Material | Typical Lifespan | Pros | Cons |
|---|---|---|---|
| Standard rubber (EPDM) boot | 8-12 years | Inexpensive, flexible fit around pipe | Degrades quickly under UV exposure |
| Thermoplastic or silicone boot | 15-20 years | More UV-resistant than standard rubber | Higher upfront cost |
| All-metal (lead or aluminum) flashing | 25-40+ years | Extremely durable, no rubber to crack | Can loosen around pipe with age; needs careful forming |
| Retrofit flashing collar | 10-15 years | Installed over existing failed flashing without removing shingles | Not always a permanent fix; best as a stop-gap |
For most GTA homes, a professional will recommend matching the new flashing material to the remaining lifespan of the surrounding shingles. If the roof has another 10+ years of life, a thermoplastic or all-metal boot is usually worth the extra cost, since it won’t need replacing again before the rest of the roof does. If a full roof replacement is on the horizon anyway, a standard boot paired with proper installation may be the more economical choice.
Exhaust Vent Flashing and Attic Ventilation
Exhaust vent flashing doesn’t operate in isolation. It’s part of a broader system that includes attic ventilation, insulation, and moisture control. A poorly sealed kitchen or bathroom exhaust vent doesn’t just risk rain intrusion, it can also push warm, humid indoor air directly into the attic space, where it condenses on cold roof sheathing in winter. Over time, this creates its own moisture problem that looks a lot like a roof leak but actually originates from the home’s interior air rather than the weather outside.
This is one reason homeowners sometimes fix a “leak” by resealing flashing, only to see staining reappear a season later, because the real issue was condensation from inadequate attic ventilation combined with a marginal flashing seal. If you’re dealing with recurring moisture near a vent penetration, it’s worth having both the flashing and the attic ventilation system assessed together rather than treating them as separate problems.
Homes with skylights nearby can compound this diagnostic challenge, since skylight flashing and vent flashing can sit close together on the same roof plane and each can be blamed for the other’s leak. A qualified inspector distinguishes between the two by tracing water stains back along the roof deck framing, and, where needed, addressing both the vent boot and the skylights flashing in the same visit. In some cases, an older or heavily worn unit is better served by full skylight replacement rather than a repeated cycle of resealing.
DIY Repair Versus Professional Replacement
Some homeowners attempt to reseal a cracked vent boot themselves using roofing caulk or sealant applied around the base of the pipe. This can buy a small amount of time, but it is not a genuine repair, and most roofing professionals consider it a temporary patch at best. Caulking over cracked rubber does not restore the flexible seal the boot was designed to provide, and the sealant itself typically fails within a single season of Toronto weather.
Ontario building codes call for shingles to overlap flashing correctly at each course, and that layering cannot be recreated with caulk alone once shingles are already in place. Proper repair generally means removing the surrounding shingle courses, replacing the flashing base and boot as a unit, and reinstalling the shingles with correct interweaving.
| Approach | Cost Range (CAD) | Expected Lifespan | Best For |
|---|---|---|---|
| DIY caulk or sealant patch | $15-$40 (materials only) | A few months to 1 year | Emergency stop-gap before a storm |
| Retrofit collar over existing boot | $150-$300 | 10-15 years | Roofs with sound surrounding shingles |
| Full flashing and boot replacement (per vent) | $250-$500 | 15-25+ years depending on material | Most permanent, code-compliant repair |
| Multiple vents serviced in one visit | $400-$900 for 2-4 vents | 15-25+ years | Homes with several roof penetrations |
Costs vary depending on roof pitch, the number of shingle courses that need to be lifted, and accessibility. A single-storey bungalow roof in Mississauga will generally cost less to service than a steep, multi-level roof in older Toronto neighbourhoods with mature trees and tighter access. Our roof repair team provides an itemized quote after a physical inspection so there are no surprises once work begins.
Why Professional Installation Matters
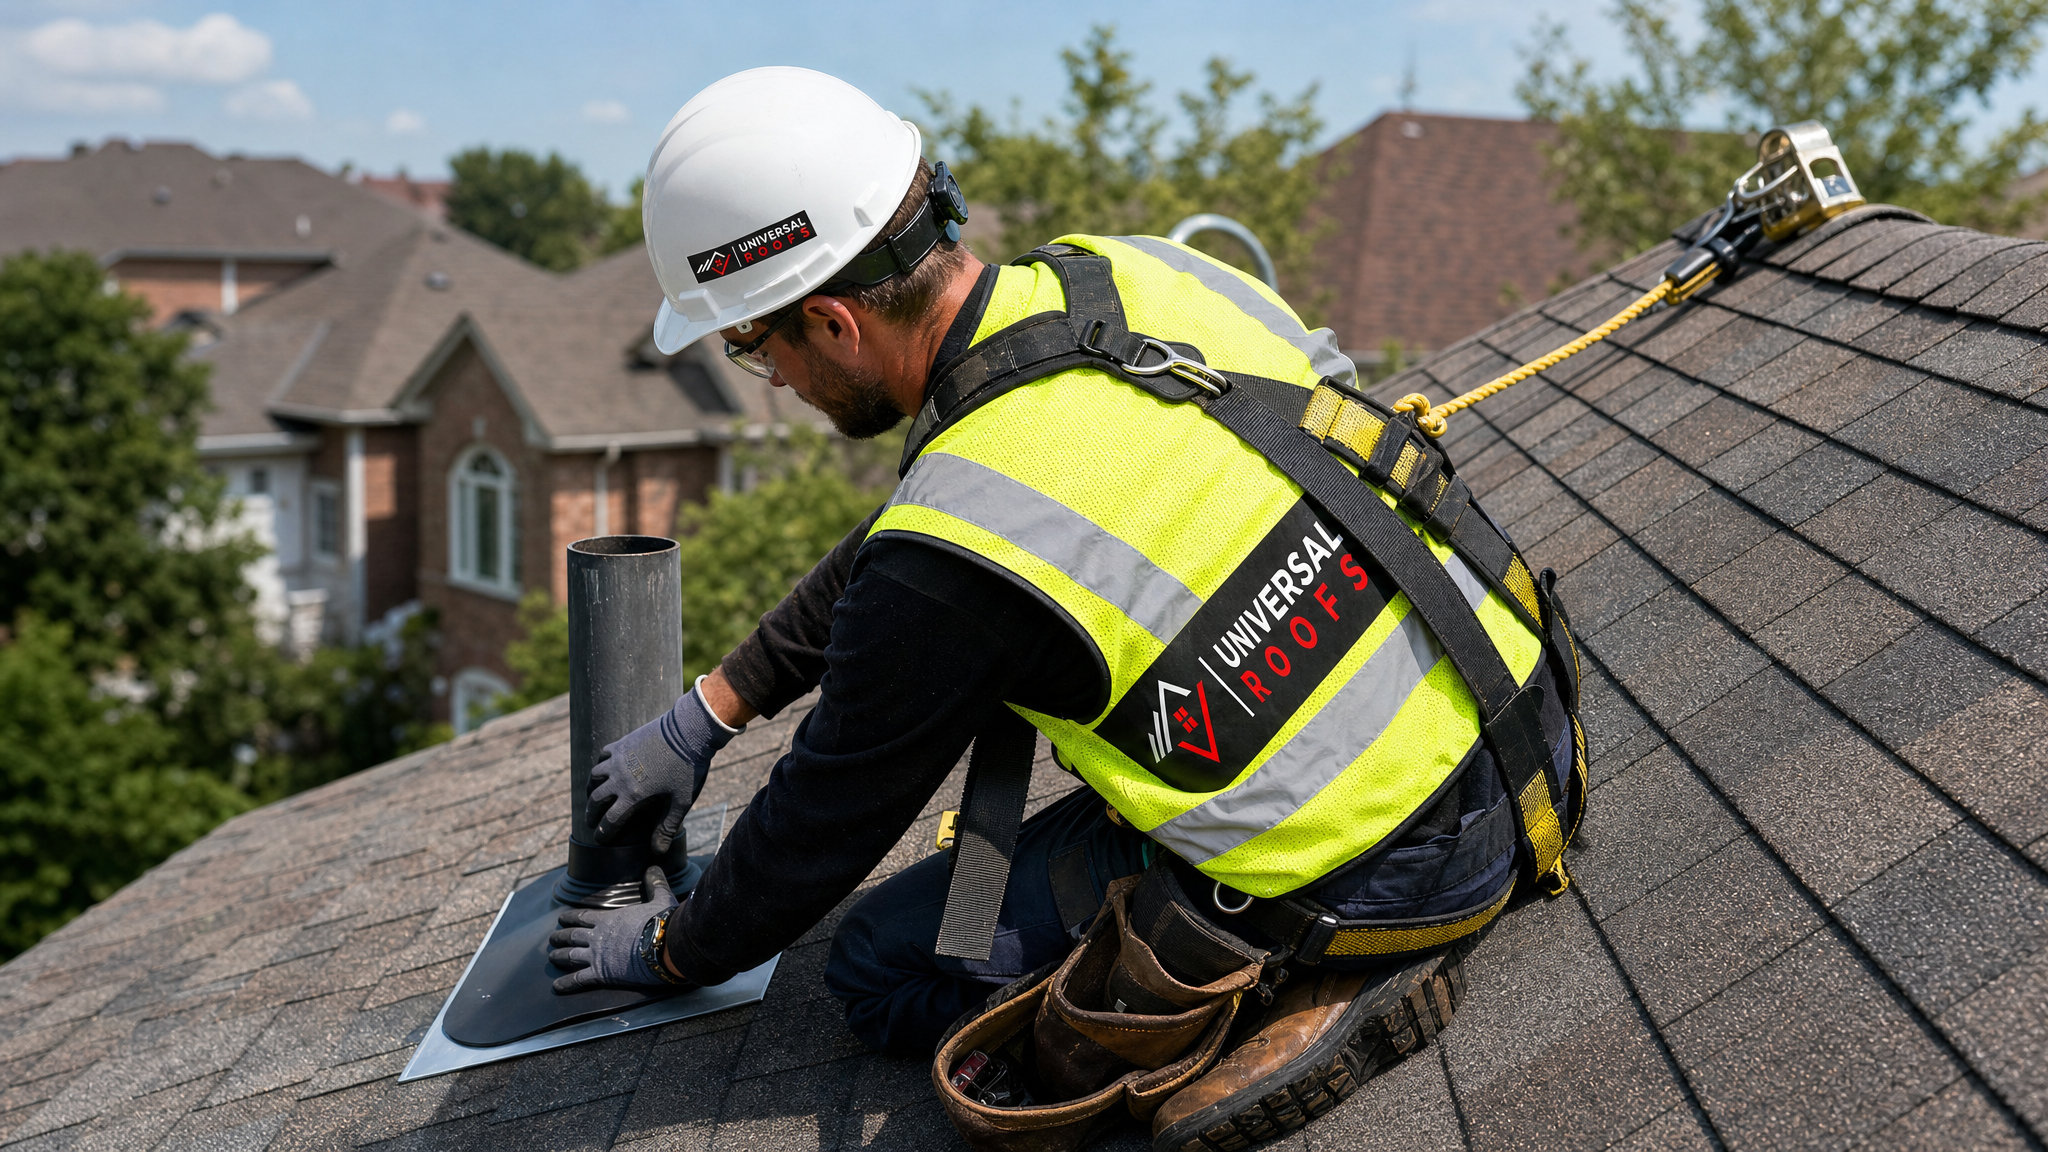
The single biggest factor in exhaust vent flashing longevity isn’t the material, it’s the quality of the original installation. A boot made from premium thermoplastic will still leak within a year if it’s installed with incorrect shingle interweaving, insufficient fastener placement, or a collar that doesn’t fully compress around the pipe diameter. This is why a large share of “new roof” leaks reported to roofing contractors turn out to be installation errors around penetrations rather than a defect in the shingles themselves.
A properly trained roofer will select a boot sized correctly for the vent pipe diameter, ensure the base plate is fully weatherproofed with the correct number of courses above and below it, and use fasteners and sealant rated for the specific flashing material to avoid galvanic corrosion between dissimilar metals. This last point matters more than most homeowners realize: mixing aluminum flashing with steel fasteners, for example, can cause corrosion that weakens the flashing years before it should otherwise fail.
Because these details are easy to get wrong and hard to inspect from the ground, most GTA homeowners rely on a professional assessment rather than guessing. You can read what past clients have experienced on our reviews page, or browse common questions on our FAQ page before booking a visit.
Seasonal Timing for Exhaust Vent Flashing Repairs
Roofing contractors in the GTA see a predictable seasonal pattern in flashing-related service calls. Spring brings a wave of calls following snowmelt and ice dam damage from the winter. Summer, including the current season, is often the best window for proactive flashing replacement, since shingles are pliable in the heat, which makes it easier to lift and reset them cleanly around the vent boot without cracking. Fall is the last practical window before winter, and many homeowners choose to have flashing serviced then specifically to avoid a mid-winter leak when access and repair options are limited.
If you’ve noticed early warning signs, cracking rubber, a small stain, a musty smell, mid-summer is genuinely a good time to have it addressed rather than waiting for a fall or spring rush when scheduling fills up quickly across the region.
How Universal Roofs Approaches Exhaust Vent Flashing
When our team is called out to inspect a roof for a suspected vent flashing issue, we start by tracing every exhaust penetration on the roof, not just the one the homeowner flagged, since a failing boot in one location often means the others installed at the same time are approaching the end of their life too. We check the condition of the rubber or thermoplastic collar, the fastener pattern, the shingle interweaving above and below the base plate, and whether there’s any evidence of water having already reached the roof deck.
From there, we provide a clear recommendation: a targeted repair if the surrounding shingles and decking are sound, or a broader look at the roof if we find evidence the leak has been active long enough to affect the deck or attic insulation. We serve homeowners across Toronto, the Peel Region, York Region, Halton Region, and the Durham Region, and every flashing repair is completed to match the surrounding roofing material and colour so the finished work blends in rather than standing out as a visible patch. To learn more about our team and licence history, visit our about page.
Why is roof flashing important for exhaust vents?
How do I know if my exhaust vent flashing has failed?
How often should exhaust vent flashing be replaced?
Can I repair exhaust vent flashing myself with caulk?
Does exhaust vent flashing affect attic condensation?
How much does it cost to replace exhaust vent flashing in the GTA?
Need Help With Why Is Roof Flashing?
Exhaust vent flashing is a small component with an outsized job, and getting it right protects your attic, insulation, and ceilings from years of hidden water damage. Universal Roofs has been diagnosing and repairing flashing issues across the GTA since 2005, and we can tell you within one visit whether your vents need a simple reseal or a full replacement.
Call us today at (416) 732-2421 or request a free inspection to get started.
Universal Roofs proudly serves Toronto, Mississauga, Brampton, Vaughan, Markham, Oakville and the GTA since 2005.