
If you have noticed a brown stain spreading across your ceiling drywall directly below your bathroom or kitchen, there is a good chance the culprit is not your shingles at all. It is the small plastic or metal pipe poking through your roof deck: the plumbing vent stack. Homeowners across Toronto, Mississauga, Vaughan and the rest of the GTA are often surprised to learn that why do vent pipes cause roof leaks is one of the most common questions we field on service calls, right alongside questions about flashing and shingle wear.
Vent pipes are a required part of every home’s plumbing system, and they are also one of the most frequent sources of hidden roof leaks we diagnose. The pipe itself rarely fails. What fails is the seal around it, called a boot or flashing collar, and that seal is engineered with a shorter lifespan than the shingles surrounding it. In a climate like ours, with sharp freeze-thaw cycles, humid summers and heavy spring rain, that mismatch in lifespan becomes a real problem faster than most homeowners expect.
In this guide we will explain exactly why vent pipes cause roof leaks, walk through the materials involved, show you how to spot the early warning signs from inside your attic and on your ceiling, and lay out what a proper repair looks like compared to a quick patch job. We will also cover cost ranges, timelines, and when a small vent pipe leak is actually a sign of a bigger roofing issue.
What a Roof Vent Pipe Actually Does
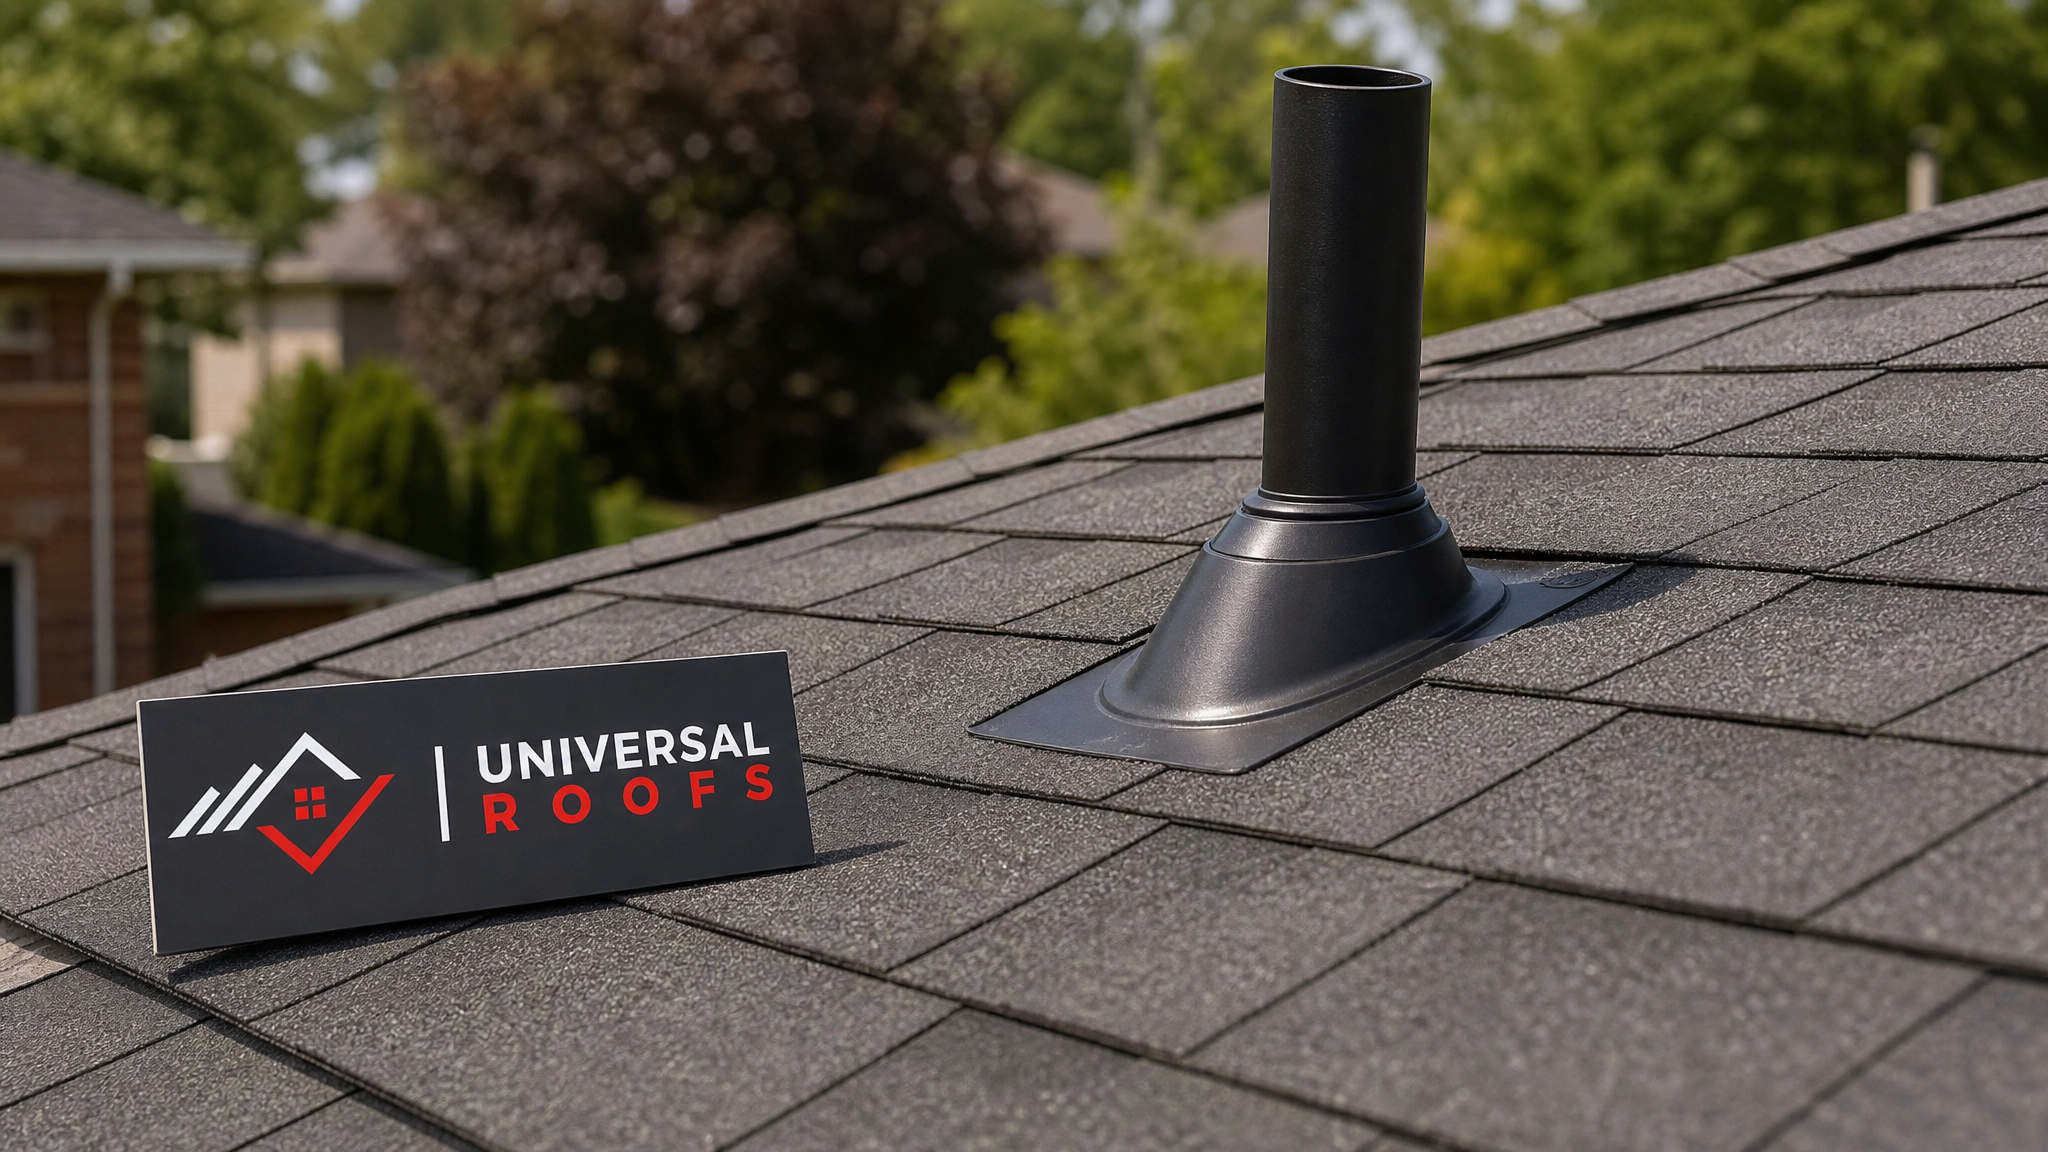
Every home with modern plumbing has at least one vent pipe, sometimes called a plumbing stack, poking through the roof. Its job has nothing to do with keeping water out. Instead, it equalizes air pressure in your drain-waste-vent (DWV) system, letting sewer gases escape safely above the roofline while allowing air to flow into the pipes so that water can drain properly from sinks, tubs and toilets without gurgling or siphoning the trap seals dry.
Because the pipe has to penetrate the roof deck, shingles, and underlayment to reach open air, it creates a hole in an otherwise continuous waterproof surface. That hole has to be sealed around the pipe with a purpose-built flashing component, and this is where the story of most vent pipe leaks begins.
Most GTA homes built from the 1980s onward use one to three vent stacks, typically 2 to 4 inch diameter PVC or ABS pipe, though older homes may still have a cast iron or galvanized steel stack. Each penetration needs its own flashing boot, and each boot is a potential failure point regardless of how good the surrounding shingles are. If you are unsure how many vent penetrations your roof has, an easy way to check is to look at your roof from the ground with binoculars, or better yet, book a full roof repair inspection so a professional can check every penetration at once.
Why Do Vent Pipes Cause Roof Leaks in the First Place
The short answer is that the rubber or plastic collar wrapped around the pipe degrades faster than everything else on your roof, and once it cracks, water has a direct path into your attic. Here is the fuller explanation, broken into the main causes we see on inspections across the GTA.
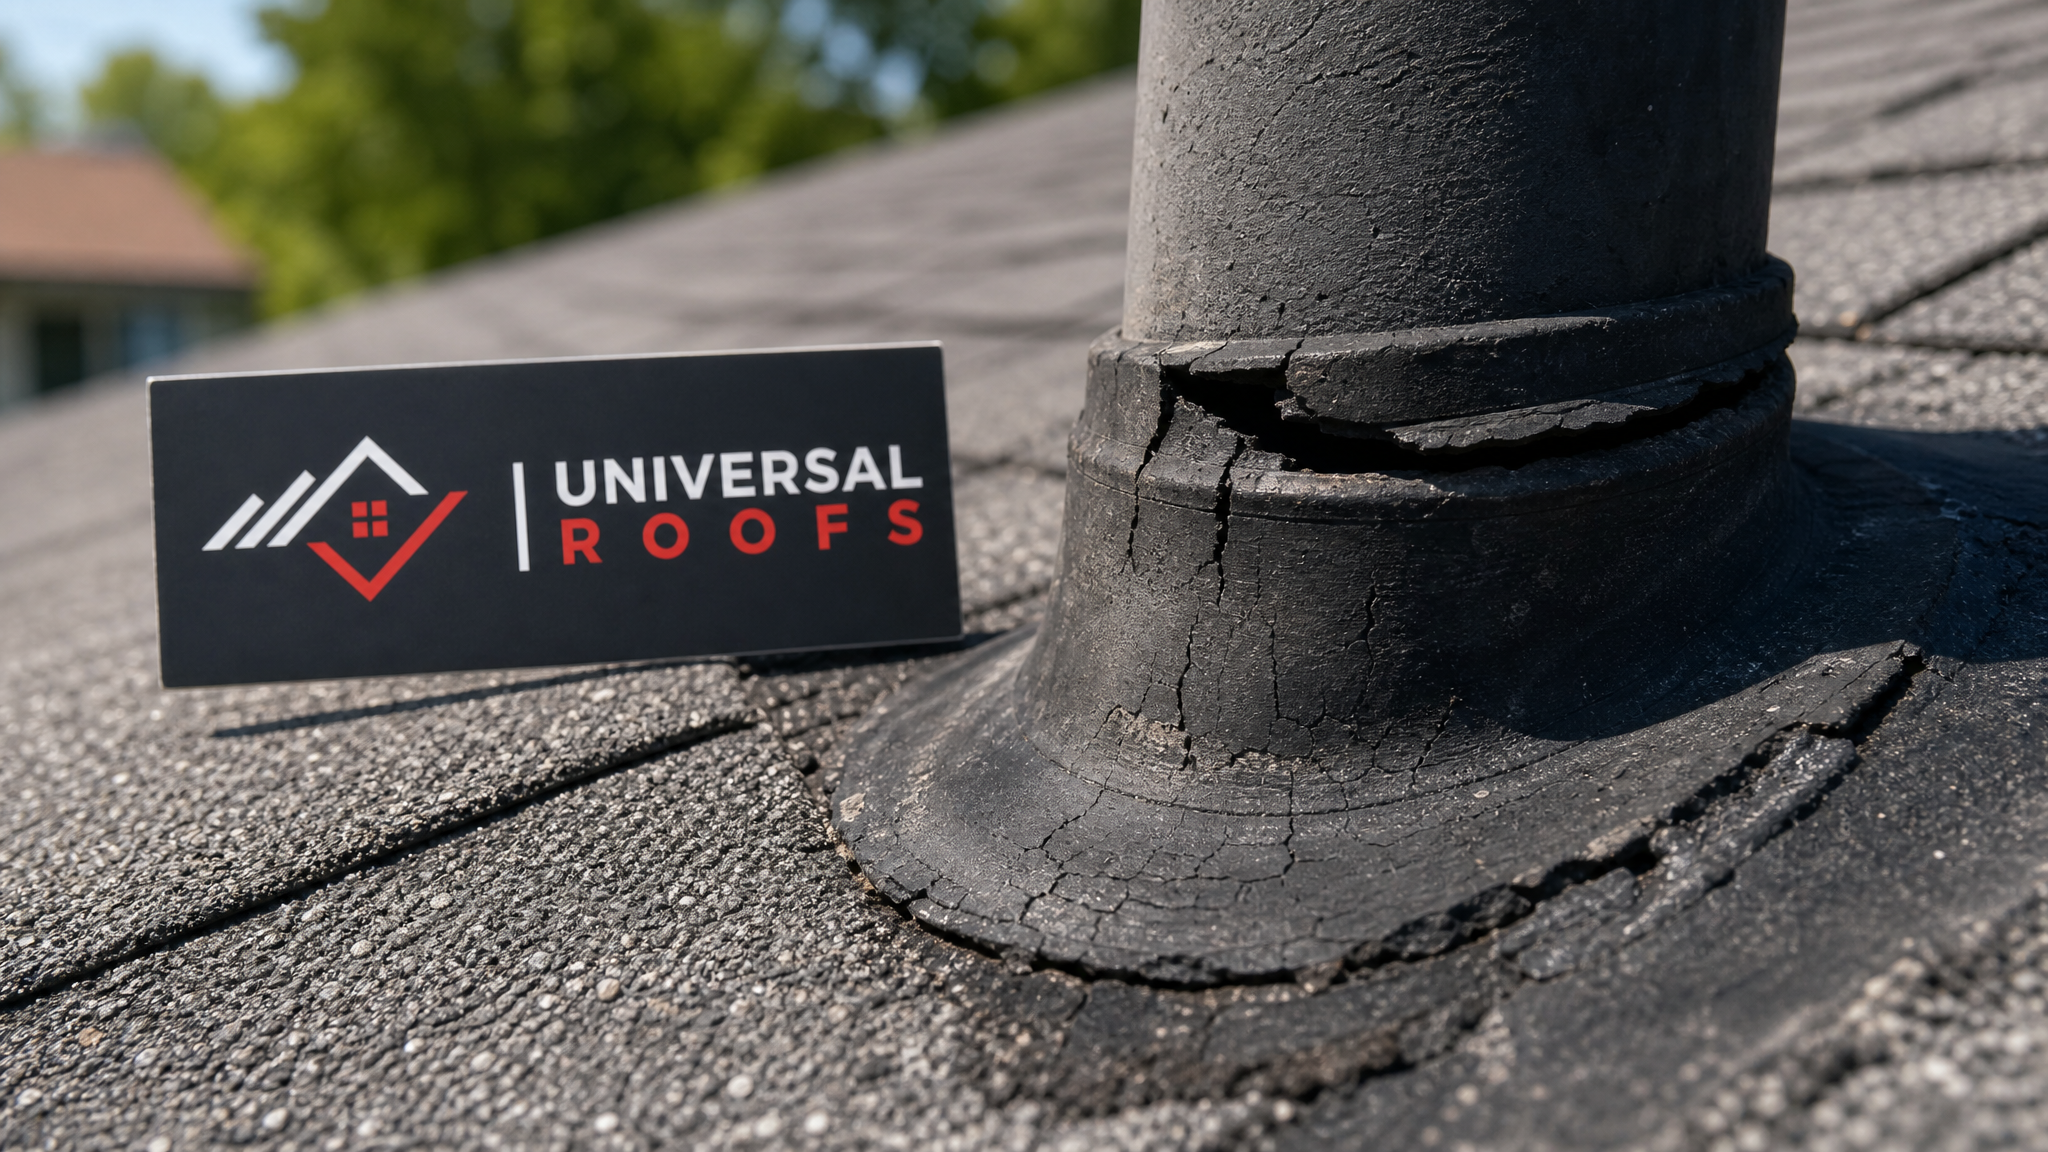
1. The rubber boot dries out and cracks. Most vent pipe flashings use a neoprene or thermoplastic rubber collar that stretches snugly around the pipe to form a watertight seal. Rubber degrades under UV exposure and temperature swings. In Toronto’s climate, where summer roof surface temperatures can exceed 60 degrees Celsius and winter nights regularly drop below minus 15, that rubber collar is under constant thermal stress. Most rubber boots last 8 to 12 years, noticeably shorter than a 25 to 30 year asphalt shingle roof. That means on almost every roof over a decade old, the vent boots are the weakest link, not the shingles.
2. Nail heads and fasteners back out. The metal flashing base beneath the rubber collar is nailed to the roof deck, then shingled over. As the roof expands and contracts through seasonal temperature changes, nails can work themselves loose over years, called nail pop or fastener backout. Once a nail head rises even a few millimetres, it creates a tiny gap that lets water seep beneath the flashing during wind-driven rain.
3. Improper installation from the start. We frequently find vent boots that were never properly integrated into the shingle courses, meaning the flashing sits on top of the shingles instead of being properly woven in with the upper courses overlapping the flashing and the lower courses tucked beneath it. This is a common shortcut that saves the installer a few minutes but guarantees a leak within a few years.
4. Ice damming and freeze-thaw cycling. During a typical GTA winter, snowmelt refreezes at the roof edge and can back up under shingles, including around vent penetrations. Repeated freeze-thaw cycling accelerates the cracking of an already aging rubber boot and can lift flashing edges that were only marginally sealed to begin with.
5. Sealant failure. Some installations rely partly on roofing cement or sealant around the base of the boot rather than proper mechanical flashing. Sealant is not a permanent fix. UV exposure dries it out, and it will crack and shrink within a few seasons, especially in direct summer sun.
Warning Signs Your Vent Pipe Flashing Is Failing
Vent pipe leaks are sneaky because they rarely show up as an obvious puddle. Water tends to travel along roof sheathing and rafters before it finally shows on your ceiling, so the stain you see indoors is not always directly below the actual leak point. Here is what to watch for.
- A brown or yellow ring-shaped stain on ceiling drywall, often below or near a bathroom, laundry room, or kitchen
- Peeling paint or bubbling drywall tape near an interior wall that lines up with a vent stack location
- Musty odours in an upstairs closet or bathroom that intensify after rain
- Visible daylight around the pipe when you look up into the attic near the roof deck
- Darkened, damp, or mouldy insulation directly surrounding the vent pipe in the attic
- Cracked, curled, or missing sections of the rubber boot visible from a ladder or drone inspection
- Soft or spongy roof decking felt underfoot during a professional roof walk near the penetration
If you can safely access your attic, a flashlight inspection around every vent pipe penetration takes only a few minutes and is one of the best free diagnostic steps a homeowner can do. Look for water staining on the wood, rust streaks on nails, or any point where you can see a sliver of daylight around the pipe collar.
Vent Pipe Flashing Types and How Long They Actually Last
Not all vent pipe flashings are built the same, and the material matters a lot for how long you can expect the seal to hold before it needs attention. The table below compares the flashing types most commonly used on GTA homes.
| Flashing Type | Typical Lifespan | Common Failure Mode | Best For |
|---|---|---|---|
| Neoprene rubber boot (standard) | 8-12 years | UV cracking, drying, splitting | Standard residential re-roofs |
| Silicone rubber boot (upgraded) | 15-20 years | Minor UV fading, rarely splits | Homes wanting longer service life |
| All-metal (lead or aluminum) boot | 25-30+ years | Metal fatigue, seam separation over decades | Premium installs, matching 30 year shingles |
| Sealant-only or retrofit collar | 2-5 years | Shrinking, cracking, poor adhesion | Temporary fix only, not recommended long-term |
| Two-piece adjustable boot | 10-15 years | Cracking at moving joint | Pipes at unusual angles or slopes |
Because rubber boots wear out well before the shingles around them, most manufacturers and roofing associations recommend inspecting and, if needed, replacing vent pipe flashings roughly every 10 years even if the rest of the roof looks fine. This single maintenance step prevents the majority of vent-related leaks we get called out for.
DIY Sealant Fix vs Full Flashing Replacement
When homeowners spot a small crack in the rubber boot, the instinct is often to grab a tube of roofing sealant and cover it up. That approach can buy a small amount of time, but it is rarely a lasting solution, and in our experience it often masks a bigger problem rather than solving it. Here is an honest comparison of the two approaches.
| Factor | DIY Sealant Patch | Professional Flashing Replacement |
|---|---|---|
| Typical cost | $15-30 in materials | $250-550 per penetration, labour included |
| Time to complete | 15-30 minutes | 1-2 hours per penetration |
| Expected lifespan of fix | 1-3 years, often less | 10-20+ years depending on material |
| Addresses underlying shingle integration | No | Yes, shingles are lifted and re-woven properly |
| Risk if underlying decking is already damp | Leak continues hidden, rot spreads | Decking is inspected and repaired if needed |
| Warranty coverage | None | Typically covered under workmanship warranty |
A sealant patch has its place as a genuine emergency stop-gap, for example before an unexpected overnight storm when a proper repair cannot be scheduled in time. But it should always be followed up with a permanent flashing replacement, ideally within the same season. Trying to stretch a caulk patch across multiple winters in our climate almost always ends with sheathing rot that turns a $300 repair into a $3,000 one.
What a Professional Vent Pipe Flashing Repair Involves
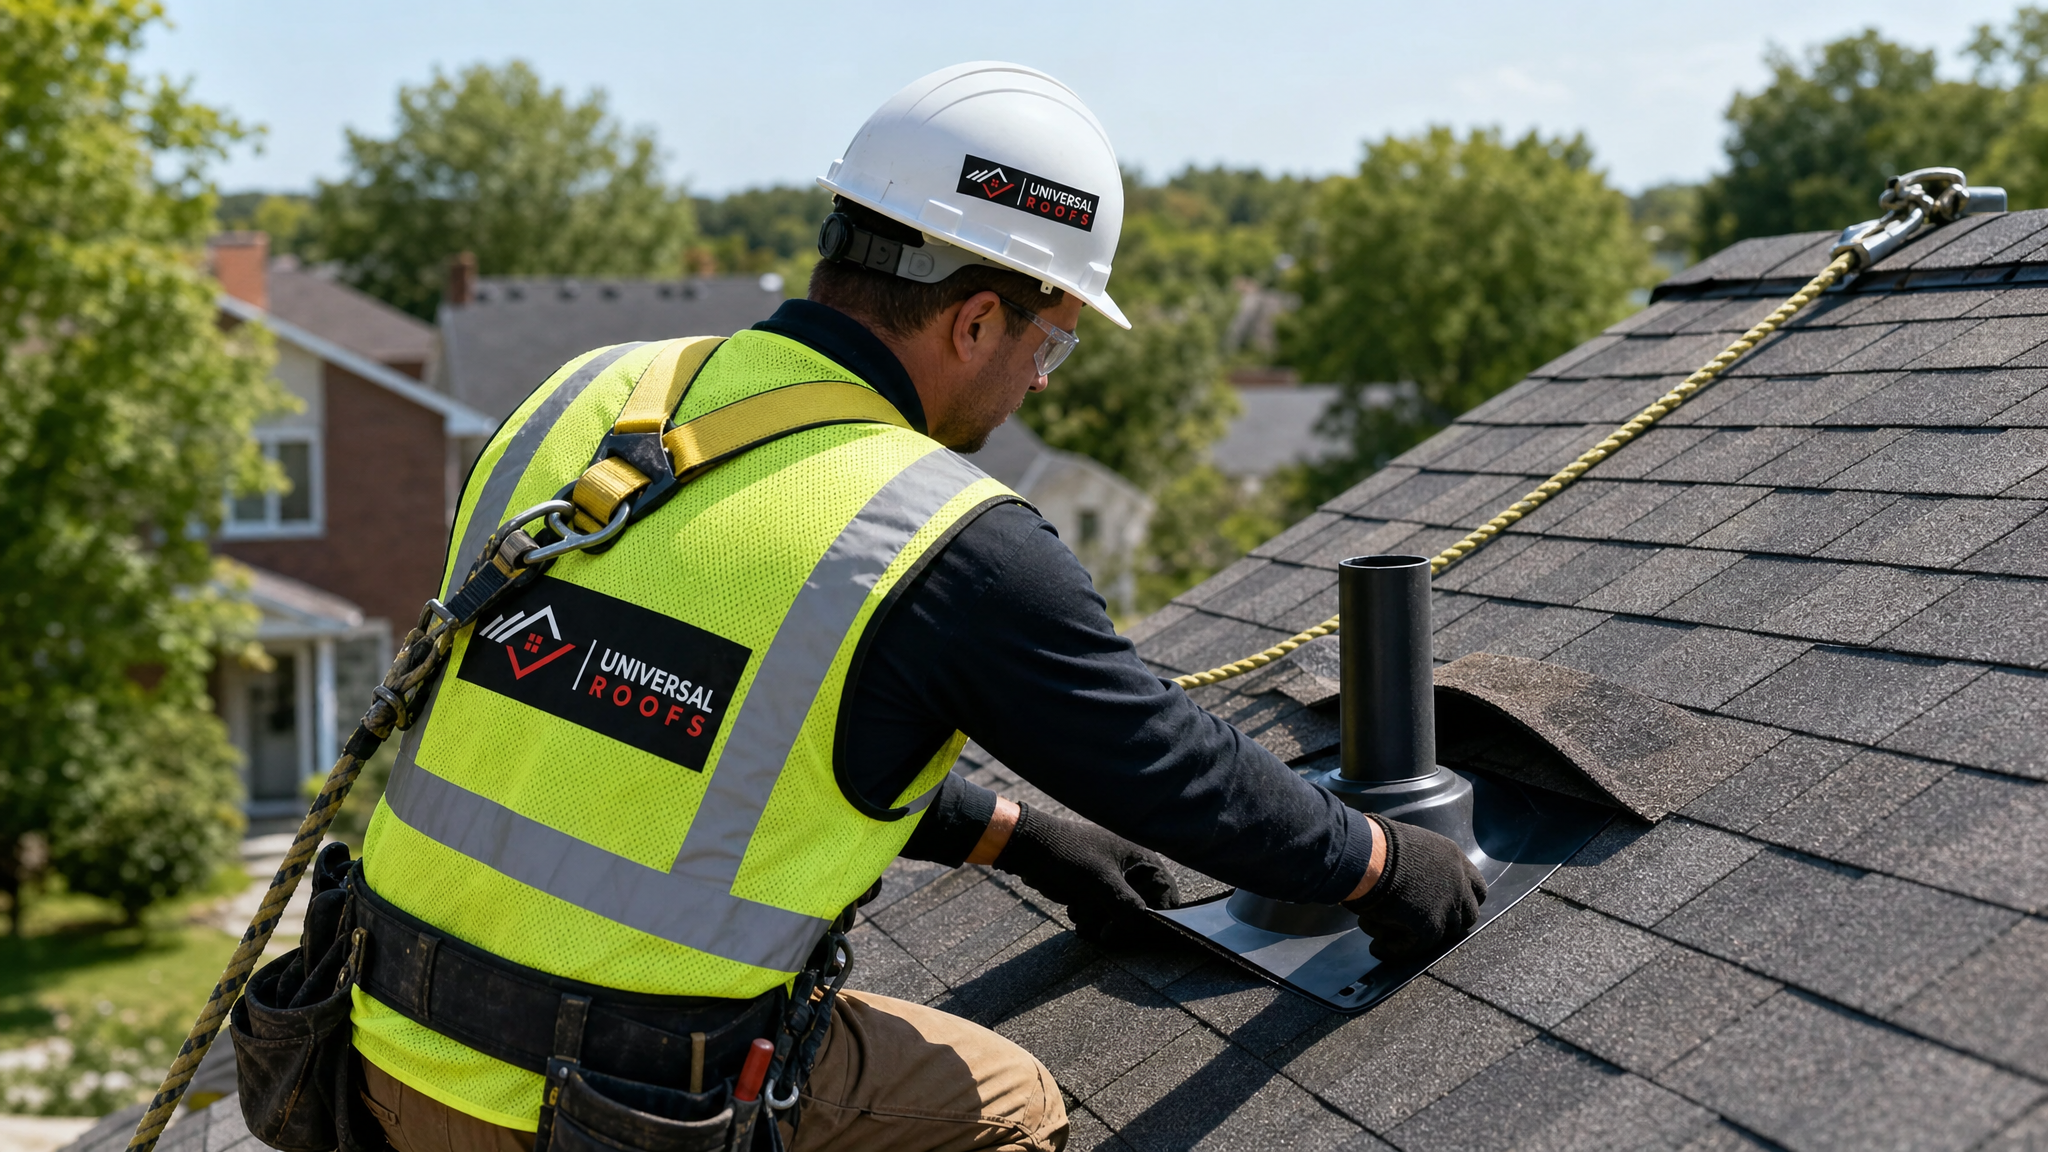
When our crews are called out for a vent pipe leak, the process typically follows these steps, and understanding them helps homeowners know what to expect and verify the work was done properly.
- Diagnosis. We confirm the vent pipe boot is the actual leak source rather than a nearby valley, chimney flashing, or skylight, since ceiling stains do not always originate directly above the visible mark. If your home also has a skylight nearby, it is worth having that checked at the same time through our skylights service, since skylight flashing shares many of the same failure patterns as vent boots.
- Shingle removal. The shingle courses surrounding the pipe are carefully lifted and, where necessary, removed to expose the full flashing assembly, not just the visible rubber collar.
- Old flashing removal. The failed boot and its metal base are removed along with any old roofing cement, which is scraped back to clean decking.
- Deck inspection and repair. The exposed roof deck is checked for soft spots, water staining, or rot. Damaged plywood or oriented strand board is cut out and replaced before any new flashing goes on.
- New boot installation. A new flashing boot, sized correctly for the pipe diameter, is slid over the pipe and set into new underlayment.
- Proper shingle weaving. New and existing shingles are woven back in correctly, upper courses overlapping the top of the flashing, lower courses tucked beneath, so that water sheds naturally over the repair rather than pooling against it.
- Sealing and finishing. Fasteners are set and covered, and a compatible roofing sealant is applied only at the fastener heads and edges, never as the primary waterproofing method.
- Attic check. A final look from inside the attic confirms no daylight is visible around the repaired penetration and that insulation displaced during the diagnosis has been restored.
This full sequence typically takes one to two hours per vent penetration for an experienced crew, longer if deck rot is discovered. It is worth noting that a repair limited to a single flashing rarely requires touching the rest of the roof, but if your shingles are already near the end of their service life, it may make more financial sense to consider a full roof replacement instead of repeatedly patching individual penetrations.
Vent Pipe Leaks on Flat Roofs vs Sloped Shingle Roofs
The mechanics of a vent pipe leak differ somewhat depending on your roof type, and it matters for how the repair is approached.
| Roof Type | Typical Flashing Method | Common Failure Point | Repair Approach |
|---|---|---|---|
| Asphalt shingle (sloped) | Rubber boot woven into shingle courses | Cracked rubber collar, nail pop | Shingle removal, boot swap, re-weave |
| Flat / low-slope membrane | Pipe boot bonded directly to membrane | Membrane seam separation around pipe base | Membrane patch or pipe boot re-bond |
| Metal roofing | Formed metal collar with sealant bead | Sealant shrinkage, thermal movement gaps | Collar resealing or full metal boot replacement |
| Cedar shake | Custom-formed lead or copper flashing | Corrosion, shake movement around pipe | Custom flashing fabrication and reset |
Flat and low-slope roofs are especially sensitive to vent pipe issues because there is no slope to help shed water away from the penetration, so any gap in the seal tends to pond water directly against it rather than letting it run off. If you have a flat-roofed addition, garage, or commercial building in the GTA, our flat roofing team uses membrane-specific pipe boots designed for that ponding risk, which is a different product entirely from the rubber boots used on sloped shingle roofs.
How Vent Pipe Leaks Connect to Attic Health
A slow vent pipe leak rarely stays contained to the roof deck. Once water gets past the flashing, it drips onto attic insulation, and wet insulation loses most of its R-value while also creating the damp, dark conditions mould needs to establish itself on rafters and sheathing. Over a single humid Toronto summer, a leak that seemed minor in spring can lead to visible mould colonies by August.
This is one of the reasons we always recommend a combined roof and attic inspection rather than looking at the two separately. Poor attic ventilation can also accelerate flashing failure, because excess heat and moisture trapped in the attic bakes the underside of the rubber boot from below at the same time UV rays are degrading it from above. If your attic runs noticeably hot in summer or has visible frost on the underside of the roof deck in winter, it is worth having our attic team assess your ventilation alongside any vent pipe repair.
Preventing Vent Pipe Leaks Before They Start
Because vent boot failure is predictable and follows a fairly consistent timeline, prevention is far cheaper than repair. Here is what we recommend to homeowners across Toronto, Peel, York, Halton and Durham regions.
- Schedule a roof inspection at least once every two years, and always after a major wind or hailstorm
- Ask specifically about vent boot condition during any inspection, since it is easy for these small components to be overlooked in a general visual check
- Replace rubber boots proactively around the 10 to 12 year mark rather than waiting for a visible leak
- Keep gutters and downspouts clear so water is not backing up toward the eaves and penetrations
- Check your attic seasonally, especially after spring melt and after any prolonged summer rainfall
- Consider upgrading to silicone or all-metal boots at your next re-roof for a longer service life
- Do not let moss or debris accumulate around the base of vent pipes, as trapped moisture accelerates rubber degradation
Homeowners in Mississauga, Brampton, and across our Peel Region service area, as well as those in York Region communities like Vaughan and Markham, tend to see slightly different weathering patterns depending on tree cover and prevailing wind exposure, but the underlying vent boot lifespan is consistent everywhere in the GTA climate.
Cost to Fix a Leaking Vent Pipe in the GTA
Costs vary based on roof pitch, accessibility, number of penetrations, and whether decking repair is required. Below is a realistic cost range based on jobs we complete across the region.
| Scope of Work | Estimated Cost Range | Typical Turnaround |
|---|---|---|
| Single rubber boot replacement, no deck damage | $250-450 | Same day |
| Single boot replacement with minor deck repair | $450-800 | 1 day |
| Multiple vent penetrations on one visit | $600-1,400 | 1 day |
| Upgrade to premium silicone or metal boot | $350-650 per penetration | Same day |
| Flat roof membrane pipe boot repair | $400-900 | 1 day |
These figures assume a straightforward, accessible roof. Steep pitch, multiple storeys, or extensive rot discovered during the repair can increase costs. We always provide a firm, itemized quote before any work begins so there are no surprises once our crew is on site.
When a Vent Pipe Leak Signals a Bigger Roofing Problem
Occasionally, what looks like an isolated vent pipe leak is actually one symptom of a roof that is nearing the end of its useful life overall. If your shingles are already curling, granules are washing into your gutters in large amounts, or you are seeing leaks at multiple, unrelated points on the roof at the same time, replacing individual flashings piecemeal stops making financial sense.
A qualified inspector can tell you honestly whether a $300 flashing repair is the right call or whether that money is better put toward a full roof replacement that resolves every weak point at once, including all vent penetrations, valleys, and edge flashing in a single project. We would rather give you that honest assessment upfront than have you pay for repairs on a roof that needs replacing within a year or two anyway.
You can see examples of past repair and replacement work, along with feedback from homeowners across the region, on our reviews page, and general answers to common roofing questions on our FAQ page.
Why do vent pipes cause roof leaks more often than other roof penetrations?
How do I know if my ceiling stain is from a vent pipe leak?
Can I fix a vent pipe leak myself with caulking?
How much does it cost to replace a vent pipe boot in Toronto?
How often should vent pipe flashing be inspected or replaced?
Does a vent pipe leak mean I need a full roof replacement?
Need Help With Why Do Vent Pipes?
Vent pipe leaks are one of the most common yet most fixable roofing problems homeowners across the GTA face, and catching one early almost always saves money compared to letting it spread into your attic and ceiling. Universal Roofs has been diagnosing and repairing exactly this kind of leak on Toronto-area homes since 2005, and we know precisely where to look and how to do the repair right the first time.
Call us today at (416) 732-2421 or request a free inspection to get started.
Universal Roofs proudly serves Toronto, Mississauga, Brampton, Vaughan, Markham, Oakville and the GTA since 2005.