
If you have ever watched a roofing crew work on a chimney, skylight, or wall junction, you have probably seen them use both metal flashing and a tube of sealant on the same detail. That can make the two look interchangeable, but they are not, and confusing them is one of the most common reasons homeowners end up with a leak that keeps coming back no matter how many times they patch it. Understanding the difference between roof flashing and sealant is the first step toward diagnosing a leak correctly and choosing a repair that actually lasts through a Toronto winter.
Roof flashing and sealant do related jobs but they are built from different materials, they are installed in different ways, and they have very different lifespans. Flashing is a rigid, engineered metal or composite barrier that physically directs water away from vulnerable joints. Sealant is a flexible, adhesive compound that fills small gaps and locks fasteners in place. When a roofer relies on sealant to do a flashing’s job, or expects flashing alone to seal an irregular gap, the result is almost always a callback within a year or two.
In this guide we will walk through exactly how each material works, where each one belongs on a roof, how they fail differently, and how a properly built roof detail uses both in the right proportions. We will also cover the maintenance routine that keeps flashing and sealant working together over the 15 to 25 year lifespan of an asphalt shingle roof in the Greater Toronto Area.
What Roof Flashing Actually Does
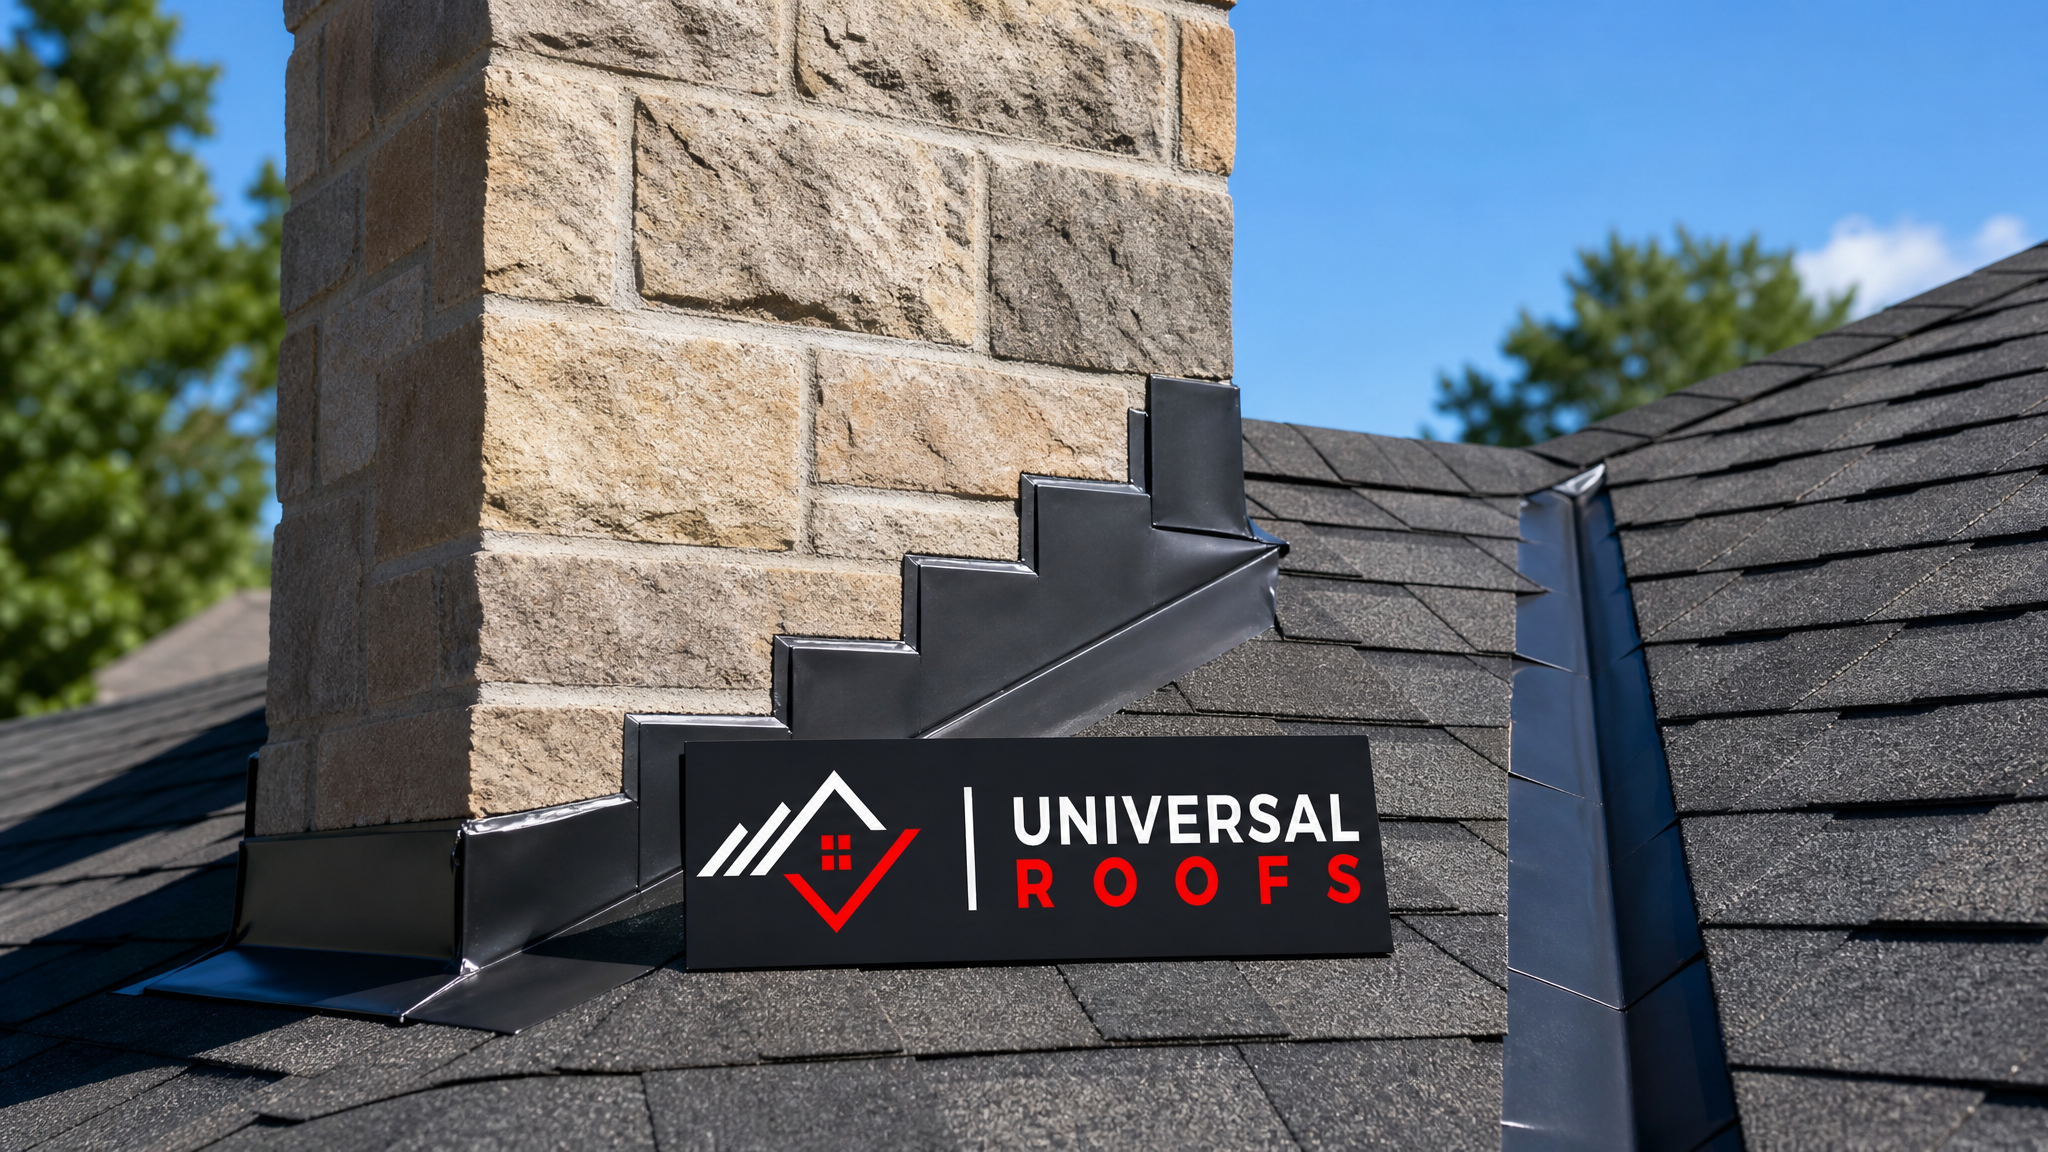
Flashing is a thin, rigid material, almost always galvanized steel, aluminum, or copper, that is shaped and layered to redirect water around a break in the roofing surface. Anywhere a roof plane is interrupted, at a chimney, a wall, a skylight curb, a valley, a vent pipe, or the edge of the roof itself, water has nowhere to shed unless something bridges that gap. Flashing is that bridge.
The defining feature of good flashing is that it works through geometry, not adhesion. Step flashing along a sidewall, for example, is a series of small L-shaped metal pieces, each one woven between courses of shingles so that water is shed from one piece down onto the next, like fish scales, all the way to the roof edge. No glue holds this system together and none is needed. Gravity and overlap do the work. That is why properly installed flashing can outlast several generations of shingles above it, provided the metal itself does not corrode or get physically damaged.
Flashing comes in several distinct forms, and a well-built roof will use most of them somewhere:
- Step flashing — individual pieces woven into shingle courses along a sidewall or chimney
- Counter-flashing — a second layer set into a reglet or mortar joint that overlaps step flashing from above
- Valley flashing — a continuous metal channel where two roof planes meet at an angle
- Drip edge — flashing along the eaves and rakes that directs water into the gutters
- Pipe and vent boot flashing — a formed collar with a rubber or metal gasket around roof penetrations
- Skylight flashing kits — purpose-built flashing sets matched to a specific skylight curb
Because flashing is doing structural, load-bearing work in the sense that it is physically redirecting a continuous flow of water, it needs to be installed by someone who understands roof geometry. This is one of the main reasons a full roof replacement is often the more reliable fix compared to patching flashing repeatedly on an aging roof — new flashing installed alongside new shingles integrates correctly from the start.
What Sealant Actually Does
Sealant, sometimes called roofing cement, caulking, or mastic depending on the product, is a flexible compound applied wet that cures into a semi-elastic bond. Unlike flashing, sealant works through adhesion and gap-filling. It is designed for small, irregular openings that metal cannot easily be shaped to cover: fastener heads, the cut edge of a flashing piece, a hairline crack in old caulking, or the seam where a vent boot’s rubber collar meets a pipe.
Common roofing sealants include polyurethane and butyl rubber caulks, asphalt-based roofing cement, and silicone sealants formulated for exterior use. Each has a different flexibility range, UV resistance, and expected service life, but all of them share the same fundamental limitation: they are a secondary, supplemental seal, not a primary water-shedding system. Sealant relies on a chemical bond to the surrounding material staying intact. Once that bond fails, from UV exposure, temperature cycling, or simple age, the seal is gone and water finds the gap again.
This is the central reason problems occur: sealant has a much shorter functional lifespan than flashing. Quality roofing sealant typically lasts 5 to 10 years before it needs to be reapplied, while properly installed metal flashing can last the lifetime of the roof, often 20 years or more. A roof that depends heavily on sealant instead of flashing is essentially built on a countdown timer that most homeowners do not know is running.
| Property | Roof Flashing | Roof Sealant |
|---|---|---|
| Material | Galvanized steel, aluminum, copper | Polyurethane, butyl, silicone, asphalt cement |
| How it works | Physical barrier and water diversion by shape and overlap | Chemical adhesion that fills gaps |
| Typical lifespan | 15-25+ years (matches shingle life) | 5-10 years before reapplication |
| Best used for | Chimneys, valleys, walls, skylight curbs, roof edges | Fastener heads, small seams, minor gaps |
| Failure mode | Corrosion, physical damage, improper overlap | UV breakdown, cracking, loss of adhesion |
| DIY-friendly? | Not recommended — requires precise shaping and shingle integration | Small touch-ups only; not a substitute for flashing |
Why the Two Get Confused on Real Roofs
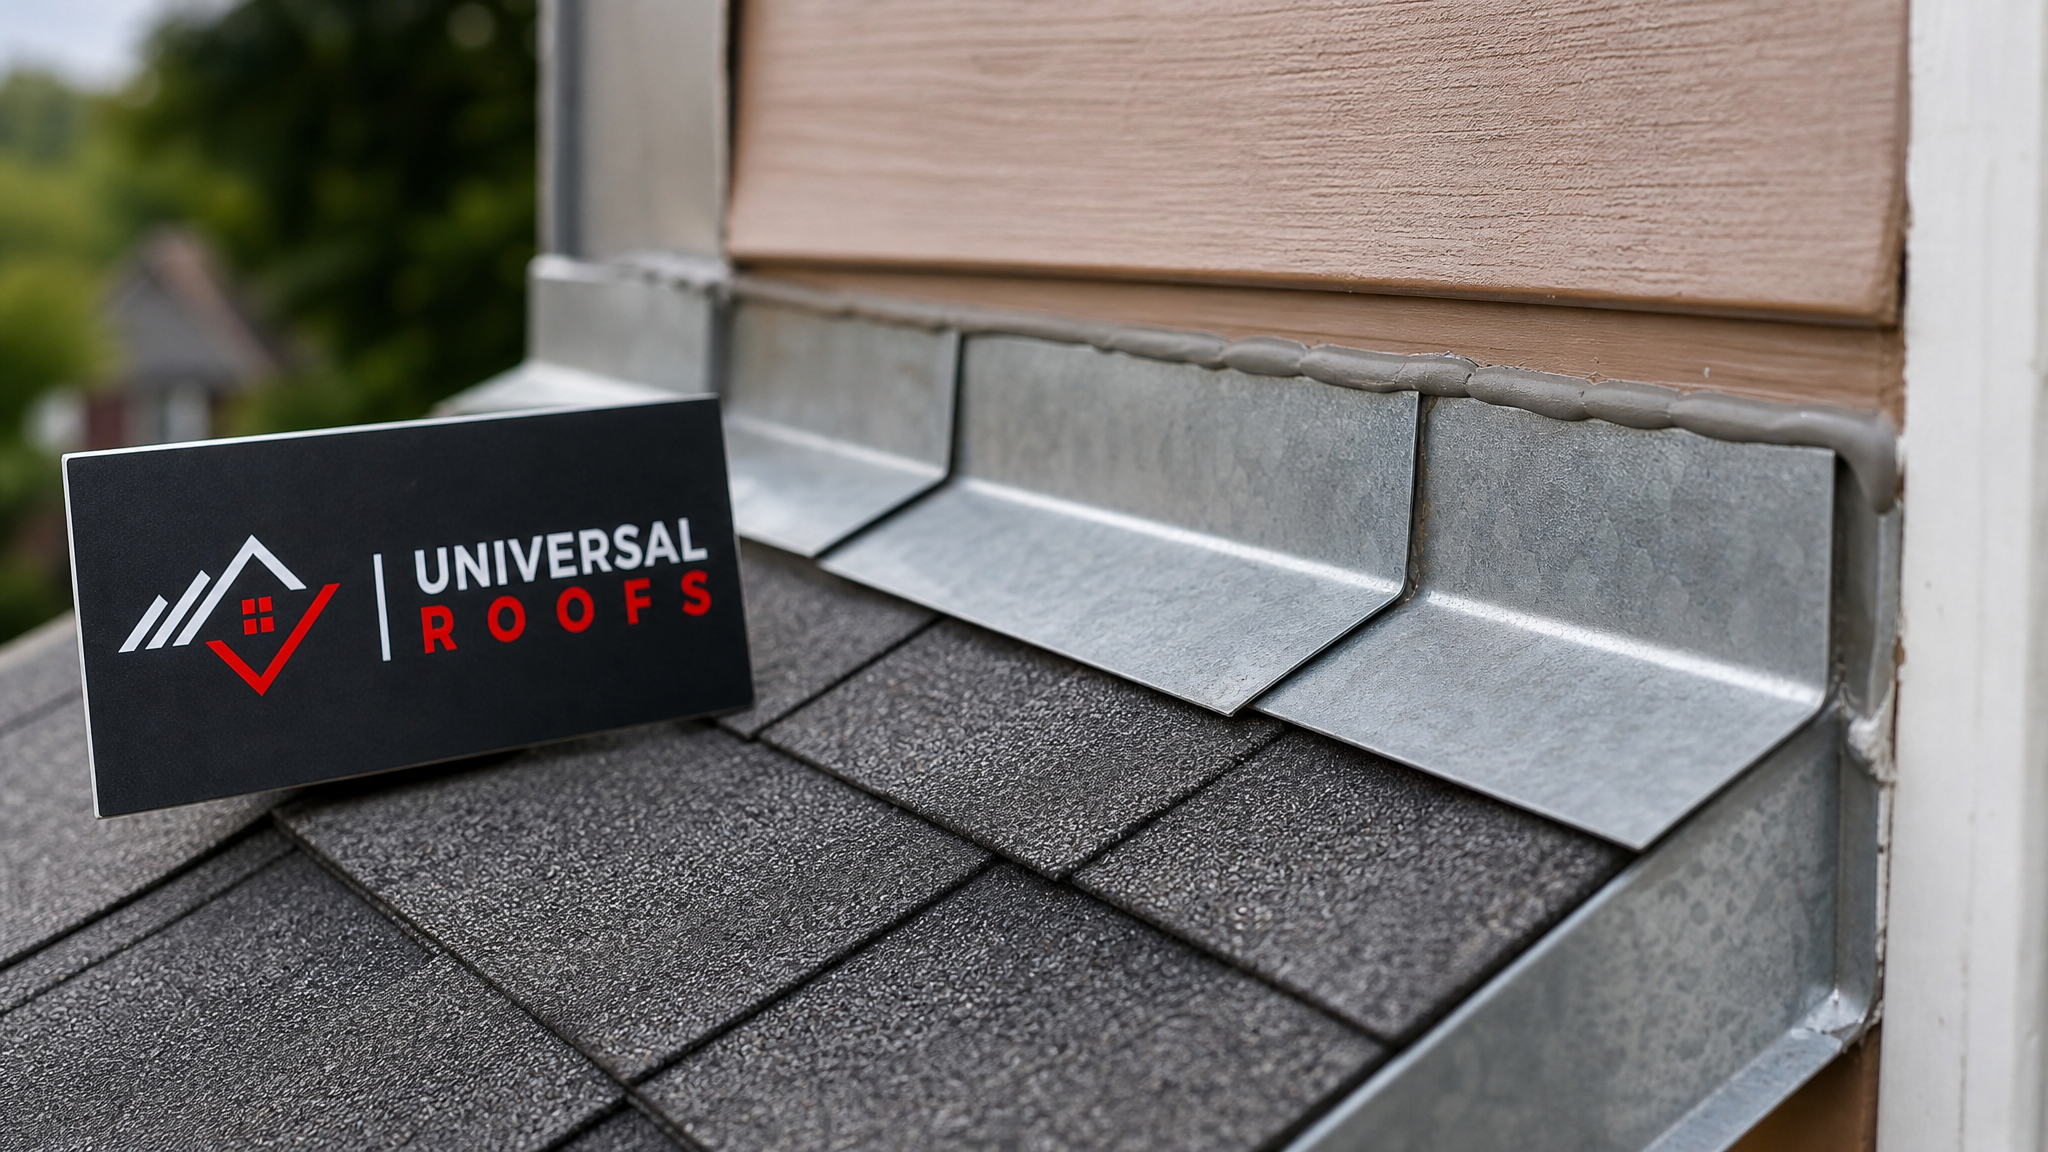
The confusion usually starts because both materials genuinely do appear together at the same details. A properly installed skylight, for instance, uses a full metal flashing kit around the curb, and then a small, precise bead of sealant at specific points, such as where the flashing’s cut edges meet or where fasteners penetrate the metal, to close off the tiny gaps that geometry alone cannot cover. Homeowners see the sealant and assume it is doing the main sealing job, when in reality the flashing underneath is carrying almost all of the water-shedding load.
The confusion gets worse because of a shortcut that under-qualified crews sometimes take: using sealant as a substitute for flashing rather than a supplement to it. Instead of properly weaving step flashing into a wall junction, a rushed installer might run a bead of roofing cement along the top of the shingles where they meet the siding and call it sealed. It may hold for a season or two, especially through a dry summer, but the first freeze-thaw cycle of a Toronto winter will crack that seal, and water will start tracking behind the siding with no flashing to stop it. By the time a stain appears on the ceiling below, the damage to the sheathing and framing may already be underway.
This is exactly the kind of hidden shortcut that shows up during a thorough roof repair inspection. A technician who understands the difference between flashing and sealant will pull back shingles at a suspect joint and check whether there is metal underneath the caulking, not just caulking on top of shingles.

Where Flashing Belongs vs. Where Sealant Belongs
A well-built roof uses each material for what it does best. Here is how a professional crew typically divides the work across the most common roof details.
| Roof Detail | Primary Solution | Sealant’s Role |
|---|---|---|
| Chimney base and sides | Step flashing + counter-flashing | Small bead where counter-flashing meets mortar joint |
| Roof valleys | Continuous metal valley flashing | Generally none — geometry alone sheds water |
| Sidewalls and dormers | Step flashing woven into shingle courses | Minor touch-up at cut metal edges only |
| Skylight curb | Manufacturer flashing kit (see our skylight installation process) | Fastener heads and kit seams |
| Vent pipes and stacks | Formed metal boot with rubber gasket collar | Around the gasket-to-pipe seam |
| Roof edges (eaves/rakes) | Drip edge flashing | Rarely needed if drip edge is properly fastened |
| Nail heads and minor penetrations | Not applicable | Primary solution — this is sealant’s core job |
Notice that in almost every case involving a major roof plane break, flashing is the primary defence and sealant is a supporting detail, not the other way around. The only place on this list where sealant is genuinely the right primary tool is small, isolated penetrations like exposed nail heads, which is a very narrow slice of the total roof surface.
How Each Material Fails, and What the Failure Looks Like
Because flashing and sealant fail in different ways, the symptoms of each type of failure look different too, and recognizing which one you are dealing with helps you and your roofer target the right fix.
Flashing failure is usually driven by corrosion, physical damage, or incorrect installation. Galvanized steel flashing can rust through over decades, especially where it sits in a valley and holds standing water or debris. Flashing can also be bent, cracked, or dislodged by falling branches, ice damming, or foot traffic during other roof work. When flashing fails, leaks tend to be persistent and worsen steadily over time, often tracking a fair distance from the actual point of entry before showing up as a stain, since water follows the underside of the roof deck before dripping down.
Sealant failure is almost always driven by age and UV exposure. Sealant sits directly exposed to sunlight, unlike flashing, which is largely protected under shingles. Ultraviolet light breaks down the polymers in most caulks and cements within several years, causing the material to shrink, crack, or lose its bond to the surrounding surface entirely. Sealant leaks tend to be more seasonal and intermittent at first, showing up during heavy wind-driven rain or right after a freeze-thaw cycle, before becoming a constant problem as the material degrades further.
| Symptom | Likely Flashing Issue | Likely Sealant Issue |
|---|---|---|
| Leak appears only during wind-driven rain | Less likely | Very likely — degraded caulk lets water push through |
| Leak is constant regardless of wind direction | Very likely | Less likely |
| Visible rust streaks near a chimney or vent | Very likely — corroding metal | Not typical |
| Cracked or chalky caulk visible at a joint | Not applicable | Very likely |
| Leak began after a storm with fallen debris | Very likely — physical damage | Possible if debris tore a sealed seam |
| Leak worsened gradually over several winters | Very likely | Possible — repeated freeze-thaw cracking |
DIY Sealant Touch-Ups vs. When You Need a Professional
It is reasonable for a homeowner to touch up a small, accessible bead of sealant around an obviously exposed nail head or a minor gap at a vent boot, provided the roof pitch is safe to walk and the area is easy to reach. Use a purpose-made roofing sealant rather than generic household caulk, clean and dry the surface first, and apply a thin, even bead rather than a thick glob, which actually traps moisture and cures unevenly.
Flashing work is a different category entirely and is not a reasonable DIY project for most homeowners, for a few concrete reasons:
- Step flashing must be woven into the correct shingle course, which usually means partially removing existing shingles without damaging them
- Counter-flashing at a chimney often needs to be cut into a mortar reglet, which requires masonry tools and experience
- Incorrect overlap direction on valley or step flashing can direct water into the house rather than away from it
- Working near a chimney, valley, or roof edge involves fall risk that requires proper harness and anchor points
- Mismatched metals (for example, aluminum flashing against copper) can cause galvanic corrosion that eats through the flashing from the inside
If you are seeing signs of a flashing failure rather than a simple sealant crack, the right move is to book a professional assessment rather than reaching for a caulking gun. Our team can walk your roof, identify whether the issue sits at a flashing detail or a sealant joint, and scope a roof repair that fixes the actual cause rather than masking the symptom for another season.
Step-by-Step: How a Professional Diagnoses a Flashing or Sealant Leak
When our technicians investigate a leak that homeowners suspect is related to flashing or sealant, we follow a consistent process to trace the water back to its actual entry point, since interior stains rarely sit directly below the source.
- Interior inspection first. We check the attic and ceiling for staining patterns, follow rafters and sheathing to trace the most likely path water is travelling before it drips.
- Exterior visual survey. From the ground and, where safe, from the roof itself, we look for obvious flashing damage: rust, gaps, lifted edges, or missing pieces.
- Close inspection of penetrations. Chimneys, vent stacks, skylights, and sidewalls get checked individually, since each detail can fail independently of the others.
- Sealant condition check. Any exposed caulking is tested for flexibility and adhesion. Cracked, chalky, or shrunken sealant is flagged for replacement even if it is not the primary leak source.
- Water test if needed. On stubborn leaks, we sometimes run a controlled hose test section by section to isolate exactly where water is getting in.
- Repair plan and quote. Once the cause is confirmed, we outline whether the fix is a flashing replacement, a sealant refresh, or, on an older roof, whether the surrounding shingles have also reached the point where a broader repair or replacement makes more sense.
Toronto Climate Considerations for Flashing and Sealant
The Greater Toronto Area’s climate is genuinely tough on both materials, though in different ways, and it is worth understanding why local roofs see these issues more often than roofs in milder climates.
Winter freeze-thaw cycles are the single biggest stress factor. Water that gets behind flashing or into a sealant crack can freeze, expand, and physically widen the gap, so a hairline sealant crack in November can be a visible split by March. Ice damming along the eaves, common on GTA roofs with inadequate attic ventilation and insulation, forces water to back up under shingles and test every flashing detail on the lower roof plane at once. This is one of the main reasons flashing failures often show up right after winter, even though the flashing itself may have been slowly degrading for years.
Summer UV exposure, meanwhile, is what ages sealant fastest. Long daylight hours and direct sun on south and west-facing roof slopes accelerate the breakdown of caulk and cement, which is why a mid-summer inspection is actually a good time to catch sealant that is starting to chalk or crack before the next winter arrives. Homeowners across Toronto, Peel Region, York Region, Halton Region, and Durham Region all deal with the same seasonal pattern, though older neighbourhoods with mature tree cover tend to see more physical flashing damage from falling branches and debris buildup in valleys.
Maintenance That Keeps Flashing and Sealant Working Together
Because flashing and sealant age at such different rates, a maintenance plan that treats them identically will always leave one of them neglected. A practical annual routine looks like this:
| Task | Frequency | What to Look For |
|---|---|---|
| Visual roof inspection | Twice yearly (spring and fall) | Lifted, rusted, or missing flashing; cracked or shrunken sealant |
| Gutter and valley debris clearing | Twice yearly, plus after major storms | Leaves and grit trapping moisture against valley flashing |
| Sealant spot-check at penetrations | Annually | Chalking, hairline cracks, or gaps at vent boots and fasteners |
| Chimney and skylight flashing review | Annually, or after any masonry/roof work nearby | Counter-flashing pulled loose from mortar joints |
| Post-storm check | After any significant wind or hailstorm | Bent, torn, or displaced flashing pieces |
| Professional inspection | Every 2-3 years, or before/after ice dam season | Hidden issues under shingles not visible from the ground |
Sealant should generally be treated as a consumable that gets refreshed on a schedule, roughly every 5 to 8 years at exposed joints, rather than something you wait to fail before addressing. Flashing, by contrast, should be treated as a structural component: inspected regularly but replaced only when actually damaged or corroded, not on a fixed schedule.
Frequently Asked Questions
What is the difference between roof flashing and sealant in simple terms?
Can sealant be used instead of flashing on a roof?
How long does roof flashing last compared to sealant?
How do I know if my roof leak is a flashing problem or a sealant problem?
Is it safe to DIY roof sealant repairs?
Why does understanding the difference between roof flashing and sealant matter for Toronto homeowners?
Need Help With What Is the Difference?
Whether your roof needs a flashing replacement, a sealant refresh, or a full inspection to figure out which one is actually causing your leak, the team at Universal Roofs has the experience to diagnose it correctly and fix it right the first time.
Call us today at (416) 732-2421 or request a free inspection to get started.
Universal Roofs proudly serves Toronto, Mississauga, Brampton, Vaughan, Markham, Oakville and the GTA since 2005.