
When a heavy GTA snowfall piles up on your roof, the first question most homeowners ask isn’t “how do I get this off” — it’s “who pays if something goes wrong?” Insuring your roof, snow removal and repair are three separate issues that collide every winter, and getting the order of operations wrong can cost you thousands of dollars, void a claim, or leave you with a roof that fails again next season.
This guide walks through how home insurance actually treats snow and ice damage in Ontario, what a safe and effective snow removal process looks like, how professional repairs differ from a DIY patch job, and how to document everything so a claim doesn’t get denied on a technicality. We wrote it for homeowners across the GTA who want a clear, practical answer rather than fine print buried in a policy document.
While snow load season peaks in January and February, the smartest time to understand your coverage and get a roof inspected is actually now, in the summer months, before the first snowfall arrives. Insurers and roofers alike are far less busy in July than in a January cold snap, and any underlying issues — worn flashing, thin shingles, poor attic ventilation — are easier to diagnose and fix on a dry roof than a snow-covered one.
How Home Insurance Actually Treats Snow and Ice Damage
Most standard Ontario homeowner policies cover “sudden and accidental” damage caused by the weight of snow or ice, and separately, damage caused by ice damming when it is not the result of long-term neglect. The distinction insurers draw is between an unpredictable event and a maintenance failure, and it matters enormously when a claim is filed.
If a roof collapses under an unusually heavy, fast-accumulating snowfall, most policies will treat that as an insured peril, similar to wind or hail. But if an adjuster determines that ice damming occurred because gutters were clogged for two years, attic insulation was inadequate, or a known leak was never repaired, the claim can be reduced or denied outright under the policy’s maintenance and wear-and-tear exclusions. This is the single most common reason GTA homeowners are surprised when a winter roof claim doesn’t pay out the way they expected.
It also matters whether the damage originates from the exterior (snow load cracking rafters, ice sliding and tearing eavestroughs) or works its way in from the interior (poor ventilation causing attic condensation that rots the roof deck from below). Insurers distinguish between these because the second scenario often points to a longstanding building deficiency rather than a one-time weather event. A pre-season inspection through our roof repair service creates a paper trail showing the roof was in good condition before winter, which strengthens any future claim.
| Damage Type | Typically Covered? | Common Insurer Condition | What Improves Your Claim |
|---|---|---|---|
| Sudden snow-load collapse | Usually yes | Roof was structurally sound beforehand | Recent inspection report |
| Ice dam water intrusion | Often, with conditions | Not caused by neglected maintenance | Proof of regular gutter cleaning |
| Eavestrough torn by ice/snow slide | Usually yes | Direct weather-related damage | Dated photos of damage |
| Attic mould from chronic condensation | Frequently denied | Considered a maintenance issue | Ventilation upgrade records |
| Interior ceiling stains from slow leaks | Case-by-case | Depends on cause and duration | Early repair invoices |
Document Your Roof Before the Snow Ever Falls
Insurance adjusters weigh documentation heavily, and the homeowners who recover the most from a winter roof claim are almost always the ones who took photos, kept receipts, and had professional inspections on record before anything went wrong. A single dated photo showing your shingles, flashing, and eavestroughs in good condition in July or August is worth more than any argument you can make after the fact in February.
At minimum, keep records of your roof’s installation or last major repair date, any maintenance work such as gutter cleaning or flashing repair, and photos from at least two angles of every roof plane. If you’ve had work done through our roof replacement or repair services, keep those invoices in a folder — physical or digital — labelled clearly for insurance purposes. Many GTA homeowners never think to do this until the week after a claim is denied, when it’s too late to prove anything.
It’s also worth photographing your attic space, particularly around vents and near the chimney or skylights, since insurers frequently ask for evidence that ventilation and insulation were adequate. If you have skylights or have had a skylight replacement, note the installation date and any flashing work, since skylight perimeters are a common origin point for ice-dam leaks and insurers will often ask specifically about them.
Safe Snow Removal: What Homeowners Can and Can’t Do Themselves
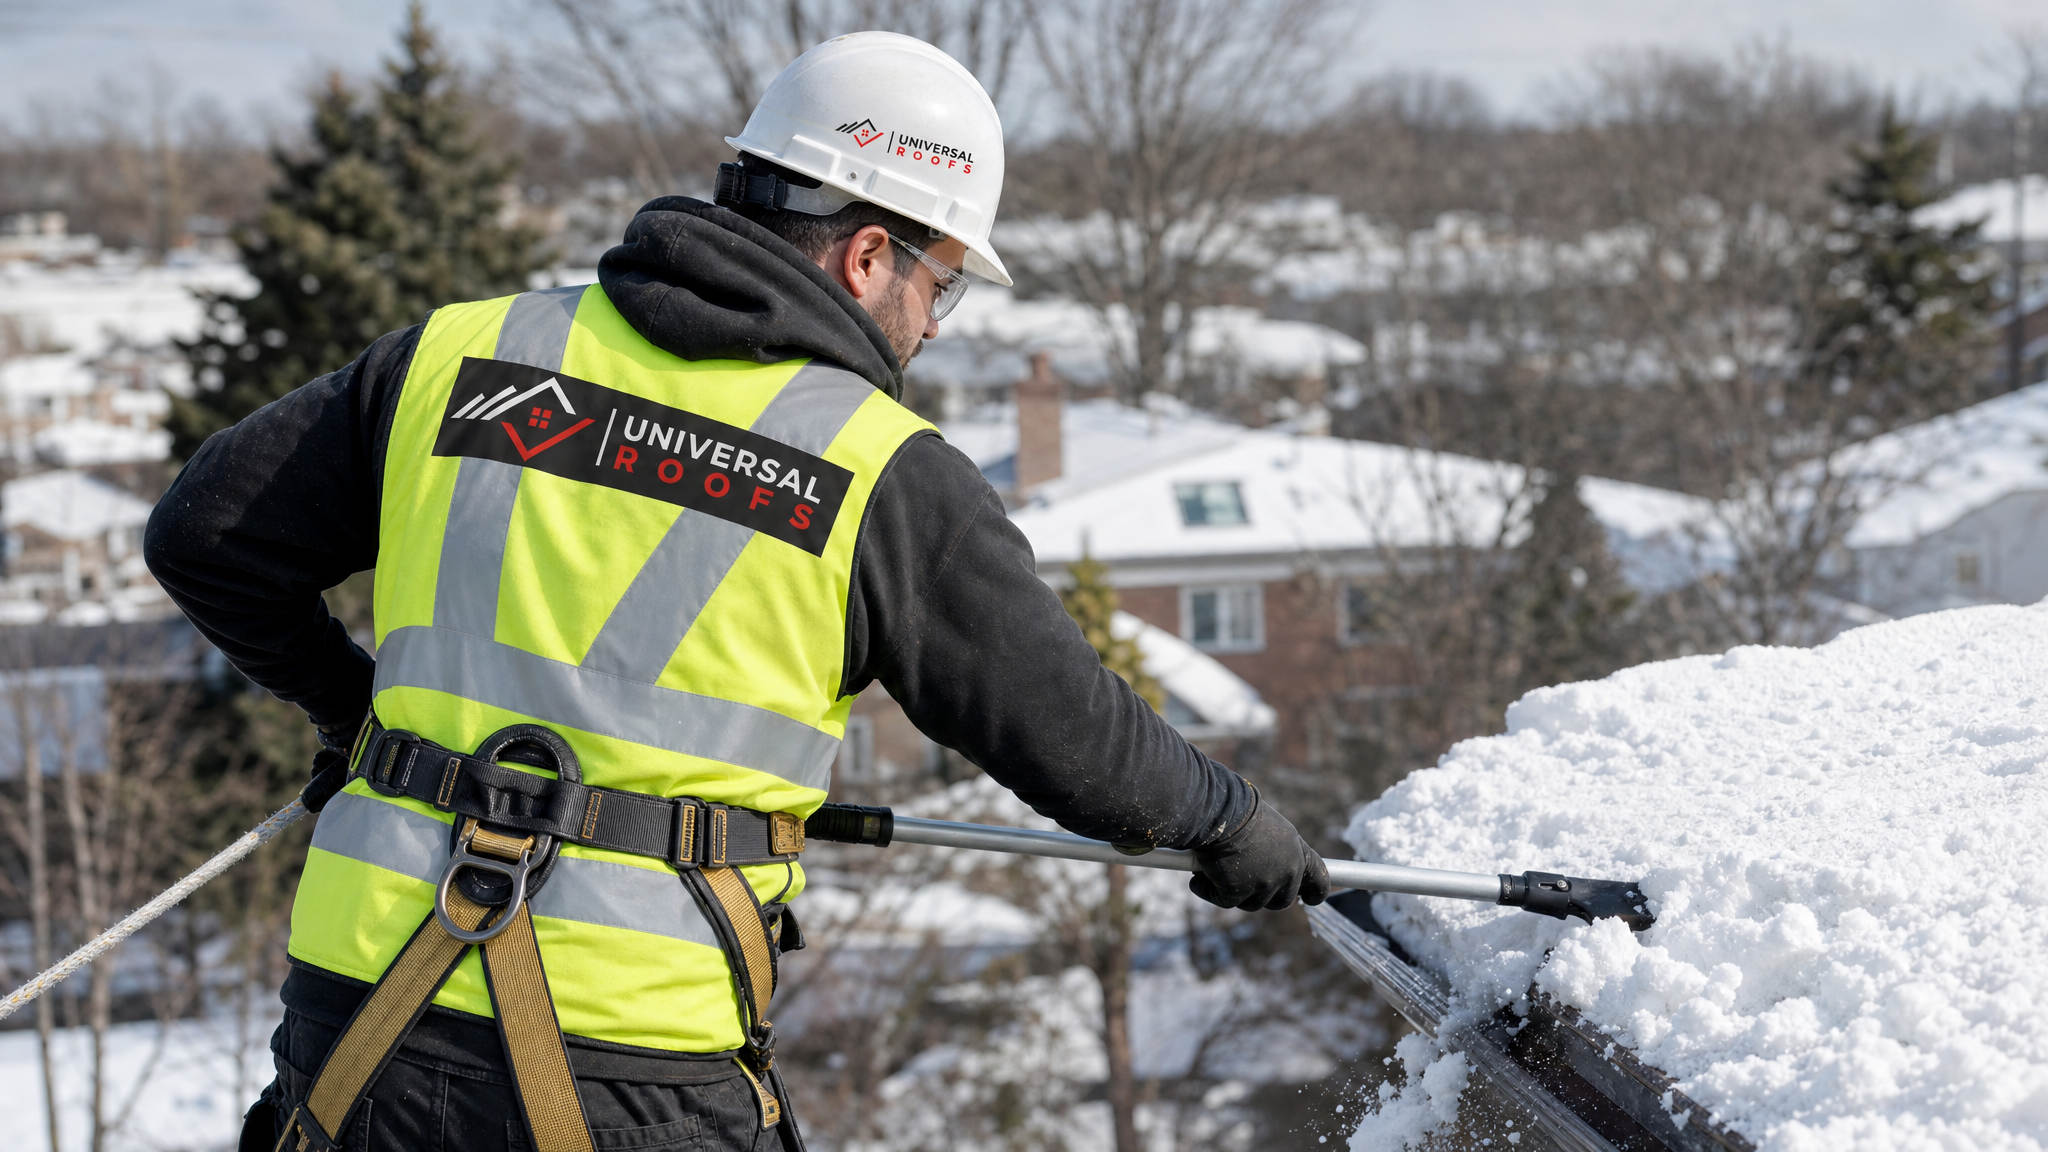
Removing snow from a roof is one of the more dangerous DIY tasks a homeowner can attempt, and it is also one of the easiest ways to accidentally cause the exact damage you were trying to prevent. A roof rake used improperly can tear shingles, gouge flashing, or scrape granules off asphalt shingles, which shortens their lifespan and can even create new leak points that weren’t there before.
For single-storey homes with a shallow, safely accessible roof pitch, a long-handled roof rake used from the ground on the first few feet of eave can help reduce ice-dam risk without anyone leaving the ground. Beyond that first few feet, or on any roof requiring a ladder, steep pitch, or second storey, professional snow removal is the safer and often the more insurance-friendly option, since a fall or an amateur repair job afterward tends to complicate any related claim.
Never use metal shovels, sharp tools, or a pressure washer on a roof — all three are common causes of accidental shingle damage that homeowners later have to pay to repair out of pocket because it wasn’t storm-related, it was self-inflicted. Ice should never be chipped or hacked at directly; this almost always damages the shingles or membrane underneath and can crack flashing seals that were otherwise intact.
| Method | Best Used For | Risk Level | Shingle-Safe? |
|---|---|---|---|
| Ground-level roof rake (first 1-1.5m of eave) | Light, fresh snow on low-slope roofs | Low | Yes, if used correctly |
| Professional roof-top snow removal | Heavy accumulation, steep or multi-storey roofs | Low (with proper harness) | Yes |
| Metal shovel or ice chipper | Not recommended | High | No — commonly tears shingles |
| Pressure washer / hot water | Not recommended | High | No — can force water under shingles |
| Calcium chloride ice-melt socks | Preventing new ice dams at the eave | Low | Yes, in moderation |
Understanding Ice Dams and Why They Cause the Most Costly Claims
Ice dams form when heat escaping from the attic melts snow on the upper roof, and that meltwater refreezes at the colder eaves where it has no attic heat below it. Over time this creates a ridge of ice that backs water up under the shingles, and once water gets under the shingle layer, it can travel along the roof deck and drip into insulation, drywall, and light fixtures far from where the ice dam actually formed.
This is why ice dam damage is so often disputed by insurers — the visible water stain on a ceiling might be metres away from the actual point of failure, and if an adjuster traces the root cause back to years of poor attic ventilation rather than a single storm event, coverage can be reduced. The underlying fix is almost never “remove the ice” — it’s improving attic insulation and ventilation so the roof surface stays uniformly cold and snow simply doesn’t melt unevenly in the first place. Our attic assessment service specifically targets this by checking insulation depth, air sealing, and soffit-to-ridge airflow.
Homes with recessed lighting, poorly sealed attic hatches, or bathroom fans venting into the attic instead of outside are especially prone to ice damming, since all three introduce warm, moist air directly beneath the roof deck. Fixing these issues in summer, when attic work is far more comfortable and roofers aren’t booked solid with emergency winter calls, is one of the most cost-effective preventative steps a GTA homeowner can take.
Repairing Snow and Ice Damage the Right Way
Once damage has occurred — whether it’s a cracked shingle, torn flashing, a sagging eavestrough, or a soaked section of roof deck — the repair approach matters just as much for your next insurance claim as it does for your roof’s performance. Adjusters and reputable roofing contractors alike recommend against “temporary” patch jobs that don’t address the underlying cause, since these often fail again the following winter and can be flagged by insurers as evidence of ongoing neglect.
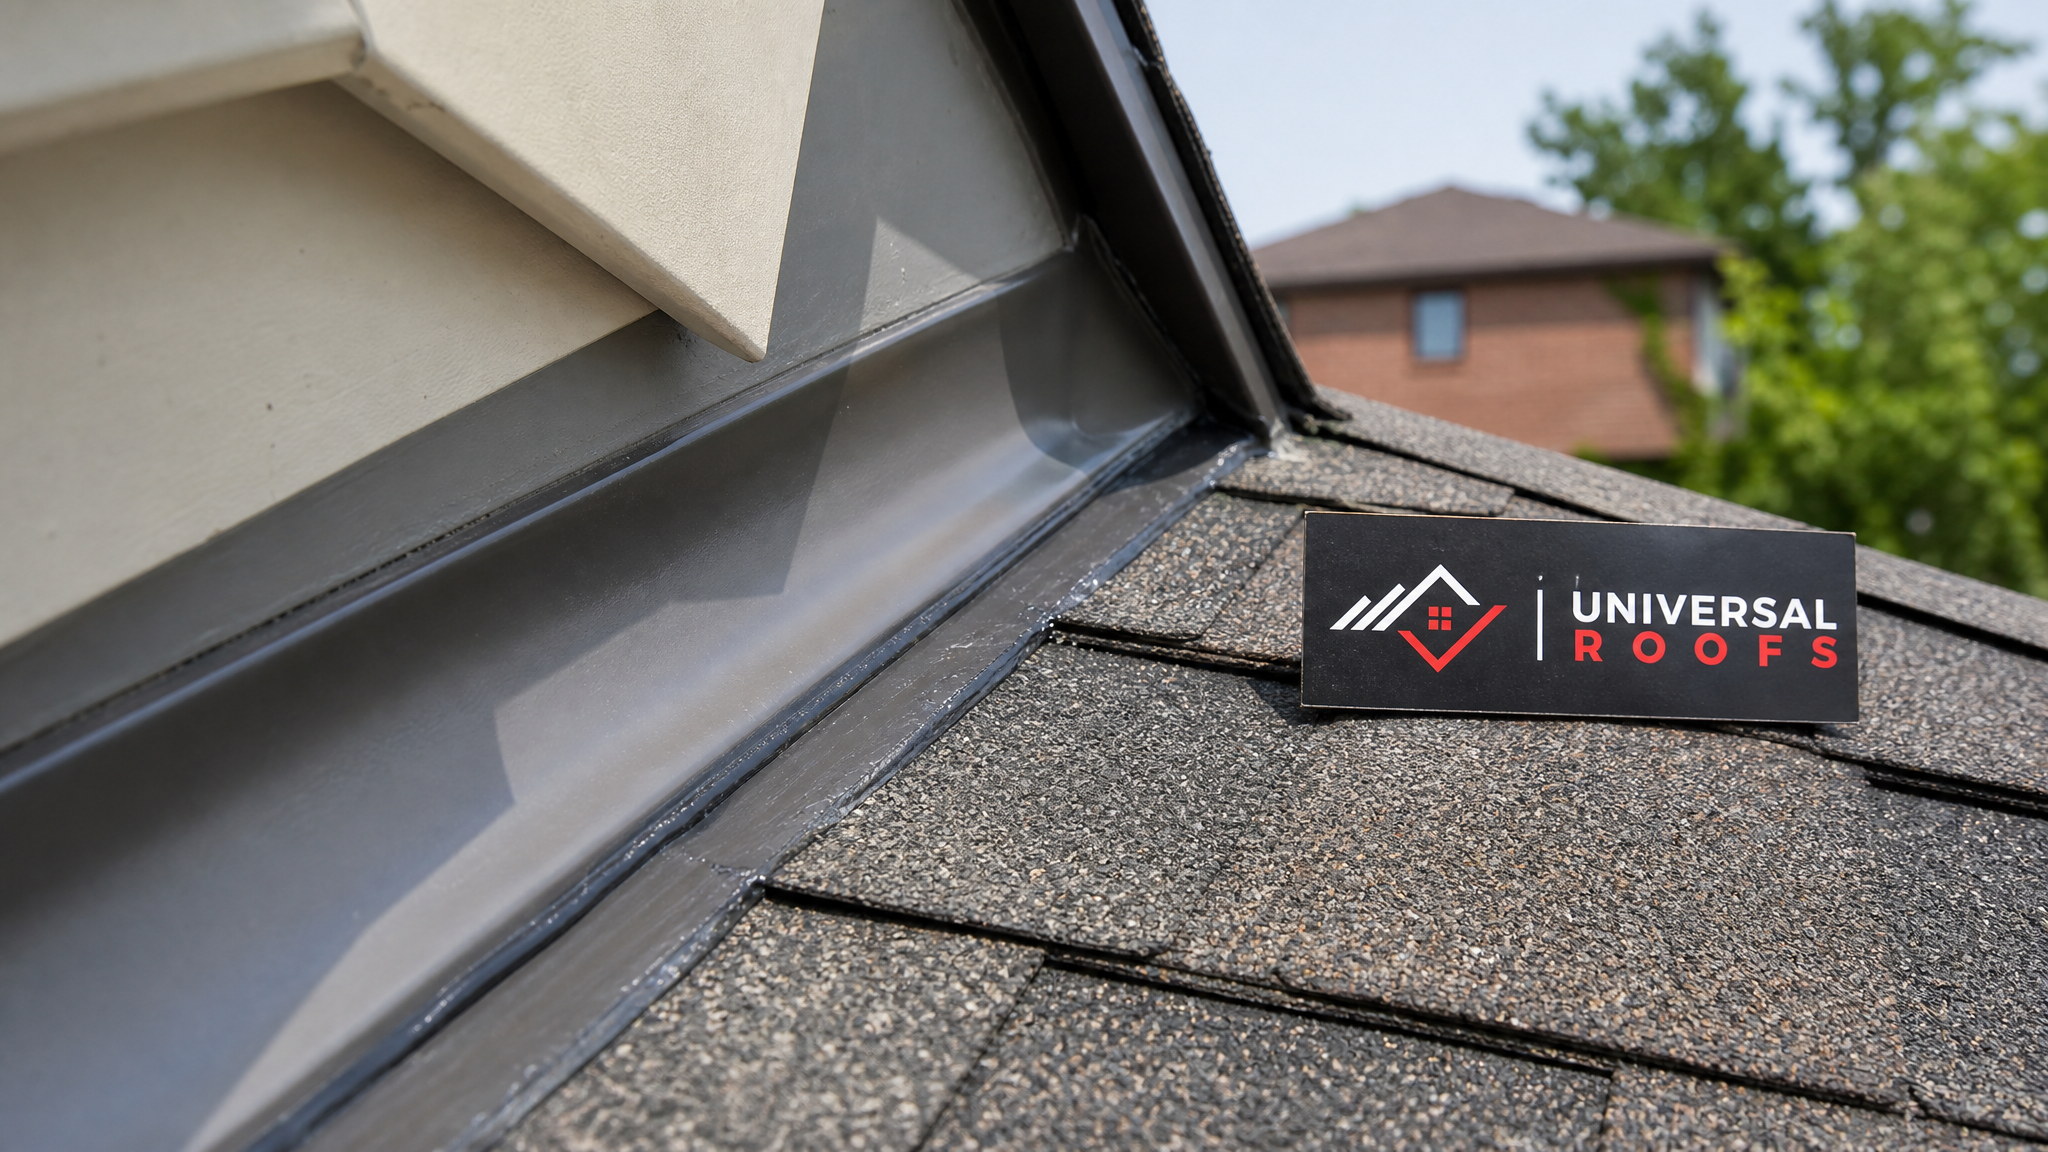
A proper post-winter repair typically starts with an inspection of the roof deck itself, not just the shingles, since prolonged ice-dam exposure can leave plywood or OSB sheathing soft or delaminated even when the surface shingles look fine. Flashing around chimneys, skylights, and roof-to-wall transitions should be checked and resealed or replaced as needed, since these transition points are the most common site of ongoing leaks after an ice dam event. If the damage is extensive or the roof is nearing the end of its service life, a full roof replacement is often more cost-effective than repeated patch repairs, particularly on roofs already past 15-20 years old.
For homes with flat or low-slope sections — common on additions, garages, and some GTA bungalows — snow and ice behave differently, since standing meltwater has nowhere to shed and can pool against parapet walls or drains. These sections need a different repair approach entirely, and our flat roofing team assesses membrane condition, drain function, and pooling separately from sloped-roof repairs.
| Repair Task | Typical Timeline | When It’s Needed | DIY-Appropriate? |
|---|---|---|---|
| Shingle spot replacement | Same day | Isolated cracked or torn shingles | Not recommended in winter conditions |
| Flashing resealing (chimney/skylight) | 1 day | After ice-dam leak or visible gaps | No — requires proper sealant and access |
| Eavestrough repair or replacement | 1-2 days | Torn or pulled-away gutters | Minor cases only |
| Roof deck sheathing repair | 2-4 days | Soft, delaminated, or rotted decking found under shingles | No — structural work |
| Attic insulation/ventilation upgrade | 1-3 days | Recurring ice dams despite exterior repairs | No — professional assessment needed |
Filing a Snow or Ice Damage Claim Without Losing Money
The order in which you act after discovering damage affects both the size and the likelihood of your payout. As soon as damage is noticed, photograph it before touching anything, contact your insurer to open a claim file, and get a written assessment from a licensed roofing contractor describing the damage, its likely cause, and the recommended repair. Insurers generally want this third-party assessment before approving larger repairs, and having it ready speeds the process up considerably.
Avoid starting major repairs before the adjuster has seen the damage or approved the scope of work, since insurers can refuse to reimburse work done without their sign-off, even if the work itself was necessary and well done. Emergency mitigation — like a tarp over an active leak — is the one exception, and is almost always covered as reasonable emergency action to prevent further loss, but keep the receipt and photos of that too.
Most GTA insurers also apply a deductible specifically for water damage claims that can be higher than your standard deductible, so it’s worth calling your broker in the off-season to confirm exactly what your policy specifies for ice-dam and snow-load scenarios rather than assuming your general deductible applies. Reviewing your policy documents in July, alongside a professional roof inspection, gives you time to close any coverage gaps before winter rather than discovering them mid-claim.
Preventing Snow and Ice Damage Before It Starts
Prevention is consistently cheaper than repair, and nearly every ice-dam or snow-load claim we see traces back to one of a handful of preventable issues: inadequate attic insulation, blocked soffit vents, clogged gutters heading into winter, or a roof that was already near the end of its service life. A pre-winter inspection catches most of these while they’re still inexpensive to fix.
Homeowners across Toronto, Peel Region, York Region, Halton Region, and Durham Region face slightly different conditions depending on lake-effect snow bands and average freeze-thaw cycles, but the fundamentals of prevention are the same everywhere: keep the attic cold and well-ventilated, keep gutters clear, and address any small leak or shingle damage the moment it appears rather than waiting for it to compound.
Consider scheduling an inspection in late summer or early fall, well before the first snowfall, so any recommended repairs can be completed while the roof is dry, materials are readily available, and contractors aren’t stretched thin with emergency winter calls. This single habit is the biggest differentiator we see between homeowners who sail through winter without incident and those who end up filing a claim.
| Prevention Step | Best Timing | Approximate Cost Range | Impact on Winter Risk |
|---|---|---|---|
| Full roof inspection | Late summer/early fall | Often free to modest fee | High — catches most issues early |
| Gutter cleaning | Fall, after leaves drop | Low | High — prevents ice dam formation |
| Attic insulation top-up | Anytime, ideally before fall | Moderate | Very high — addresses root cause |
| Flashing resealing | As soon as issues found | Low to moderate | High — stops water entry points |
| Full roof replacement (aging roofs) | Spring through fall | Higher, but longest-lasting | Very high — eliminates most failure points |
When to Call a Professional Instead of Waiting
Some signs mean you shouldn’t wait for a scheduled inspection: visible sagging anywhere on the roofline, water stains spreading on interior ceilings, ice dams thicker than a few centimetres along the eaves, or eavestroughs pulling away from the fascia under ice weight. Any of these point to active, ongoing damage rather than cosmetic wear, and delaying action typically increases both the repair cost and the likelihood of a disputed insurance claim.
It’s also worth a call if you’re simply unsure whether your current roof, attic ventilation, or gutter system is adequate for another Ontario winter. A quick assessment now costs far less than emergency repairs in January, and it gives you documentation that directly strengthens any future insurance claim. You can read what past clients have experienced on our reviews page, and check common questions on our FAQ page or learn more about our team before booking.
Does home insurance cover roof damage from snow and ice in Ontario?
Is snow removal from a roof covered by insurance?
How do I know if my roof damage is from an ice dam or something else?
Can I remove ice dams myself safely?
What should I document before winter for insuring your roof against snow damage?
How much does snow and ice damage roof repair typically cost?
Need Help With Insuring Your Roof Snow?
Whether you need a pre-winter inspection, documentation for an insurance claim, or repair after snow and ice damage, Universal Roofs has the local experience to get it right the first time.
Call us today at (416) 732-2421 or request a free inspection to get started.
Universal Roofs proudly serves Toronto, Mississauga, Brampton, Vaughan, Markham, Oakville and the GTA since 2005.