
A single Toronto-area hailstorm can leave a roof looking untouched from the driveway while it is quietly failing underneath. Roof hail damage repair is one of the most misunderstood jobs in residential roofing because the damage is rarely obvious until a leak shows up months later, often during the next spring thaw. Homeowners across the GTA see a summer storm roll through with dime- to golf ball-sized hail, watch it melt away within the hour, and assume the roof is fine because there are no visible holes.
That assumption is exactly how small, repairable damage turns into a full roof replacement a few years later. Hail bruises asphalt shingles, knocks the granules loose, dents metal flashing, and cracks skylight seals in ways that are easy to miss from the ground but easy to spot once you know where to look and how to fix them. This guide walks through the six most effective repair methods our crews use on hail-damaged roofs across the region, how to tell which one your roof needs, and what each approach actually costs and lasts.
We wrote this guide from the field, not a manufacturer’s brochure. Every method below reflects what we have found actually holds up through a Toronto winter, not just what looks good the day it’s installed.
How to Identify Hail Damage Before It Becomes a Leak
The first step in any roof hail damage repair job is an accurate inspection, and this is where most homeowners get it wrong. Hail damage does not look like a hole. It looks like a bruise, a soft spot, or a scattering of missing granules that only shows up when you run a hand across the shingle or catch the light at the right angle.
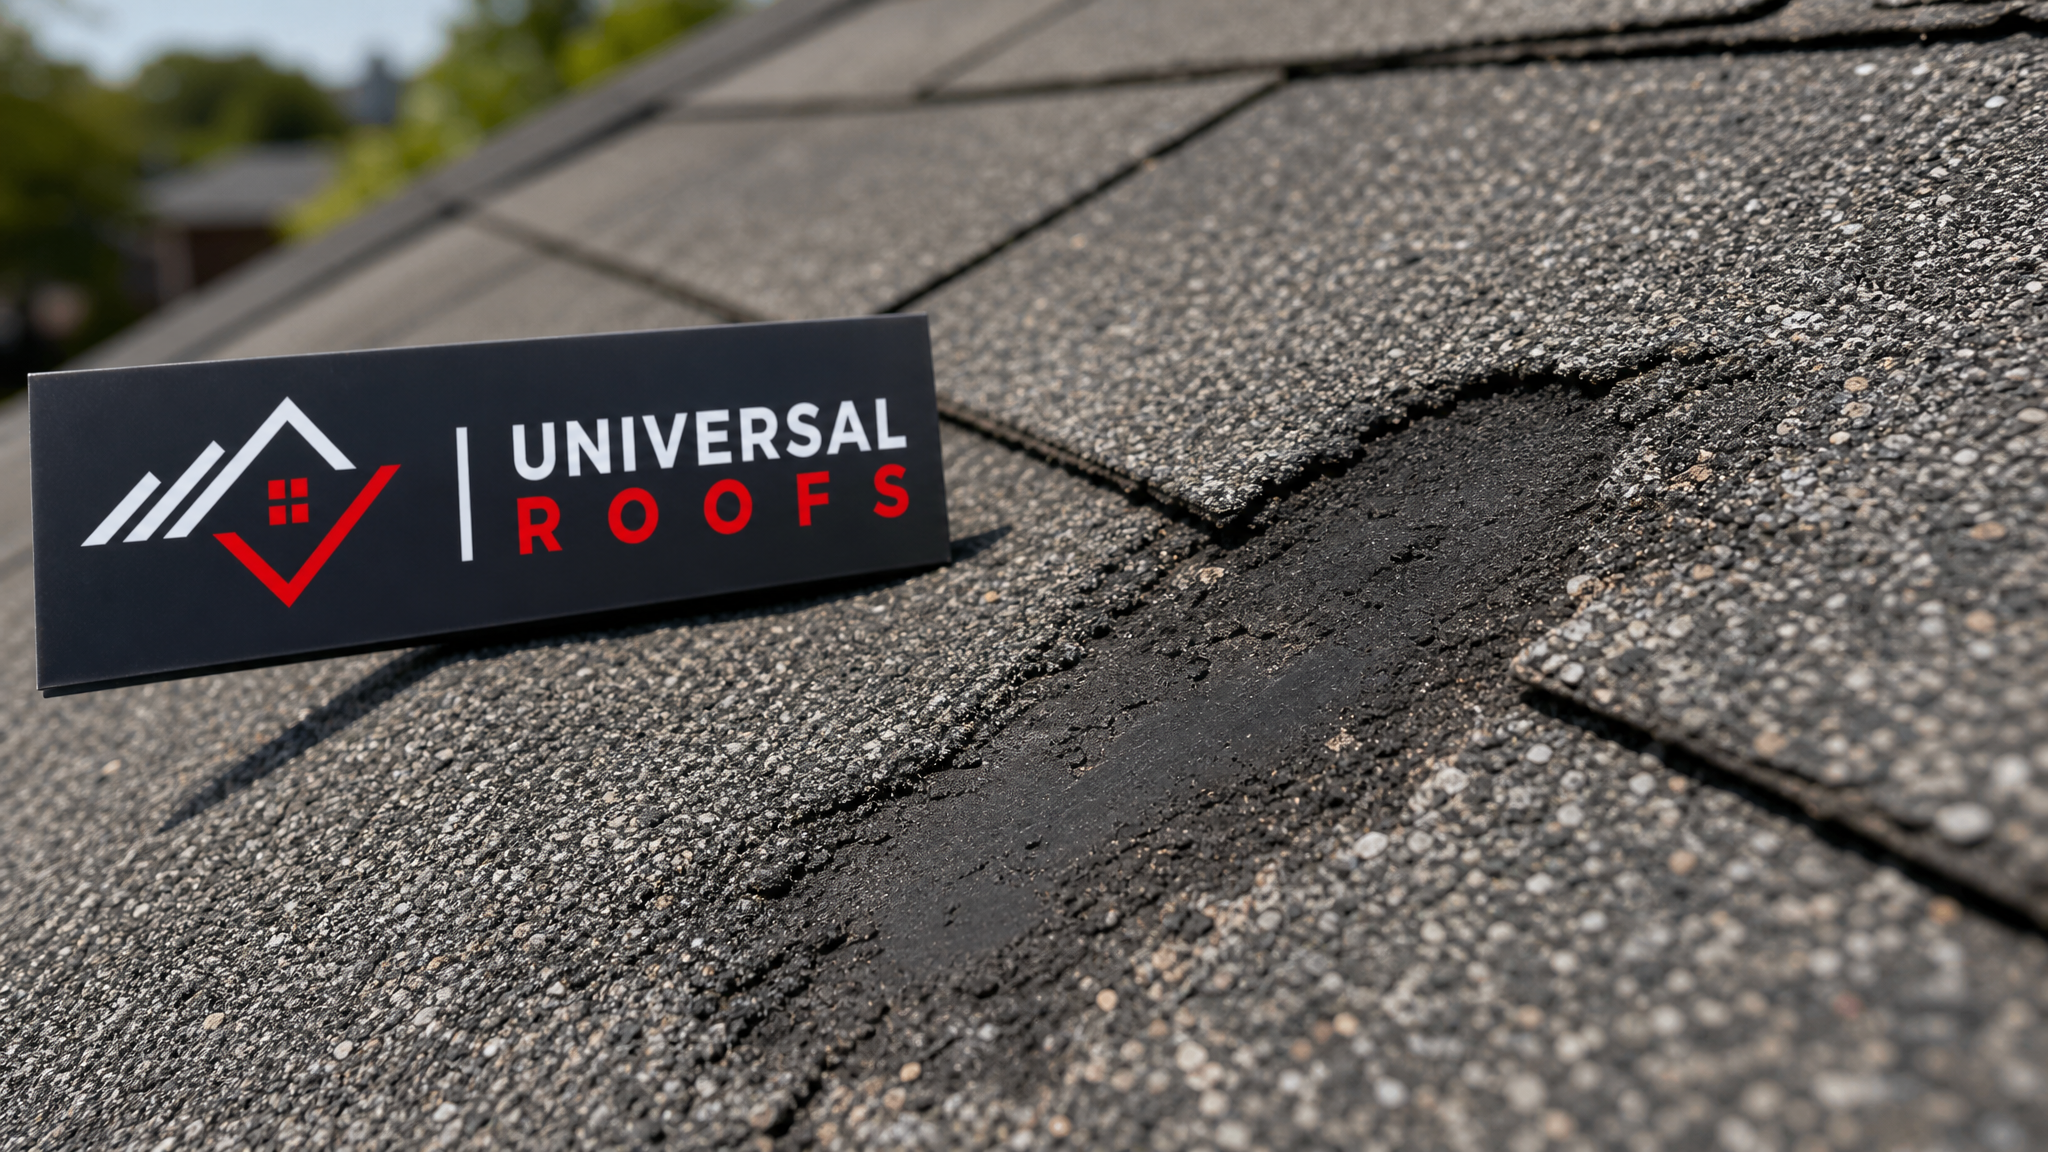
On asphalt shingles, look for random, non-linear dents that feel soft to the touch, similar to pressing a bruise on fruit. Hail impacts also knock the protective granules loose, exposing the black asphalt mat underneath in dark, blotchy patches. You may find these granules collecting in gutters or at the base of downspouts after a storm, which is often the first clue something happened even before you climb up to look.
Metal components take a different kind of damage. Flashing around chimneys, vent stacks, and skylights dents easily and can separate at the seams, creating a direct path for water. Soft metals like aluminum gutters, downspouts, and soffit dent visibly and are a good indicator of hail size and force, even when the shingles nearby look fine. If your gutters are dented, assume the roof took a hit too and schedule an inspection.
Skylights deserve particular attention after hail. The skylight glazing itself can crack or craze on impact, and the surrounding flashing can lift or dent, both of which lead to slow leaks that stain ceilings weeks later. If you notice fogging between panes, a new drip line, or visible cracks in the glass or acrylic dome, it needs prompt attention, and in many cases full skylight replacement rather than a patch.
A thorough inspection also checks the attic. Water stains on the underside of the roof deck, damp insulation, or daylight visible through the sheathing are all signs that hail-related damage has already progressed past the surface. Our attic inspection process catches these issues before they turn into mould or structural rot, which is far more expensive to fix than the original hail damage.
| Hail Size | Typical Comparison | Likely Roof Impact | Inspection Priority |
|---|---|---|---|
| Under 1.9 cm | Pea to marble | Minimal granule loss, cosmetic only | Low — monitor at next seasonal check |
| 1.9–2.5 cm | Dime to nickel | Granule loss, minor shingle bruising | Moderate — inspect within a few weeks |
| 2.5–4.4 cm | Quarter to golf ball | Shingle bruising, cracked seals, dented flashing | High — inspect within days |
| Over 4.4 cm | Golf ball or larger | Punctures, torn shingles, cracked skylight glazing | Urgent — inspect and tarp immediately |
Method 1: Spot Shingle Replacement for Isolated Impact Zones
When hail damage is limited to a handful of shingles in one section of the roof, such as the slope that faced the storm, spot replacement is the most cost-effective and least disruptive repair. A qualified crew removes each bruised or granule-stripped shingle individually, slides in a matched replacement, and re-seals the surrounding tabs with roofing cement so the patch performs like the rest of the field.
The key to a spot repair that actually lasts through a Toronto winter is colour and profile matching. Shingles fade with UV exposure, so a repair using shingles left over from the original installation will blend far better than a box bought fresh off the shelf. If matching stock is not available, a skilled installer will often pull shingles from a less visible slope and use new ones there, keeping the mismatch out of sight from the street.
Spot replacement works best when damage is scattered rather than concentrated, and when the shingles being replaced are less than roughly ten years old. On older roofs nearing the end of their service life, patching individual shingles can actually accelerate failure elsewhere, since the surrounding shingles are already brittle and prone to cracking when disturbed. In that scenario our roof repair team will usually recommend a broader solution instead of a patch that won’t hold.
Method 2: Full Slope or Section Overlay Repair
When an entire slope has taken concentrated hail impact, rather than a scattering of isolated hits, a section overlay repair is often more efficient than spot patching dozens of individual shingles one at a time. This method strips the damaged section down to the deck, replaces any compromised underlayment, and installs new matching shingles across the whole slope while leaving undamaged sections of the roof intact.
This approach makes sense financially once damage density passes a certain threshold, generally when more than roughly 20 to 25 percent of the shingles on a given slope show impact marks. Below that threshold, spot repairs are usually cheaper; above it, the labour cost of individually replacing that many shingles often exceeds the cost of simply redoing the section as a unit, and the finished result looks far more uniform.
Section overlays also give the crew a chance to inspect and replace the underlayment beneath the damaged shingles, which matters because hail impacts can crack the felt or synthetic underlayment even when the shingles above survive. Skipping this step is one of the most common reasons a hail repair leaks again the following spring.
Method 3: Flashing and Metal Component Repair
Flashing repair is frequently overlooked after a hailstorm because homeowners focus entirely on the shingles. But dented and separated flashing around chimneys, skylights, vent pipes, and roof-to-wall transitions is one of the most common sources of post-hail leaks, precisely because these joints were already the weakest points in the roof system before the storm hit.
Repairing hail-damaged flashing means removing the dented or cracked piece, checking the underlying membrane and sealant for damage, and installing new flashing that is properly integrated with the surrounding shingles rather than simply caulked over the top. Caulk-only fixes are a common shortcut that fail within a season or two once the sealant dries out and cracks in freeze-thaw cycles.
Around skylights specifically, hail can dent the step flashing enough to break the water-shedding lap, even if the glazing itself looks undamaged. This is a case where our skylight specialists coordinate directly with the roofing crew, since flashing repair around a skylight curb requires removing shingles in the surrounding courses to reinstall it correctly.
| Component | Common Hail Damage | Repair Method | Typical Lifespan After Repair |
|---|---|---|---|
| Asphalt shingles | Bruising, granule loss | Spot replacement or overlay | 10–15 years remaining |
| Step and chimney flashing | Dents, seam separation | Remove and reinstall | 15–20 years |
| Skylight flashing and glazing | Dents, cracked glazing | Flashing repair or full replacement | 15–20 years |
| Gutters and downspouts | Denting, seam splits | Section replacement | 15–20 years |
| Vent caps and stacks | Cracking, dislodging | Full unit replacement | 10–15 years |
Method 4: Underlayment and Deck Repair for Deeper Damage
Severe hail, particularly hail over 4 centimetres combined with high wind, can drive impact force through the shingle layer and into the underlayment and even the roof deck itself. This is the type of damage that produces active leaks rather than slow cosmetic wear, and it requires a more invasive repair than simply swapping shingles.
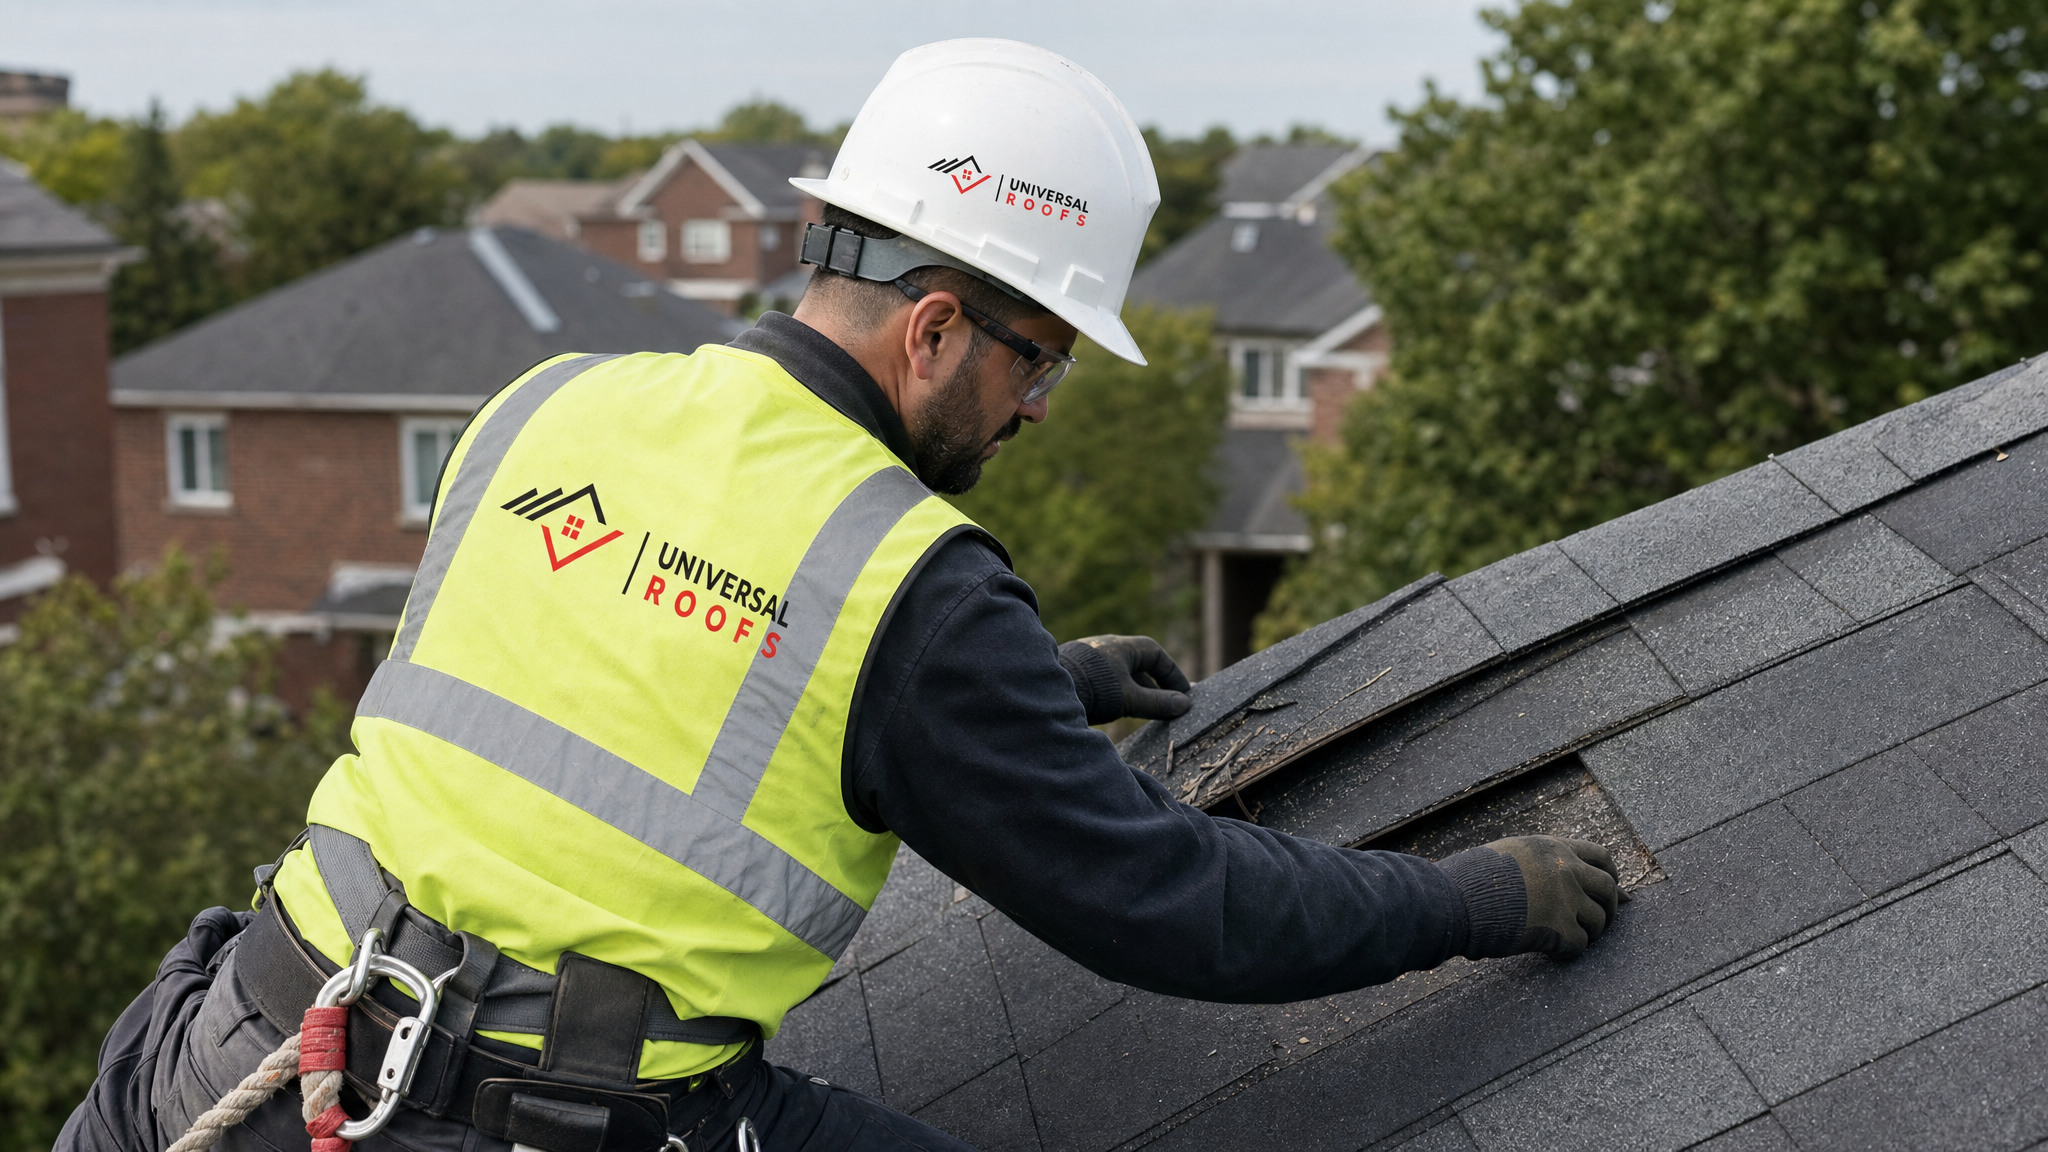
The process starts by removing shingles across the affected area to expose the deck, checking for soft spots, delamination in plywood sheathing, or visible cracks. Any compromised sections of decking are cut out and replaced with matching thickness plywood or OSB, properly fastened to the rafters or trusses beneath. New underlayment is installed over the repaired deck before shingles go back down, restoring the full waterproofing system rather than just the visible surface layer.
This method is more labour intensive and therefore costs more than a surface-level patch, but skipping it when deck damage is present is one of the most expensive mistakes a homeowner can make. A shingle repair installed over a compromised deck will look fine for a season and then fail, often in the exact spot that was supposedly already fixed, leading to double the labour cost the second time around.
Method 5: Full Roof Section Replacement for Widespread Damage
When hail damage is extensive across multiple slopes, or when the roof was already near the end of its service life before the storm, targeted repairs stop making financial sense. At that point, a full or partial roof replacement becomes the more practical choice, both for cost efficiency and for the peace of mind of a warrantied, uniform roof system.
Insurance adjusters typically use similar thresholds to determine whether a claim should cover a full replacement rather than a repair, generally looking at the total percentage of the roof surface affected, the age of the existing shingles, and whether matching replacement shingles are still manufactured. Many shingle lines are discontinued or change colour formulations over time, which means a roof installed a decade ago may simply not have a matching product available for a seamless patch.
If your GTA property has extensive hail damage, our roof replacement team can walk the full roof, document the damage for your insurance claim, and install impact-resistant shingles rated to withstand future storms better than the standard product that was likely on the roof originally. This is also the right time to address any underlying ventilation or insulation issues uncovered during the tear-off, since the deck is fully exposed.
| Repair Method | Best For | Typical Timeline | Relative Cost |
|---|---|---|---|
| Spot shingle replacement | Scattered, isolated impacts | Half a day to one day | Lowest |
| Section overlay repair | Concentrated damage on one slope | One to two days | Low to moderate |
| Flashing and metal repair | Leaks at joints, chimneys, skylights | Half a day to one day | Moderate |
| Underlayment and deck repair | Active leaks, soft or cracked decking | Two to four days | Moderate to high |
| Full section replacement | Widespread multi-slope damage | Three to seven days | High |
| Preventative impact-resistant upgrade | Storm-prone properties, upcoming replacement | Same as standard replacement | Moderate premium over standard shingles |
Method 6: Preventative Upgrades to Reduce Future Hail Damage
The sixth method is not a repair at all, but it belongs on this list because it is the step most homeowners skip after going through the trouble and expense of a hail repair. Once damage has been fixed, upgrading to impact-resistant materials during the next scheduled roof work significantly reduces the odds of repeating the process after the next storm.
Class 4 impact-resistant shingles are rated to withstand a 5 centimetre steel ball dropped from height without fracturing, and many insurers in Ontario offer a premium discount for installing them, which can offset a meaningful portion of the additional material cost over the life of the roof. For flat or low-slope sections, our flat roofing systems use membrane materials that resist puncturing far better than aging asphalt or built-up roofing, an important consideration for garages, additions, and porch roofs that often take the brunt of a storm.
Metal flashing gauge matters too. Thicker gauge aluminum or galvanized steel flashing dents less readily than the thin stock sometimes used to cut costs on original installations, and upgrading flashing during any repair is a small line item that pays for itself the next time hail rolls through the region. Toronto’s freeze-thaw cycles already put stress on roofing seams every winter, so starting with more resilient materials reduces the compounding wear from both weather sources at once.
What to Do Immediately After a Hailstorm
The window right after a storm matters. Ground-level indicators like dented gutters, downspouts, window screens, or outdoor furniture are a reliable early signal that the roof likely took damage too, even before anyone gets up on a ladder. Photograph any visible ground-level damage right away, since insurers often want this documentation alongside the roof inspection report.
Avoid climbing onto the roof yourself after a storm. Wet or granule-stripped shingles are extremely slippery, and a homeowner walking the roof can cause more damage than the hail did, including cracking shingles that were only bruised, not broken. A professional inspection with the right harness and footing equipment is both safer and more accurate at spotting subtle damage.
If a leak has already started, a temporary tarp over the affected area prevents interior damage while repairs are scheduled, particularly important during Toronto’s humid summer months when trapped moisture can lead to mould growth within days rather than weeks. Our team can typically get emergency tarping in place quickly for active leaks while a full repair plan is put together.
Working With Insurance on a Hail Damage Claim
Most home insurance policies in Ontario cover hail damage to roofing, but the claims process moves faster and more smoothly with proper documentation from a licensed contractor rather than relying solely on the adjuster’s initial assessment. A written inspection report with photographs of granule loss, shingle bruising, and any flashing or skylight damage gives the adjuster clear evidence to work from rather than a verbal description.
It also helps to know the vocabulary adjusters use. Terms like “test square,” “functional damage,” and “cosmetic damage” all affect whether a claim is approved for full replacement, partial repair, or denied outright. A contractor experienced in insurance work can walk the roof alongside the adjuster and advocate for an accurate assessment, since adjusters cover a wide territory and do not always catch the same details a specialized roofing inspector will.
Timing matters as well. Most policies have a window, often one year, within which a hail damage claim must be filed, so scheduling an inspection soon after a known storm event protects your ability to claim even if you decide to delay the actual repair. Waiting too long can also allow secondary damage, like water intrusion or wood rot, to develop, which some policies treat differently than the original hail event itself.
Serving the GTA With Reliable Hail Damage Repair
Universal Roofs has repaired hail-damaged roofs across the Greater Toronto Area since 2005, and storm patterns vary noticeably block by block depending on wind direction and local topography. A property in Toronto proper may see very different hail severity than one in Peel Region or York Region during the same storm system, which is why we send a roofer familiar with local conditions rather than a generic checklist.
Homes in Halton Region and Durham Region also tend to see more open exposure on newer subdivisions, which can mean more direct hail impact on roofs without the wind-breaking effect of mature trees found in older, established neighbourhoods. Our crews adjust their inspection approach based on these regional differences rather than treating every hail claim identically.
You can read how past clients describe our hail repair and general roofing work on our reviews page, and our FAQ page answers many of the common questions we get about insurance claims, timelines, and material choices. To learn more about our history and licensing in the region, visit our about page.
How much does roof hail damage repair typically cost?
Can hail damage be repaired without replacing the whole roof?
How do I know if my roof has hail damage if I can’t see holes?
Does home insurance cover roof hail damage repair in Ontario?
How long does a typical roof hail damage repair take?
Are impact-resistant shingles worth it after hail damage repair?
Need Help With 6 Best Roof Hail?
If a recent storm has left you wondering whether your roof needs attention, don’t wait for a small bruise to become a bigger leak. Universal Roofs has been repairing hail-damaged roofs across the GTA since 2005, and our team can identify exactly which of these six methods applies to your situation before any work begins.
Call us today at (416) 732-2421 or request a free inspection to get started.
Universal Roofs proudly serves Toronto, Mississauga, Brampton, Vaughan, Markham, Oakville and the GTA since 2005.