
A summer hailstorm can strip years off a roof in under ten minutes. If you have heard hail hammering your roof this season and are not sure whether it caused real damage or just cosmetic marks, you are not alone — it is one of the most common calls we get every July and August across the GTA. Knowing the expert tips for roof hail damage repair that actually work can mean the difference between a simple patch job and a full insurance claim gone wrong.
At Universal Roofs, we have been inspecting and repairing hail-damaged roofs across Toronto and the surrounding regions since 2005. Hail is unpredictable in this part of Ontario — a storm can hit one neighbourhood hard while leaving the street two kilometres over untouched. That inconsistency is exactly why so many homeowners miss damage until it turns into a leak months later.
In this guide, we break down the three expert tips that matter most for roof hail damage repair, plus the inspection checklist, material comparisons, and insurance process you need to protect your home and your wallet.
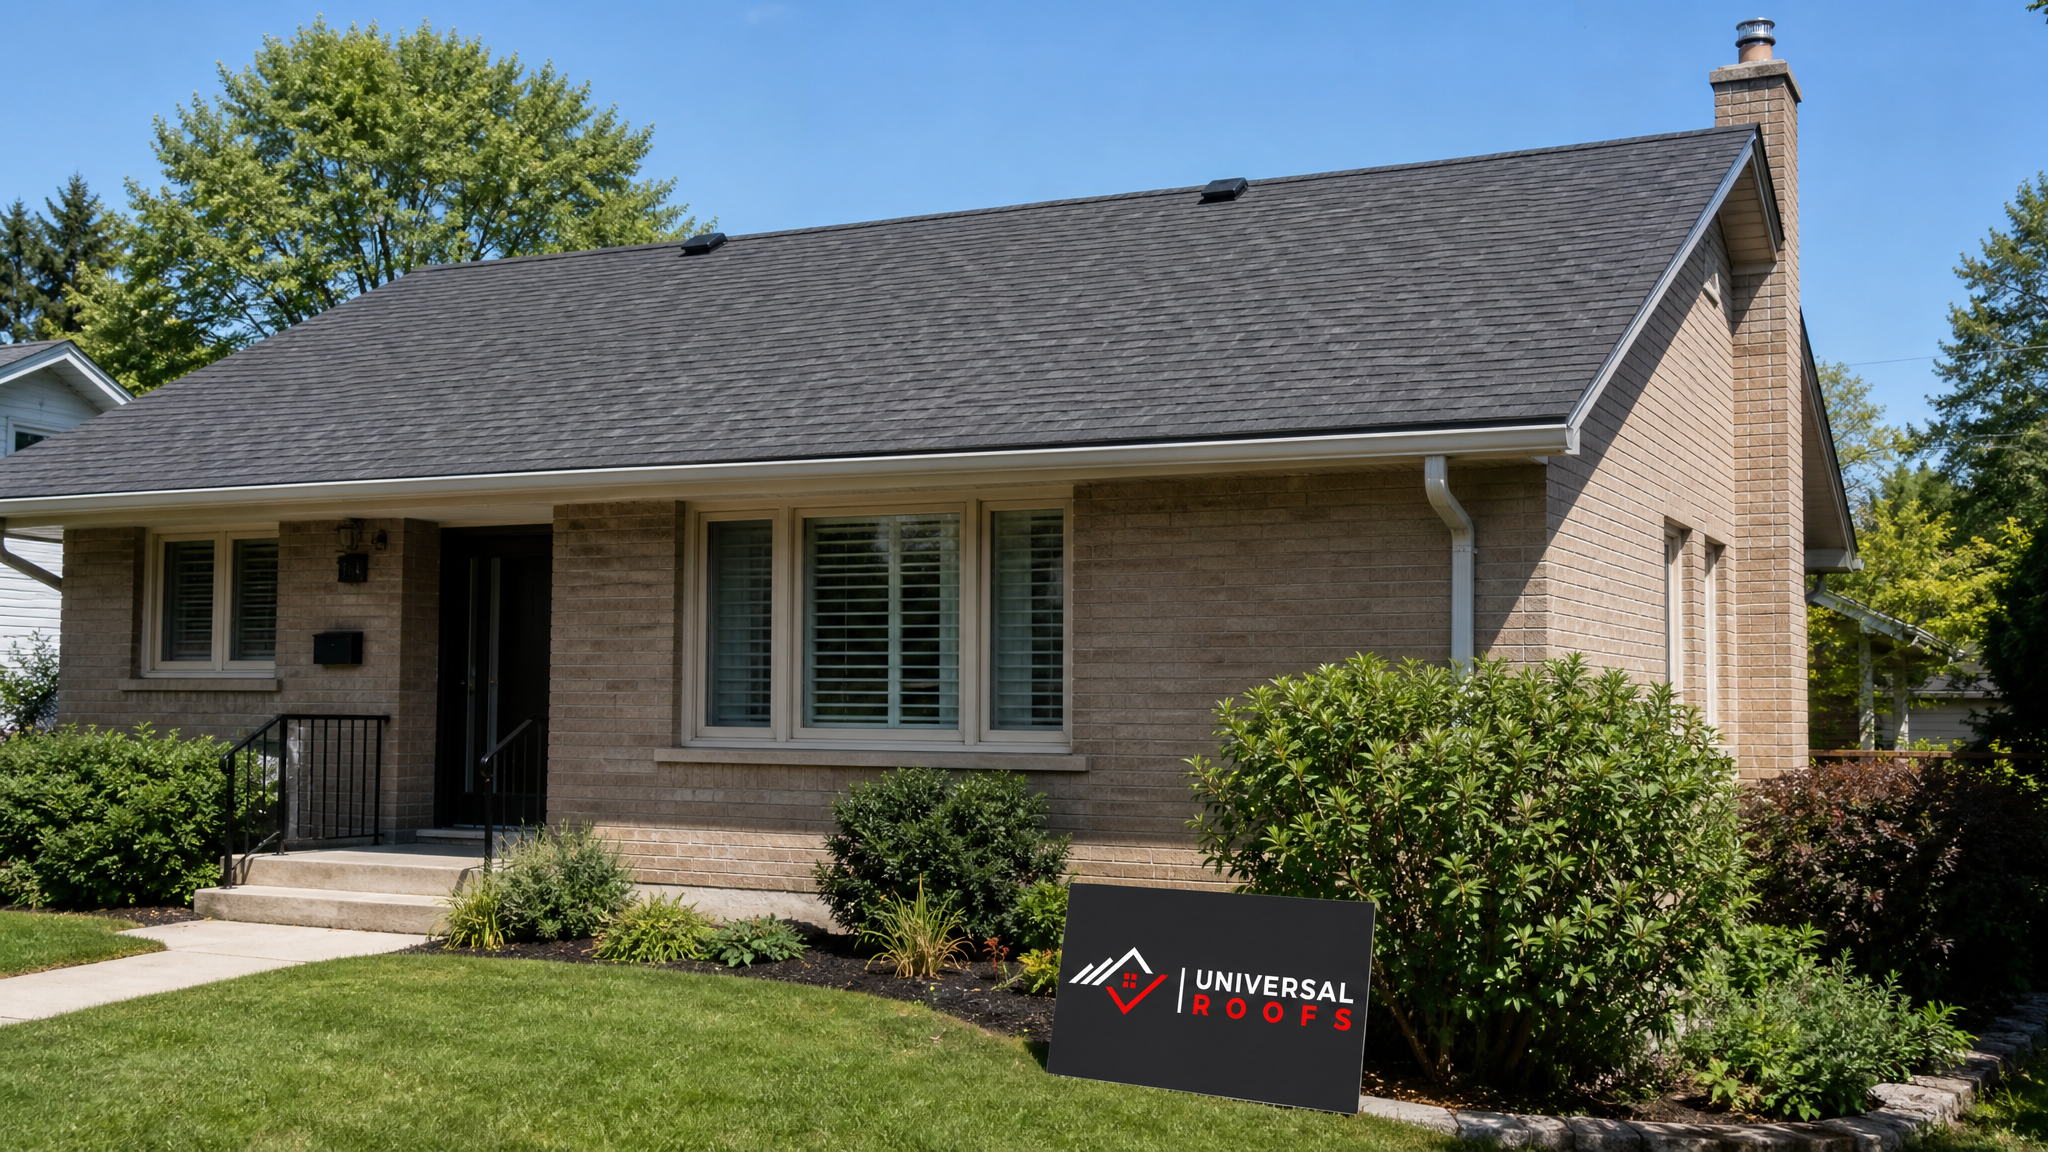
Tip 1: Know What Hail Damage Actually Looks Like
The single biggest mistake homeowners make is assuming hail damage always looks dramatic. In reality, most hail bruising is subtle, and it is easy to walk past it during a quick glance from the ground. Understanding what to look for — and where — is the foundation of every roof hail damage repair.
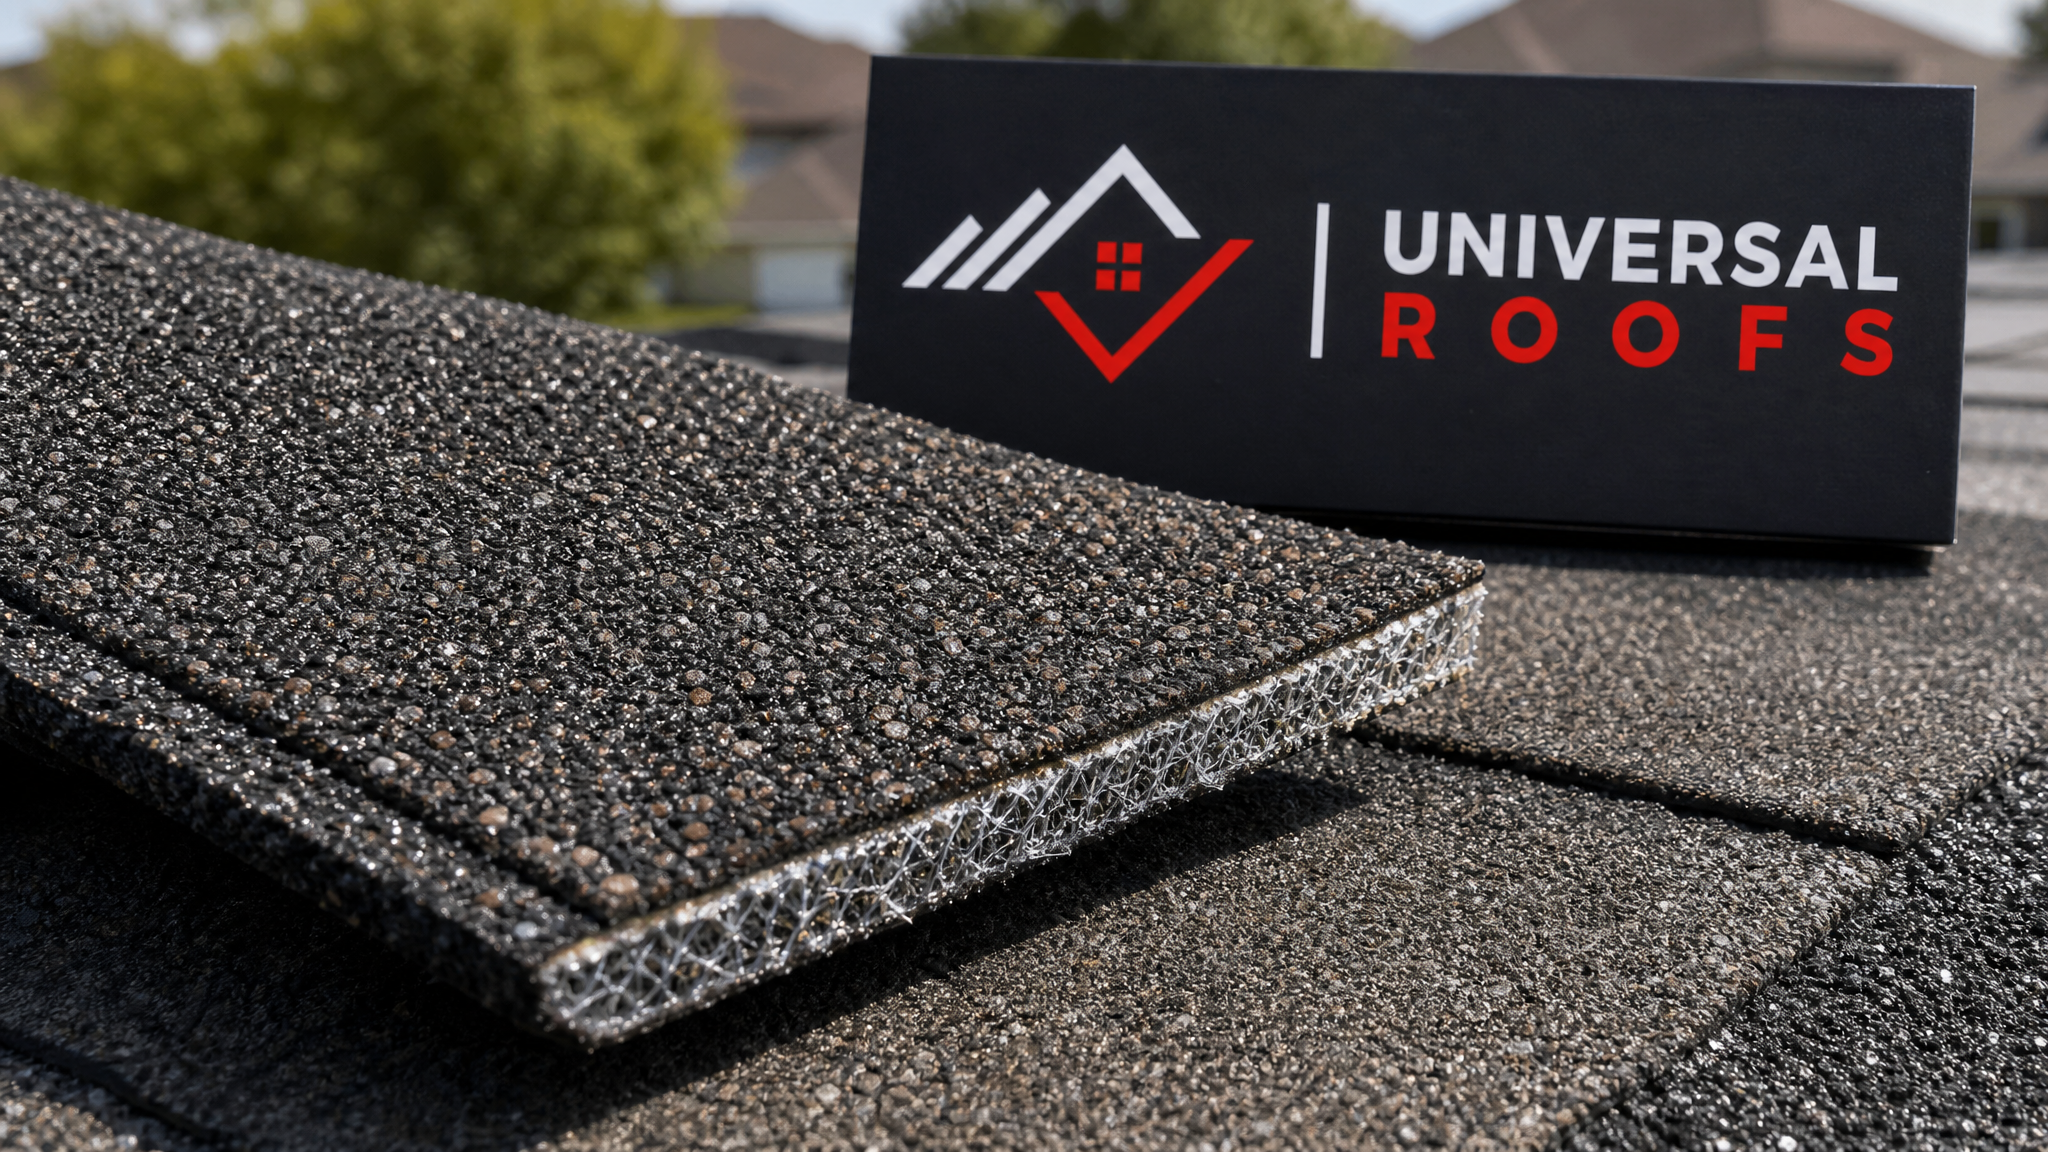
Hail impacts on asphalt shingles typically appear as random, circular bruises where the granules have been knocked loose, exposing the black asphalt mat underneath. Unlike wear from age, hail marks are scattered without a pattern and often cluster on the roof slopes facing the direction the storm travelled from. On metal roofing and flashing, hail leaves visible dents. On skylights, it can chip or crack the glazing, which is why we always recommend a full check of any skylights during a post-storm inspection, not just the shingle field.
Here is a comparison of what hail damage looks like across common roofing materials, so you know what to check for based on what is on your home.
| Roofing Material | Typical Hail Damage Signs | Ease of Spotting | Repair Urgency |
|---|---|---|---|
| Asphalt shingles | Granule loss, black bruising, soft spots | Difficult from ground level | Moderate to high |
| Metal roofing/flashing | Circular dents, dimpling | Easy to moderate | Low to moderate (cosmetic unless split) |
| Skylights/glazing | Chips, cracks, seal failure | Moderate | High — risk of leaks |
| Flat/membrane roofing | Punctures, blistering, seam separation | Difficult without close inspection | High — direct leak risk |
| Vents and pipe boots | Cracked collars, dented caps | Moderate | Moderate to high |
If your roof is more than a few years old, distinguishing hail damage from ordinary weathering can be tricky. This is where a trained eye matters — small bruises that seem harmless today can turn into full leaks after a few freeze-thaw cycles, which is a real concern once winter arrives in the GTA. A professional roof repair assessment after any significant hailstorm is the safest way to catch problems before they compound.
Tip 2: Inspect Methodically — Do Not Just Glance From the Driveway
The second expert tip is about process, not just knowledge. A proper hail damage inspection follows a structured path across the roof rather than a quick visual scan from street level. Random spot-checking is how damage gets missed, and missed damage is how a $400 repair becomes a $4,000 one.
A methodical inspection covers five zones: the shingle field itself, all flashing points (chimneys, sidewalls, valleys), any roof penetrations (vents, stacks, skylights), the gutters and downspouts, and soft metals like window sills, fascia, and eavestroughs. Hail dents on soft aluminum gutters are often the clearest visual proof a storm produced damaging hail size, even when the shingles look fine at first glance — insurance adjusters rely on this correlation constantly.
We also strongly recommend checking your attic from the inside after any suspected hail event. Water staining on the underside of the roof deck, or daylight visible through the sheathing, are early warning signs that a hail-cracked shingle or flashing has already let moisture in. A quick look in the attic costs nothing and can catch a leak weeks before it stains your ceiling.
| Inspection Zone | What to Check | Tools Needed | Who Should Do It |
|---|---|---|---|
| Shingle field | Granule loss, bruising, soft spots | Roof ladder, chalk marker | Licensed roofer |
| Flashing and valleys | Dents, separation, exposed nails | Flashlight, gloves | Licensed roofer |
| Vents and skylights | Cracked collars, glazing chips | Visual and touch check | Licensed roofer |
| Gutters and soft metals | Dimpling, dents as size reference | Ground-level visual | Homeowner or roofer |
| Attic interior | Water stains, light penetration, damp insulation | Flashlight | Homeowner (initial check) |
If you are unsure whether your roof needs a full inspection or just a spot check, our team can walk the whole property and document everything with photos — the same documentation you will need if you decide to file an insurance claim.
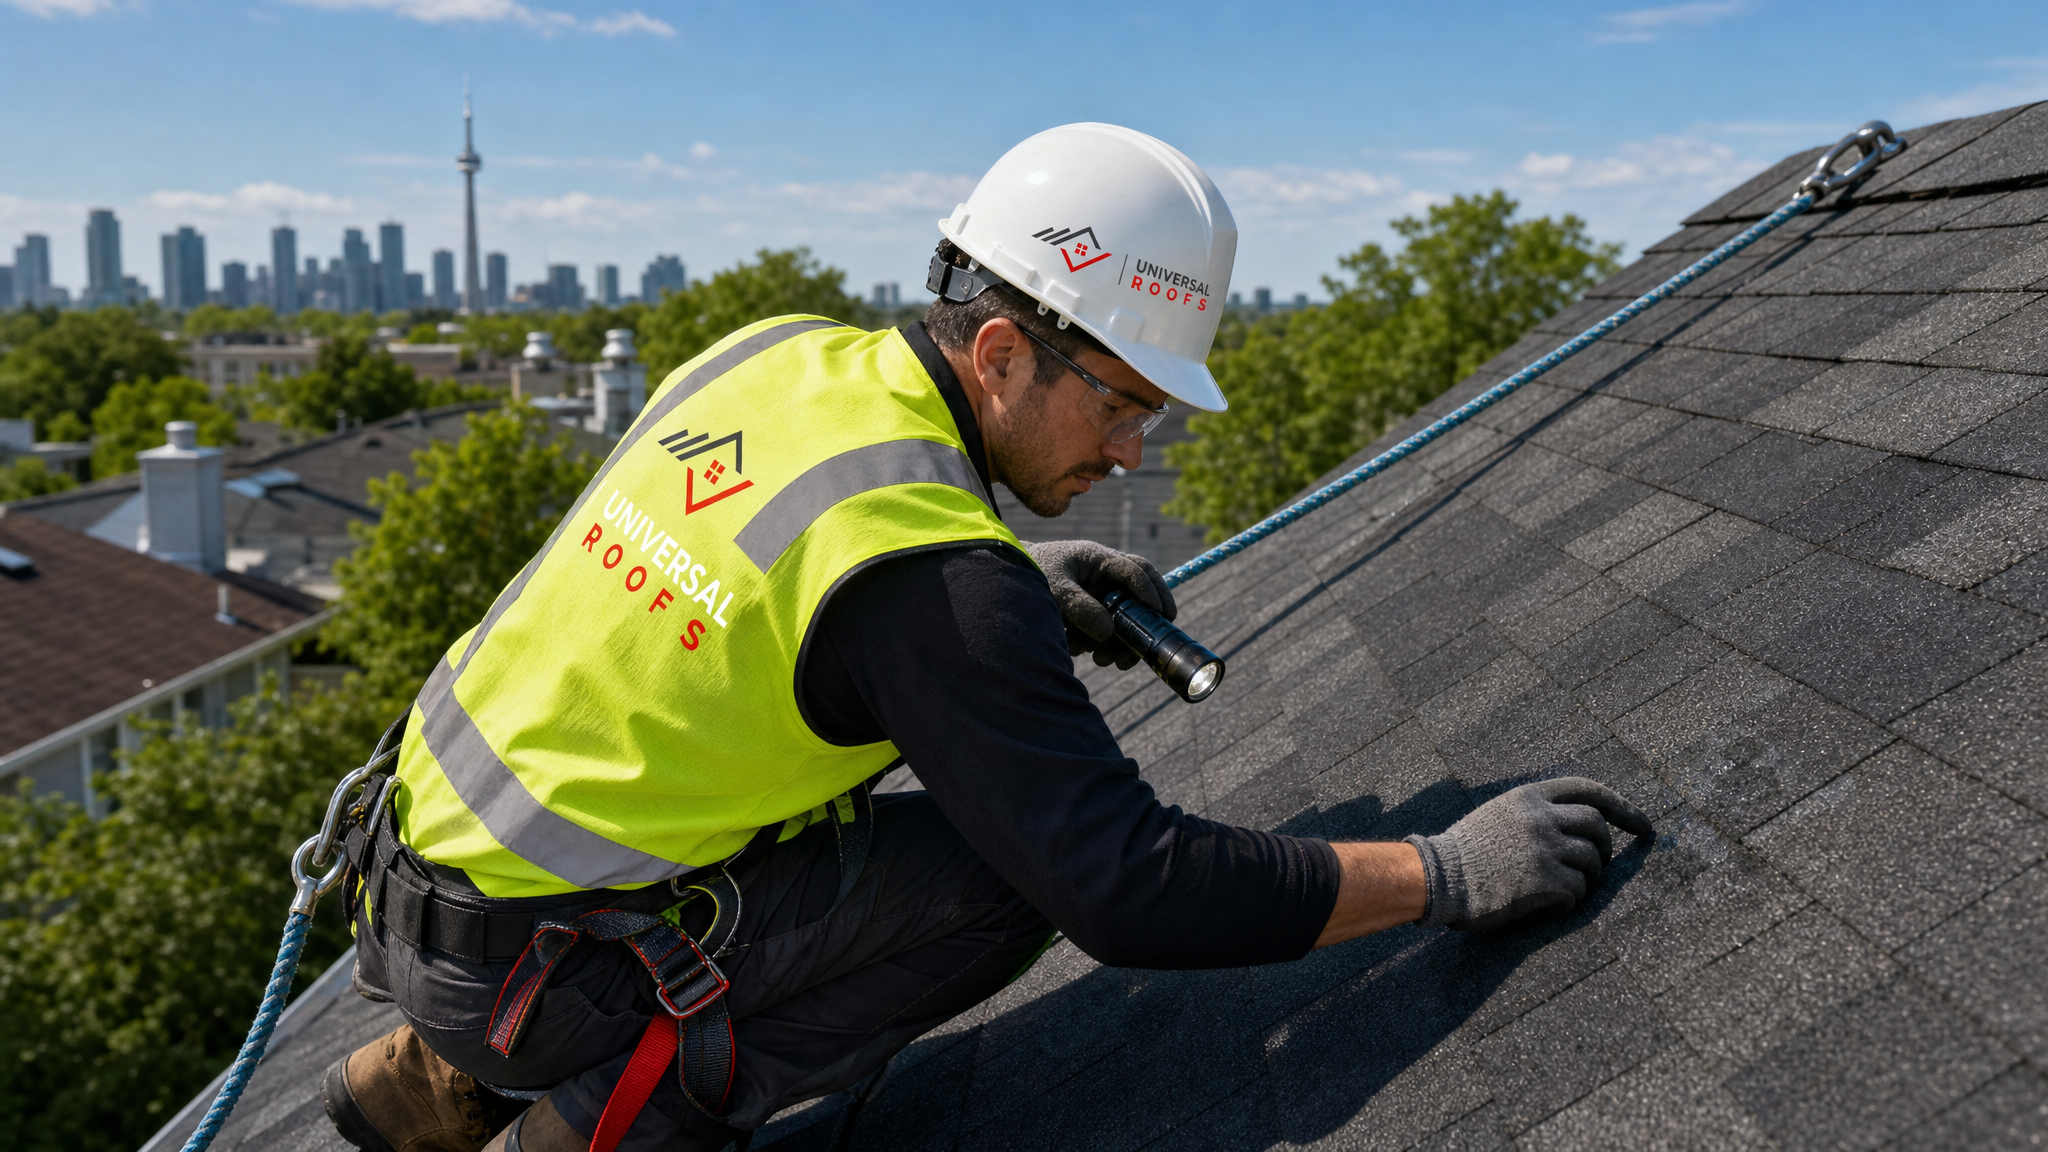
Tip 3: Repair Promptly and Choose the Right Fix for the Damage Level
The third expert tip is about timing and decision-making. Once damage is confirmed, the repair approach should match the severity — patch repairs for isolated impacts, full slope replacement for widespread bruising, and complete roof replacement when the damage is extensive or the roof was already near the end of its service life.
Delaying repair is the costliest mistake homeowners make after a hailstorm. Exposed asphalt mat from granule loss degrades quickly under UV exposure, and even small cracks in flashing or skylight seals let moisture into the roof deck. In the Toronto climate, that moisture problem gets dramatically worse once temperatures swing below freezing, because trapped water expands and widens every crack it finds. A repair that would have taken an afternoon in July can become a full deck replacement by February if it is ignored.
For isolated hail impacts on a handful of shingles, targeted roof repair is usually sufficient — we remove and replace the damaged shingles and reseal the surrounding area. When bruising is spread across an entire slope or multiple slopes, patch repairs are not cost-effective or reliable long term, and a full roof replacement is the better investment. For homes with flat or low-slope sections, hail can puncture membrane roofing in ways that are invisible from the ground, which is why we treat flat roofing hail inspections as a separate, more detailed process than standard shingle roofs.
| Damage Severity | Recommended Repair | Typical Timeline | Approximate Cost Range (CAD) |
|---|---|---|---|
| Isolated impacts (1-10 shingles) | Spot shingle replacement | Half day to 1 day | $300 – $900 |
| Bruising across one slope | Full slope shingle replacement | 1 to 2 days | $1,500 – $4,000 |
| Widespread multi-slope damage | Full roof replacement | 3 to 5 days | $9,000 – $18,000+ |
| Flat/membrane puncture | Membrane patch or section replacement | 1 to 3 days | $800 – $5,000 |
| Skylight glazing damage | Glazing or unit replacement | Half day to 1 day | $400 – $2,200 |
Costs vary depending on roof pitch, material, and access, but this table gives you a realistic starting point for budgeting before a contractor arrives. If your skylight has taken a direct hit and the glazing is cracked or the seal has failed, do not wait for the next rainfall to deal with it — a skylight replacement is far cheaper than repairing water damage to the ceiling and framing below it.
Why Hail Damage Is Easy to Miss in the GTA
Toronto and the surrounding regions do not see hail as frequently as the Prairies, which paradoxically makes local homeowners less likely to check for it after a storm. Most people associate hail damage with dented cars and shattered patio furniture, not with subtle granule loss on a roof they rarely look at closely.
We also see a seasonal pattern worth knowing: severe thunderstorms capable of producing damaging hail are most common here from May through August, meaning mid-summer is peak season for the exact kind of storm that causes this damage. If your neighbourhood had a hailstorm in the last few weeks, now — not in the fall — is the ideal time to have your roof checked, while the damage is fresh and easiest to document for an insurance claim.
We serve homeowners across the full GTA and see slightly different storm patterns by region. Homes in Toronto proper tend to see more localized cell storms, while Peel Region, York Region, Halton Region, and Durham Region often experience broader storm fronts that can affect several municipalities in a single pass. Regardless of where you are, the inspection and repair principles in this guide apply the same way.
Filing an Insurance Claim for Hail Damage
Most home insurance policies in Ontario cover hail damage, but the claims process rewards preparation. Insurers want clear evidence: dated photos, a written inspection report, and ideally documentation of the storm itself (weather service records are usually easy to obtain for a specific date and postal code).
Before you call your insurer, get a professional inspection completed first. Adjusters are more responsive to claims that arrive with a documented, dated damage report from a licensed roofing contractor, rather than a homeowner’s own photos alone. It also protects you if the adjuster’s initial assessment underestimates the damage — you have your own record to reference or dispute against.
Here is a simple breakdown of the claims process timeline, so you know what to expect from storm to settlement.
| Claims Stage | What Happens | Typical Timeframe | Homeowner Action |
|---|---|---|---|
| Damage discovery | Visual signs noticed or inspection scheduled | Same day to 1 week post-storm | Document with photos, avoid roof access alone |
| Professional inspection | Licensed roofer assesses and documents damage | 1 to 3 days after contact | Book inspection promptly |
| Claim filing | Insurer notified with report and photos | Same day as inspection report | Submit full documentation |
| Adjuster review | Insurance adjuster inspects or reviews report | 1 to 3 weeks | Be available for adjuster visit |
| Approval and repair | Claim approved, repair scheduled | 1 to 4 weeks after approval | Schedule contractor promptly |
One detail many homeowners overlook: most policies have a claim filing window, often 12 to 24 months from the date of loss, but the sooner you file, the stronger your case. Waiting until a small leak becomes a ceiling stain makes it much harder for an adjuster to confirm the damage traces back to a specific hailstorm rather than general wear.
Preventing Future Hail Damage Where Possible
You cannot stop hail from falling, but you can reduce how much damage it does to your home. Impact-resistant shingle products, rated under standards like UL 2218 Class 4, hold up dramatically better against hail than standard three-tab shingles, and many insurers offer premium discounts for installing them. If you are already due for a roof replacement, upgrading to impact-resistant materials is worth discussing before your next storm season.
Regular maintenance also matters more than most homeowners realize. A roof that is already compromised by age, poor flashing, or minor pre-existing damage will fare far worse in a hailstorm than one that has been properly maintained. Scheduling an annual roof check — ideally before storm season ramps up each spring — gives you a baseline to compare against after any future storm, which also makes insurance claims easier to substantiate.
Skylights deserve special attention in any prevention plan. Older skylight units with aging seals or thin glazing are far more vulnerable to hail impact than newer, better-rated units. If your skylights are more than 10 to 15 years old, it is worth having them assessed alongside your roof, since a skylight replacement completed proactively is always less disruptive than an emergency repair after a storm has already cracked the glazing.
DIY Checks vs. Calling a Professional
Homeowners can and should do a preliminary check after a storm — from the ground with binoculars, or a careful look at gutters, downspouts, and any accessible soft metal for dents. What homeowners should not do is climb onto a wet, sloped roof to inspect shingles up close. Roofs are more slippery and unstable after a hailstorm than they appear, and hail-bruised shingles can crack further under foot traffic, turning cosmetic damage into a real leak.
A licensed roofer brings three things a homeowner inspection cannot: trained pattern recognition for subtle bruising, safe access equipment, and a documented report that carries weight with insurance adjusters. If you are ever unsure whether what you are seeing on your roof or in your attic is hail-related, it is always worth a second opinion — a short conversation can save you from either an unnecessary claim or a missed one. Our FAQ page covers many of the questions we hear most often about storm damage and the repair process.
We have handled hail damage repairs across every roof type in our service area, and our reviews reflect the same thing homeowners tell us every storm season: fast response, clear documentation, and repairs that hold up. You can also learn more about our approach and the standards we hold every job to.
Putting the Three Tips Together
To recap: know what hail damage actually looks like across every part of your roof, inspect methodically rather than glancing from the ground, and repair promptly with a solution that matches the true severity of the damage. Followed together, these three expert tips for roof hail damage repair are what separate a fast, affordable fix from a drawn-out, expensive one.
Hail damage rarely announces itself loudly. It is quiet, easy to miss, and gets more expensive the longer it sits unaddressed. If your neighbourhood has seen hail this summer, the smartest move is a professional inspection now, while any damage is fresh, easy to document, and still cheap to fix.
What are the most important expert tips for roof hail damage repair?
How do I know if my roof has hail damage?
Can I repair hail damage myself?
Will my insurance cover roof hail damage repair?
How much does roof hail damage repair typically cost?
When is the best time to check for hail damage in Toronto?
Need Help With 3 Expert Tips for?
Whether you need a fast inspection after a recent storm or a full repair plan for confirmed hail damage, Universal Roofs has the local experience to get it done right the first time.
Call us today at (416) 732-2421 or request a free inspection to get started.
Universal Roofs proudly serves Toronto, Mississauga, Brampton, Vaughan, Markham, Oakville and the GTA since 2005.