
A small roof leak rarely stays small. What starts as a faint stain on a bedroom ceiling in July can become a soaked attic deck, damaged insulation, and mould growth by the time autumn rains arrive. Preventing water damage starts with understanding how roof patching actually works — not as a stopgap, but as a genuine repair technique that, done correctly, can add years of service life to an otherwise sound roof.
At Universal Roofs, we’ve patched thousands of roofs across the Greater Toronto Area since 2005, and the pattern is always the same: homeowners wait too long to address a small problem, and a $300 patch turns into a $9,000 roof replacement. This guide walks through exactly how professional roof patching works, when it’s the right call versus when replacement makes more sense, what materials hold up best in our climate, and how to spot trouble before it becomes a disaster.
Toronto’s climate is uniquely hard on roofing. We get intense summer UV exposure and heat that bakes shingles and dries out sealants, followed by a freeze-thaw cycle every winter that can run through dozens of freeze/thaw transitions in a single season. Each cycle expands trapped moisture, widening cracks and prying up flashing by a fraction of a millimetre at a time. A patching strategy that ignores this cycle will fail. One built around it can last a decade or more.
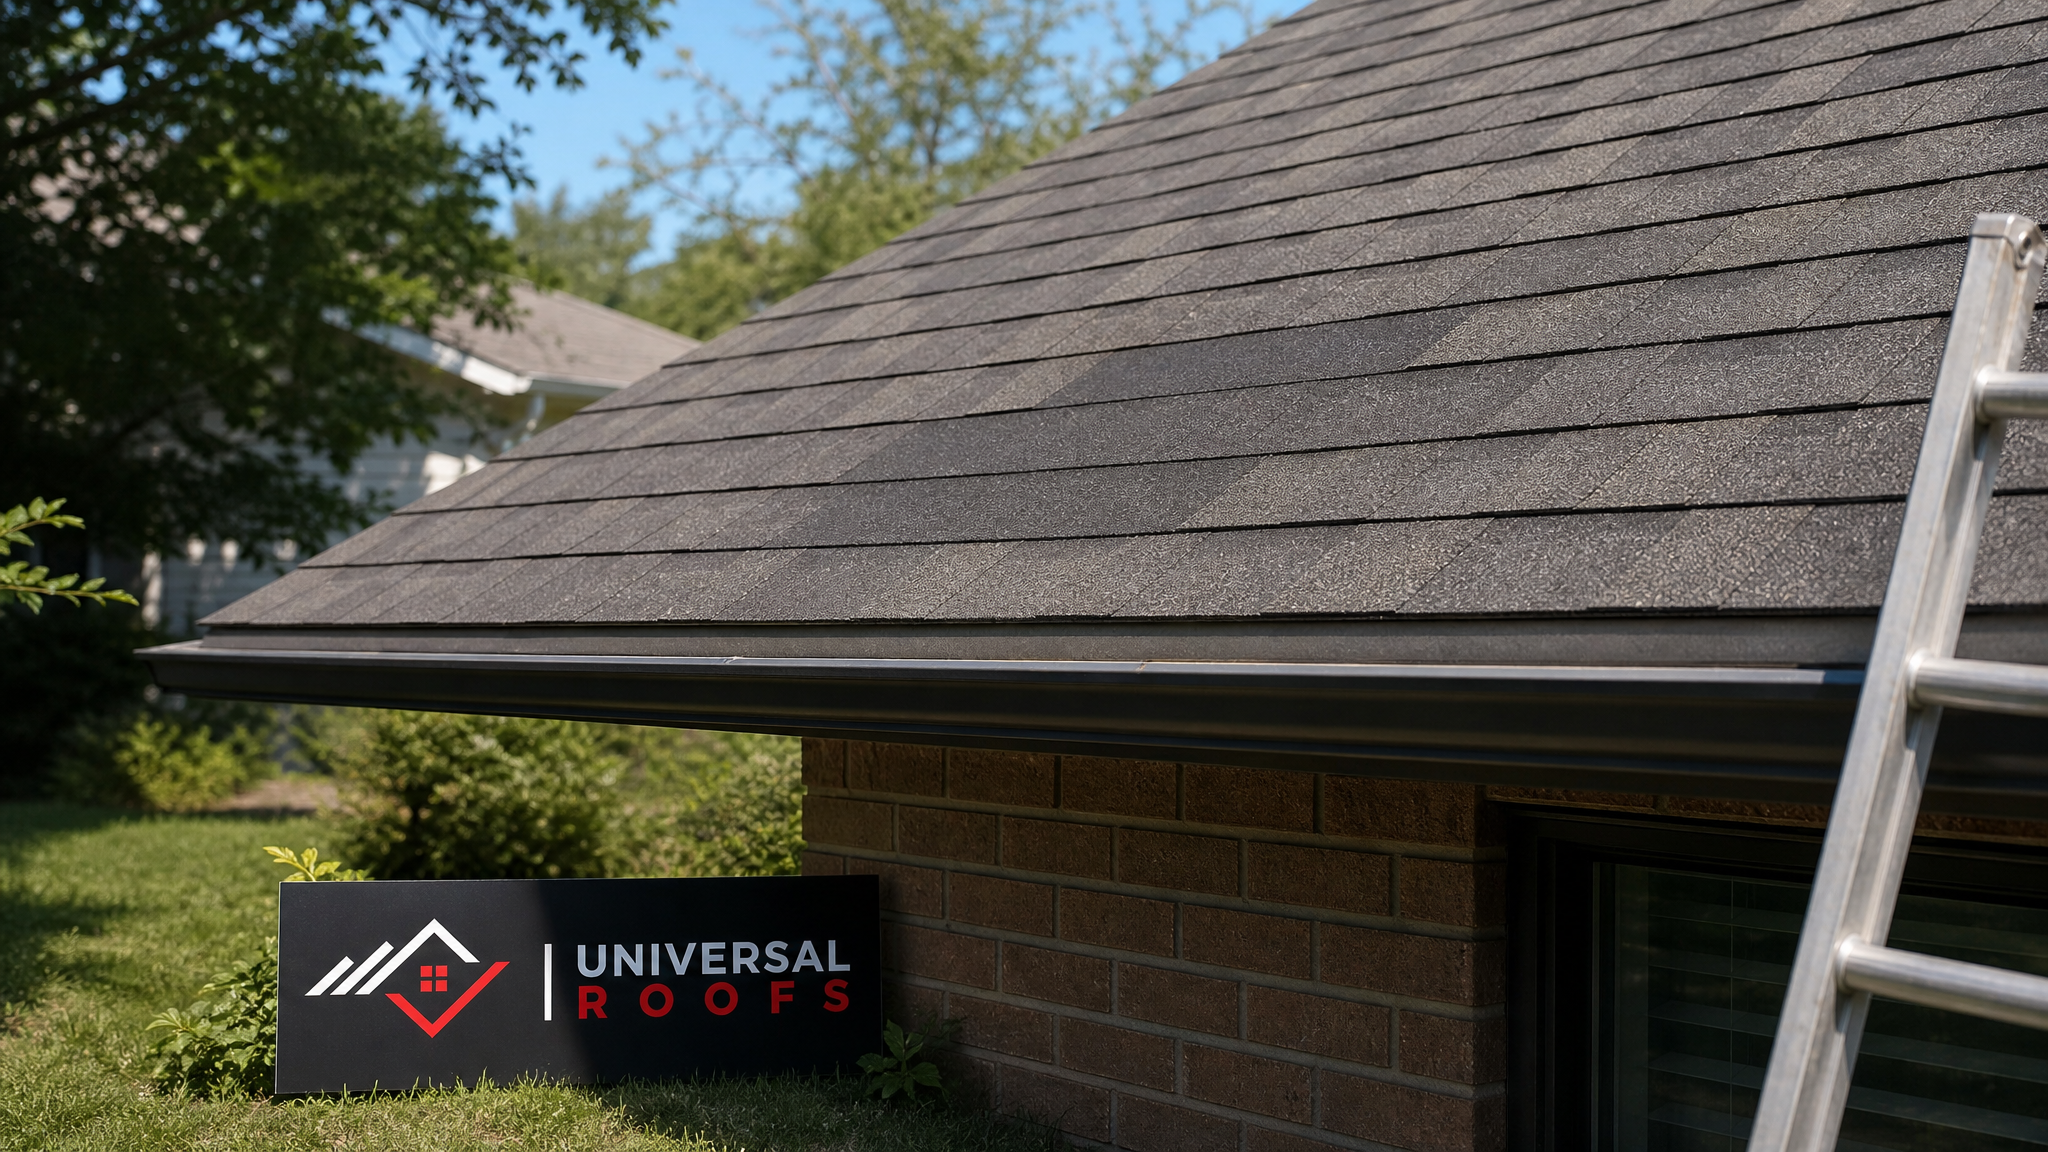
What Roof Patching Actually Fixes (and What It Doesn’t)
Roof patching is a targeted repair: replacing or resealing a specific damaged section of roofing material rather than tearing off and rebuilding the whole roof. It’s the right tool for isolated problems — a handful of cracked or missing shingles, a failed seam on a flat roof membrane, deteriorated flashing around a chimney or vent pipe, or a puncture from fallen debris.
Patching is not the right tool for widespread, systemic problems. If more than 25-30% of your roofing surface shows granule loss, curling, or cracking, or if the decking underneath is soft and spongy across multiple areas, patching becomes a game of whack-a-mole — you fix one spot and a new leak appears somewhere else within a season. In those cases, our roof repair team will usually recommend a broader repair scope or point you toward full replacement, because patching a roof that’s structurally at end-of-life just delays the inevitable while you keep paying for materials and labour.
The honest answer to “should I patch or replace” almost always comes down to three questions: How old is the roof? How localized is the damage? And what’s the condition of the decking underneath the damaged area? A 6-year-old asphalt shingle roof with one storm-damaged section is an easy patch. A 22-year-old roof with three separate leak points is telling you it’s done.
Common Sources of Roof Water Damage
Before patching anything, you need to correctly identify where water is actually entering — which is often not where the stain appears inside the house, since water travels along rafters and decking before dripping down. The most frequent culprits we find on GTA homes are:
Cracked or lifted shingle tabs: UV exposure and thermal cycling make asphalt shingles brittle over time. Once a tab cracks or lifts, wind-driven rain gets underneath and soaks the underlayment.
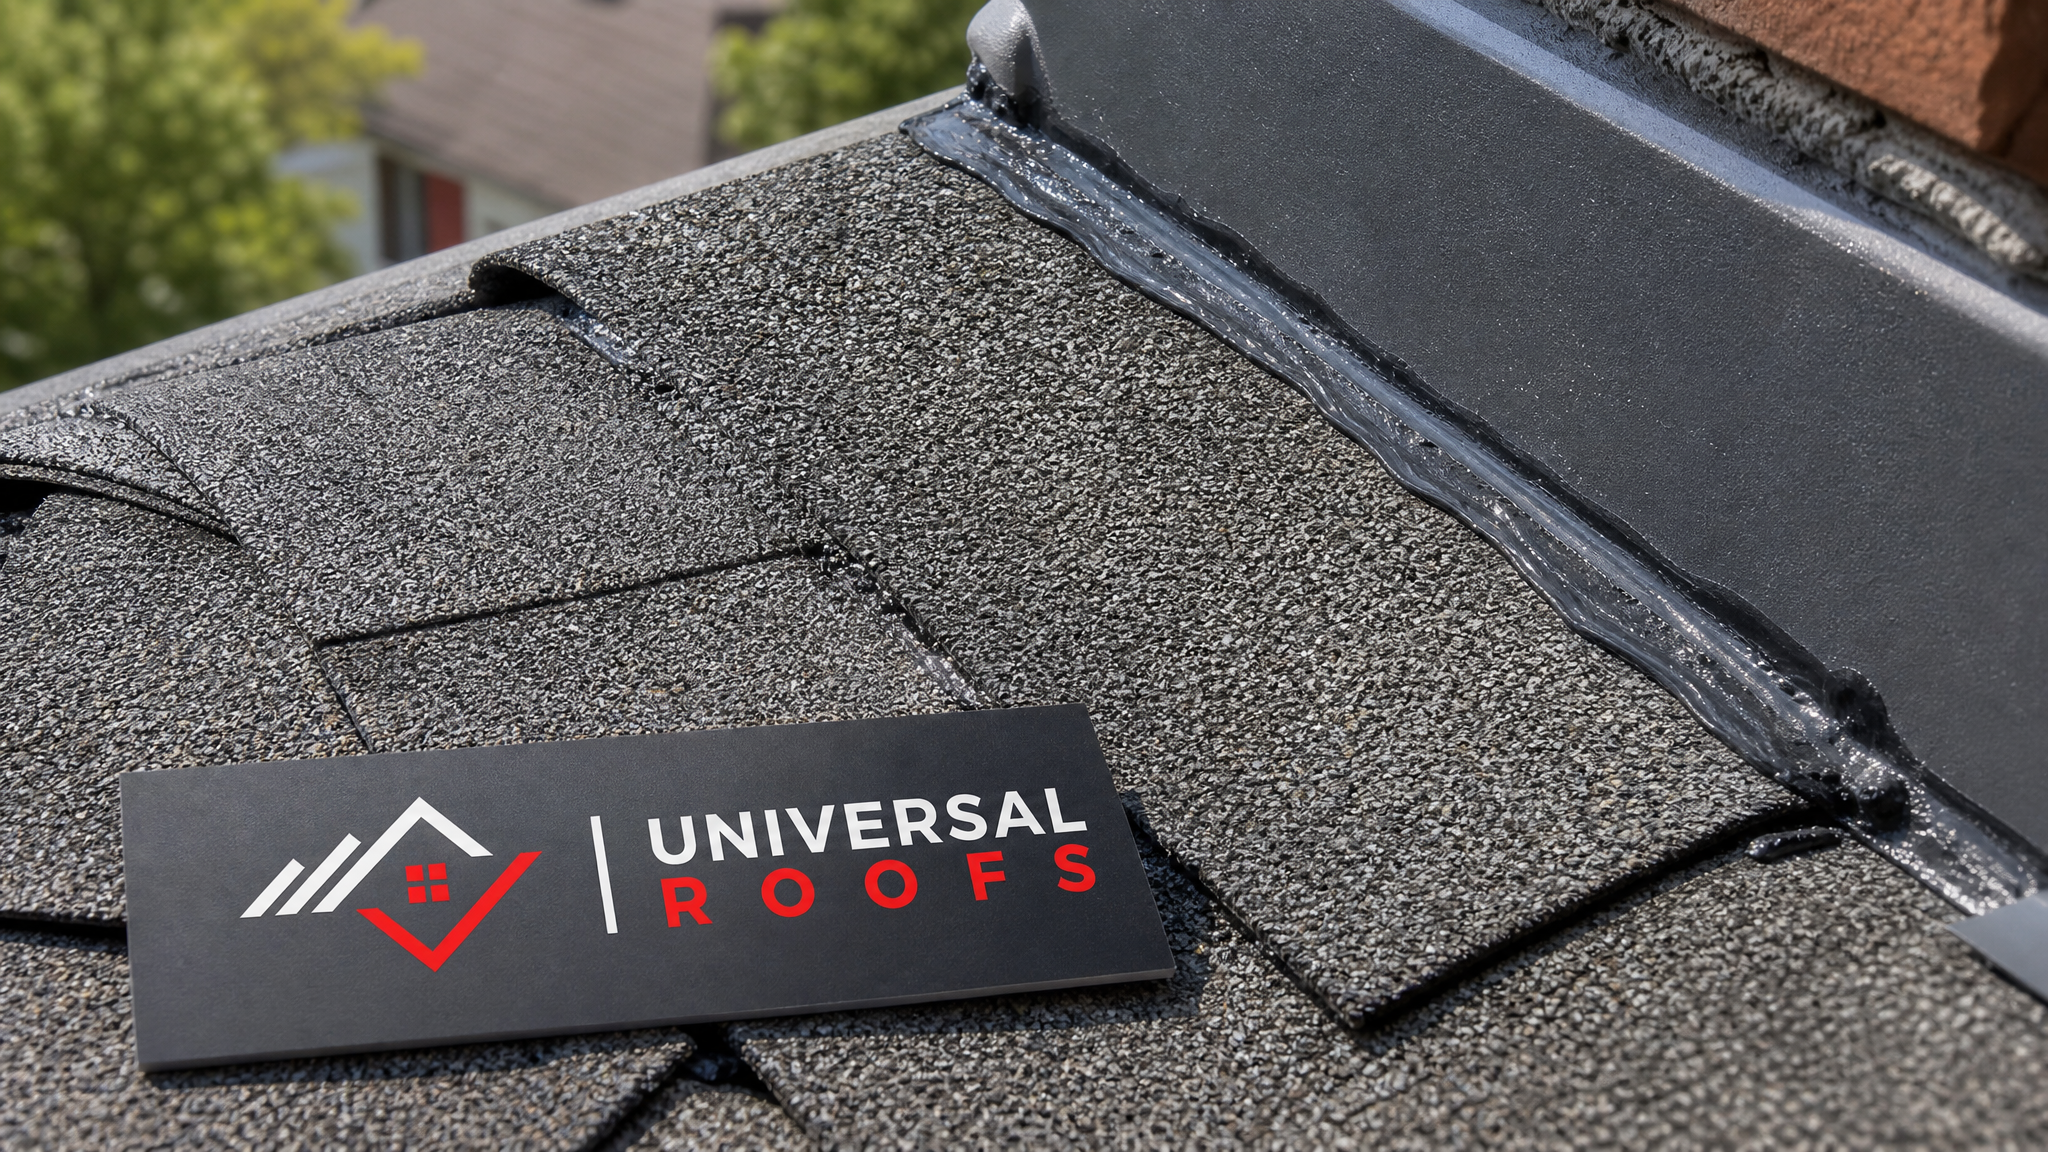
Failed flashing: Flashing seals the transitions where the roof meets a chimney, wall, skylight, or vent pipe. It’s sealed with caulking or roofing cement that degrades faster than the metal itself, so flashing failure is one of the single most common causes of leaks we diagnose.
Deteriorated pipe boots: The rubber collar around plumbing vent stacks cracks from UV exposure long before the surrounding shingles wear out — often within 10-12 years — and is one of the most overlooked leak sources.
Membrane seams and blisters on flat roofs: On flat roofing systems, water damage usually starts at a seam that wasn’t fully sealed or a blister where trapped moisture pushed the membrane up and eventually split it.
Skylight seals: Skylight flashing and glazing seals are a frequent leak point, particularly on older units. If you’re noticing condensation or drips around a skylight, it’s worth having our skylights team inspect the seal before assuming the whole unit needs skylight replacement.
Ice dam damage: Though it’s July now, ice dam damage from last winter often doesn’t show up as an active leak until the spring thaw or the following winter, when the same weak point reopens.
| Damage Source | Typical Warning Sign | Average Time to Failure | Patch Difficulty |
|---|---|---|---|
| Cracked shingle tabs | Granules in gutters, visible cracks | 15-20 years (UV aging) | Easy |
| Failed flashing seals | Rust streaks, gaps at joints | 8-12 years | Moderate |
| Deteriorated pipe boots | Cracked rubber collar | 10-12 years | Easy |
| Flat roof membrane seams | Bubbling, ponding water nearby | 10-15 years | Moderate to hard |
| Skylight seal failure | Condensation, drip stains on frame | 12-15 years | Moderate |
| Ice dam decking damage | Interior stains appearing after thaw | Sudden (storm event) | Hard |
The Step-by-Step Roof Patching Process
A proper patch is more than smearing roofing cement over a crack. Here’s the process our crews follow on every patching job, whether it’s a simple shingle repair or a more involved flashing replacement:
1. Locate the true entry point. We start on the interior side if there’s an active leak, tracing the water stain back along the rafters and decking to find where it actually enters the roof deck — which is often metres away from where the stain shows up on your ceiling.
2. Inspect the decking. Once the damaged shingles or membrane are pulled back, we check the plywood or OSB decking underneath for soft spots, delamination, or rot. Any compromised decking gets cut out and replaced before a new patch goes down — patching over rotten wood is a guaranteed callback.
3. Remove damaged material cleanly. Shingles, membrane, or flashing is cut back to solid, sound material with a clean margin — usually at least 150mm beyond the visible damage — so the new patch has good material to bond to.
4. Install new underlayment where needed. If the original underlayment (the moisture barrier beneath the shingles) is compromised, it gets replaced in the patch area, tucked correctly under the surrounding courses so water sheds over every seam.
5. Apply the new material. New shingles are woven into the existing courses following proper shingle-lapping technique; membrane patches are heat-welded or adhered per the manufacturer’s specification; flashing is formed and fastened with appropriate corrosion-resistant fasteners.
6. Seal all transitions. Every seam, nail head, and flashing edge gets sealed with a polyurethane or butyl-based sealant rated for roofing use — never ordinary caulking, which fails within a season or two of UV exposure.
7. Test and document. We check the patch for proper water shedding and photograph the completed repair for your records, which matters if you ever need to reference the work for an insurance claim or resale disclosure.
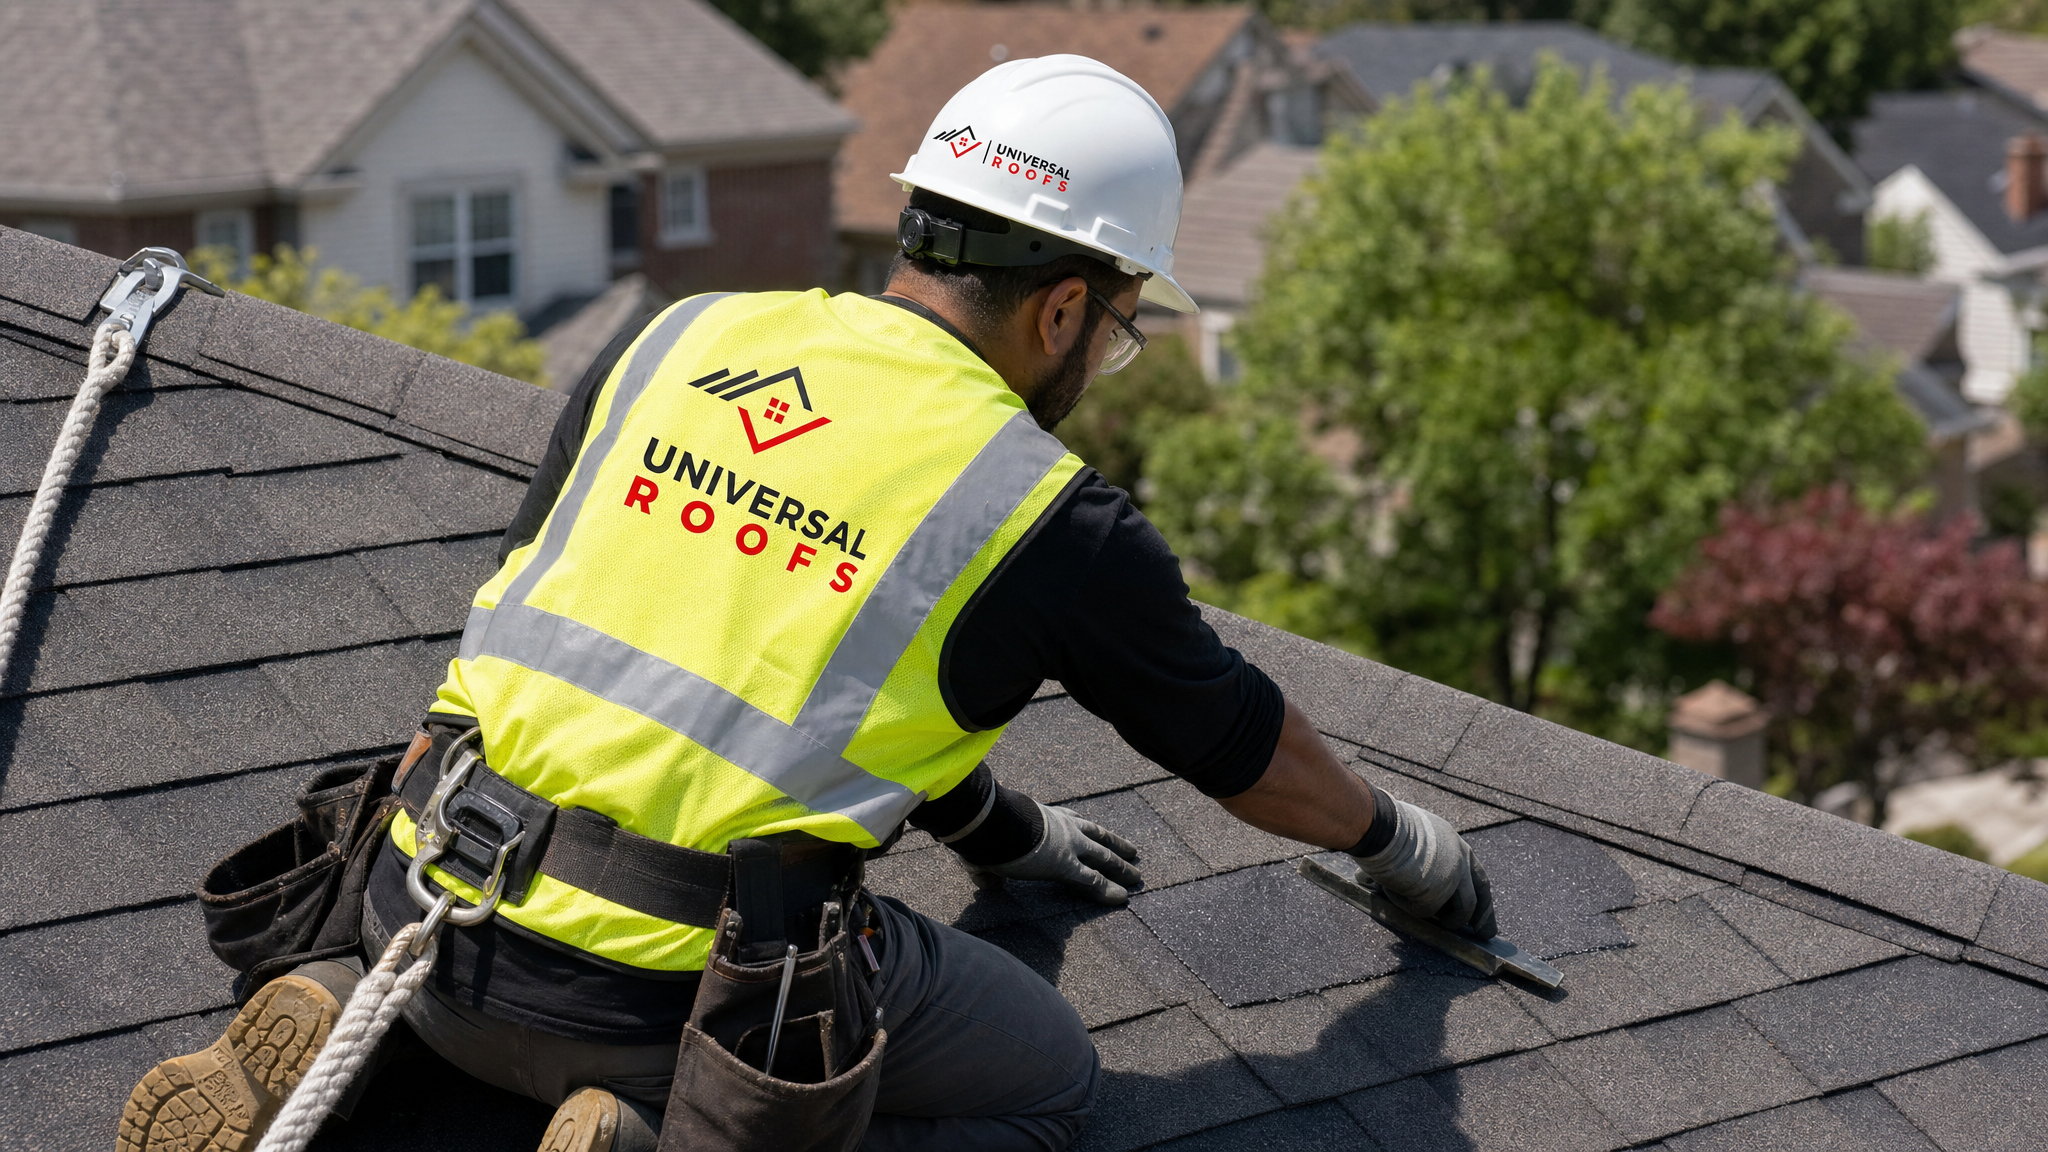
Choosing the Right Patch Material for Your Roof Type
Not every patch material works on every roof, and using the wrong one is a common DIY mistake that actually accelerates water damage rather than preventing it. Mixing incompatible materials — like using silicone caulking on an asphalt shingle roof, or bituminous cement on a TPO membrane — can cause chemical breakdown of the surrounding material.
| Roof Type | Recommended Patch Material | Expected Patch Lifespan | Notes |
|---|---|---|---|
| Asphalt shingle | Matching shingles + roofing cement + butyl sealant | 10-15 years | Colour-match ages slightly for best blend |
| Flat (TPO/EPDM) | Heat-welded or liquid-applied membrane patch | 10-12 years | Must match existing membrane chemistry |
| Metal roofing | Metal flashing + butyl tape + colour-matched sealant | 15-20 years | Avoid dissimilar metals to prevent corrosion |
| Modified bitumen | Torch-applied or self-adhered cap sheet patch | 10-15 years | Requires proper heat-welding technique |
| Skylight flashing | Step flashing + high-grade sealant, glazing reseal | 8-10 years | Check glazing seal separately from flashing |
Preventing Water Damage Before It Starts: A Seasonal Maintenance Approach
The best roof patch is the one you never need because a small problem got caught early. A seasonal maintenance rhythm goes a long way toward preventing water damage in a climate as demanding as ours:
Summer (now): This is the ideal season for exterior inspection and patching work, since dry conditions and stable temperatures let sealants and adhesives cure properly. Walk your property line and look up at the roof from several angles — check for missing granules in the gutters, curling shingle edges, and any visible daylight through the attic (a flashlight check from inside the attic on a sunny day reveals surprising amounts of light leakage around flashing).
Fall: Clear gutters and downspouts before leaf-drop finishes, since blocked drainage backs water up under the shingle edge exactly where ice dams form later. This is also the last practical window to patch anything found during a summer inspection before temperatures drop too low for proper sealant cure.
Winter: Watch for ice dams — thick ridges of ice at the eaves that force meltwater backward under the shingles. Good attic insulation and ventilation prevent the uneven roof-surface temperatures that cause ice dams in the first place, which is often a more effective fix than repeatedly patching the same eave damage every spring.
Spring: Inspect immediately after the snow melts for any damage the winter caused — cracked flashing, granule loss from ice removal, or soft spots in the decking from prolonged moisture exposure. Address anything found right away rather than waiting for summer, since a small spring leak compounds every time it rains.
| Season | Key Maintenance Task | Why It Matters | Ideal Timing |
|---|---|---|---|
| Summer | Full visual inspection + patching | Best cure conditions for sealants | June-August |
| Fall | Gutter clearing, pre-winter patch check | Prevents ice dam backup | September-October |
| Winter | Ice dam monitoring, attic ventilation check | Reduces freeze-thaw damage | December-February |
| Spring | Post-thaw damage inspection | Catches winter damage before it worsens | March-April |
DIY Patching vs. Calling a Professional
We’re often asked whether a homeowner can patch their own roof. For very minor, ground-visible issues on a low-slope, easily accessible roof — like resealing a single nail pop — a careful homeowner with the right materials can do it safely. But several factors push most patching jobs firmly into professional territory:
Safety. Roof work involves fall risk, and most residential fall injuries happen on roofs under 6 metres — precisely the height homeowners consider “not that high.” Our crews always work with proper fall-protection harnesses and rope systems, which most homeowners don’t own or know how to rig correctly.
Correct diagnosis. As mentioned, the visible leak point inside your home is rarely the actual entry point on the roof. Without experience tracing water paths along rafters and decking, a DIY patch often gets applied to the wrong spot — the interior stain stops growing temporarily (because the water simply pools elsewhere first) and then reappears weeks later.
Material compatibility. Getting the sealant chemistry, shingle lapping direction, and flashing profile right takes product knowledge most hardware store trips don’t provide. A patch that looks fine on day one can fail within a single freeze-thaw cycle if the underlying technique was wrong.
Warranty implications. DIY roof work can void the manufacturer’s warranty on the surrounding shingles or membrane, and it may also affect your homeowner’s insurance claim if water damage recurs and the insurer determines the repair was done improperly.
If you’re weighing your options, our FAQ page covers many of the specific scenarios homeowners ask us about, and our reviews reflect two decades of patch jobs across the GTA that held up through multiple winters.
What a Professional Patch Costs vs. What Water Damage Costs
The financial case for prompt patching is stark once you compare repair costs to the downstream cost of unaddressed water intrusion. A patch that costs a few hundred dollars today can prevent thousands in interior damage, mould remediation, and structural repair if left alone.
| Repair Stage | Typical Cost Range (CAD) | Timeline If Ignored | Consequence of Delay |
|---|---|---|---|
| Single shingle/flashing patch | $250 – $650 | Immediate fix available | Grows to larger patch area |
| Multi-spot patch + underlayment repair | $600 – $1,800 | Within 1-2 seasons | Decking rot begins |
| Decking replacement (localized) | $1,500 – $4,000 | Within 2-4 seasons | Insulation and framing damage |
| Interior drywall/insulation remediation | $2,000 – $8,000 | Ongoing once water enters living space | Mould growth, health concerns |
| Full roof replacement (deferred too long) | $8,000 – $18,000+ | 5-10 years of neglect | Loss of insurance coverage options |
This escalation is exactly why our technicians treat every patching call as an opportunity for a broader roof health check, not just a single-spot fix. Catching a second, not-yet-leaking weak point during the same visit often saves a follow-up service call — and the interior damage that would have come with it.
Regional Considerations Across the GTA
Water damage patterns vary somewhat across the region we serve. Older housing stock in central Toronto neighbourhoods often has multiple roofing layers and older flashing details that need careful assessment before patching. Newer subdivisions across Peel Region and York Region tend to have more standardized modern roofing systems, but can still develop flashing and pipe-boot failures on the same 10-15 year timeline. Homes in Halton Region and Durham Region that sit closer to the lake see slightly more wind-driven rain exposure, which stresses flashing seams and roof edges a bit harder than inland properties. Wherever you’re located, the underlying patching principles are the same — correct diagnosis, material compatibility, and proper technique.
Signs You Need a Roof Patch Right Now
Don’t wait for a ceiling stain to confirm what your roof has already been telling you. Schedule an inspection if you notice any of the following:
A section of shingles visibly curling, cracking, or missing granules in a concentrated area. Daylight visible through the attic roof deck when the attic light is off during daytime. Soft or spongy spots when walking (carefully) near roof valleys or penetrations. Rust streaks running down from flashing around a chimney or vent. Any active drip or damp patch on an interior ceiling, even a faint one. Debris accumulation or a tree branch strike that punctured the surface. Granules collecting heavily in gutters after a storm — a sign the shingle surface is wearing thin.
Any one of these on its own might not be urgent, but two or more together usually mean it’s time for a proper look before the next rainfall.
Learn More About Our Company
Universal Roofs has been repairing and patching roofs across the Greater Toronto Area since 2005. You can read more about our history and approach on our about page, and see what past customers have said about their patch and repair experiences on our reviews page. We stand behind every patch with a workmanship warranty, because a repair that doesn’t hold isn’t a repair at all — it’s a delay.
What is the best method for preventing water damage with an essential roof patching approach?
How long does a professional roof patch typically last?
Can I patch my own roof to prevent water damage, or should I hire a professional?
What is the difference between roof patching and full roof replacement?
What time of year is best for roof patching in Toronto?
How much does an essential roof patching job typically cost in the GTA?
Need Help With Preventing Water Damage an?
Whatever stage your roof is at — a single suspicious stain or several confirmed weak points — Universal Roofs has the experience to diagnose the real problem and patch it correctly the first time.
Call us today at (416) 732-2421 or request a free inspection to get started.
Universal Roofs proudly serves Toronto, Mississauga, Brampton, Vaughan, Markham, Oakville and the GTA since 2005.