
A leaking or damaged metal roof rarely announces itself with a single obvious problem. More often it starts as a faint rust streak below a fastener, a soft ticking sound during a summer downpour, or a small water stain that appears on a ceiling weeks after the actual leak began. Because metal roofing is engineered to last 40 to 70 years, most homeowners assume the material itself has failed when trouble shows up. In the vast majority of cases, the panels are fine — the fasteners, flashings, seams, or sealants around them have simply reached the end of their much shorter service life.
This guide walks through expert metal roof repair a step by step process the way a licensed roofing crew actually approaches it: diagnosing the real source of a leak, choosing the correct repair method for the specific failure, and executing the fix so it holds up through Toronto’s freeze-thaw winters and humid summer storms. Whether you have a standing seam roof on a modern GTA home, an exposed-fastener metal roof on a garage or addition, or a metal roof over a porch, the diagnostic logic is the same even when the materials and access change.
We have repaired metal roofing across Toronto, Mississauga, Brampton, Vaughan, Markham, Oakville and the wider GTA since 2005, and the patterns are consistent: fastener backout, sealant failure at penetrations, seam separation on standing seam panels, and physical damage from ice or falling branches account for the overwhelming majority of service calls. Understanding what is actually happening on your roof before anyone climbs a ladder is the difference between a repair that lasts a decade and one that fails again by next spring.
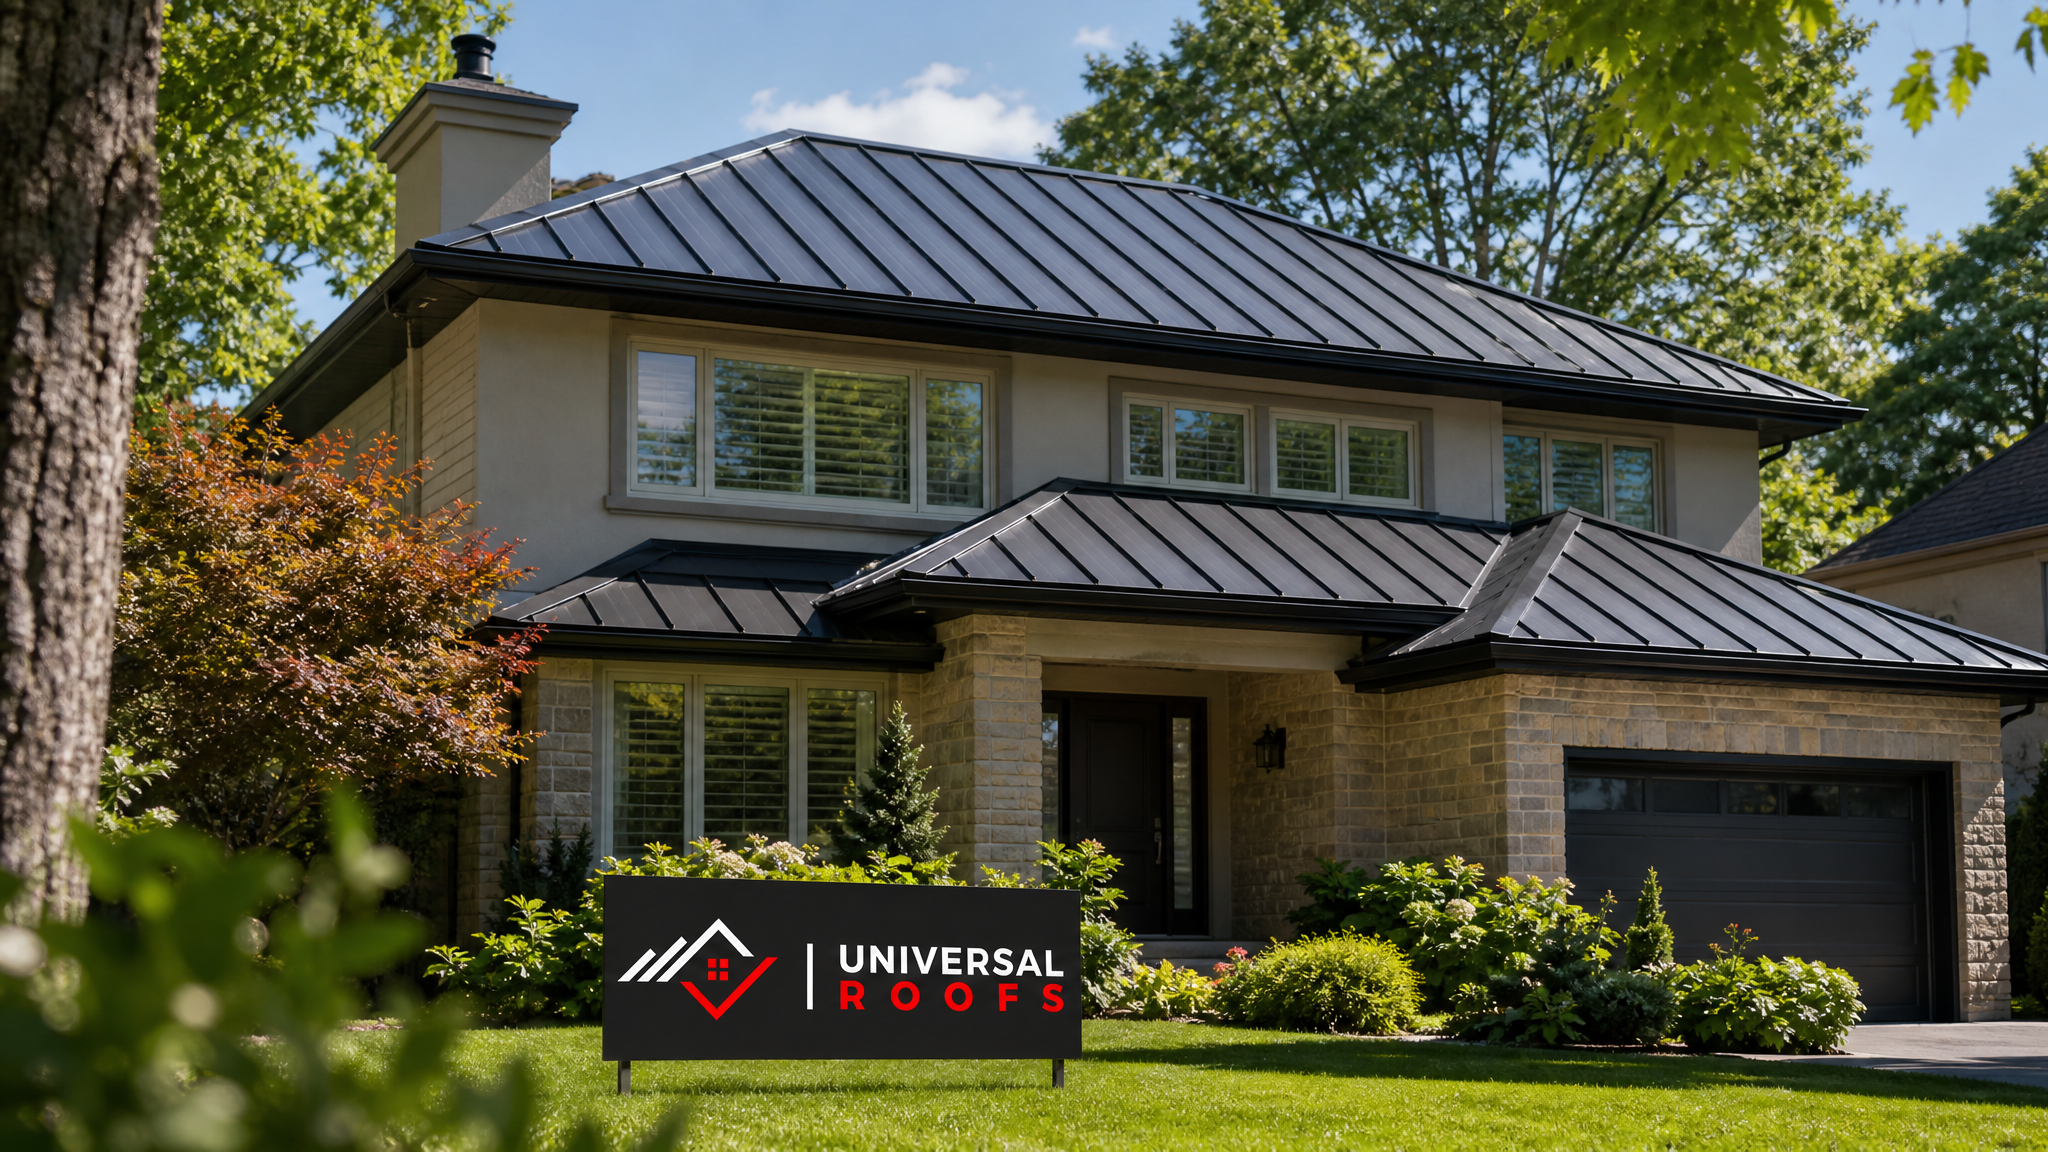
Diagnosing the Real Source of a Metal Roof Leak
Metal roof leaks almost never occur in the middle of a flat panel. The panel itself is a continuous, unbroken sheet of coated steel or aluminum — water has no way in unless something has punctured it. Instead, leaks originate at the places where the roofing system is interrupted: fastener penetrations, seams between panels, flashing transitions, and roof penetrations for vents, skylights, and chimneys.
A proper diagnosis starts in the attic, not on the roof. On a dry day, inspect the underside of the roof deck with a flashlight for staining, dark trails along rafters, or damp insulation. Water travels sideways along the underside of the deck or down a rafter before it drips, so the stain location is often several feet from the actual entry point uphill. Mapping the stain against the roof’s slope and framing lets you narrow the search area before you ever go outside.
Once outside, work uphill from the mapped area and inspect these zones in order of likelihood:
- Exposed fasteners — screws that have backed out, stripped their pilot hole, or lost their rubber washer to UV degradation
- Panel seams and laps — side laps on exposed-fastener panels or the ribbed seams on standing seam systems
- Flashing details — valleys, ridge caps, wall-to-roof transitions, and pipe boots
- Penetrations — plumbing stacks, exhaust vents, and any skylight curb
- Physical damage — dents from hail or debris, or scratches through the protective coating that have allowed corrosion to start
If you are uncomfortable getting on the roof, or the leak is intermittent and hard to reproduce, a professional roof repair assessment using a moisture meter and a controlled water test can locate the entry point far faster than guesswork, and it avoids the risk of causing new damage by walking on panels incorrectly.
Tools and Materials for a Proper Metal Roof Repair
Metal roof repair uses a fairly small set of specialized materials, but using the wrong one is one of the most common reasons a “fixed” leak returns within a season. Standard silicone caulk, for example, does not bond well to painted steel over the long term and will often peel away from the coating within a year or two of UV exposure and freeze-thaw cycling.
| Item | Purpose | Notes for GTA Climate |
|---|---|---|
| Butyl-based roofing sealant | Sealing fastener heads, seams, and flashing laps | Stays flexible through winter; won’t crack under freeze-thaw movement |
| Neoprene-washer screws (matched gauge) | Replacing backed-out or corroded fasteners | Match the original screw gauge; oversized screws strip the panel |
| Colour-matched touch-up paint | Coating scratches and repaired fastener heads | Prevents localized rust from UV and salt spray off winter roads |
| Metal flashing stock (26–29 gauge) | Rebuilding damaged valley or wall flashing | Same gauge and finish as existing panels to avoid galvanic corrosion |
| Wire brush and rust converter | Prepping corroded fastener sites before resealing | Essential step often skipped by DIY repairs |
| Rubber pipe boot or storm collar | Replacing cracked or UV-degraded boots at penetrations | EPDM boots typically need replacement every 10–15 years in this climate |
Mixing dissimilar metals is a mistake worth calling out on its own. Steel screws in an aluminum panel, or the reverse, set up a galvanic reaction that accelerates corrosion around every fastener you install. Always match fastener and flashing material to the existing panel, and when in doubt about what alloy is on your roof, it is worth having a technician confirm it before ordering parts.
Step-by-Step: Repairing Fastener Backout and Loose Screws
Fastener backout is the single most common cause of metal roof leaks in the GTA, largely because thermal expansion and contraction — a metal panel can move several millimetres across its length between a January cold snap and a July heatwave — works fasteners loose over time. Here is the correct repair sequence:
- Locate every loose or backed-out screw on the affected panel and the two panels on either side, not just the one screw that is visibly leaking.
- Remove the fastener and inspect the pilot hole. If the hole is stripped or oversized, it cannot simply be re-driven with the same screw.
- Fill a stripped hole with a butyl sealant plug, or move to the next available rib if the framing member allows it.
- Install a new fastener one size larger in diameter if the original hole is stripped, always matched to the panel’s metal type.
- Torque to manufacturer spec — overdriving compresses and splits the rubber washer, which recreates the exact leak path you are trying to eliminate.
- Dab butyl sealant over the washer as a secondary seal, then inspect after the next rainfall.
A screw driven too loosely lets the washer spin and wear; one driven too tightly cracks the washer immediately. Getting the torque right by feel takes experience, which is why fastener replacement — simple as it sounds — is one of the most frequently redone DIY repairs we see when we’re called in for a second opinion.
Step-by-Step: Sealing Seams, Laps, and Standing Seam Joints
Standing seam metal roofs rely on mechanically folded or clipped seams rather than exposed fasteners, and when these joints fail it is almost always due to a compromised seam lock, a failed clip, or thermal movement that has pulled a seam apart at a transition point such as a ridge or eave.
- Clean the seam thoroughly with isopropyl alcohol to remove chalking, dirt, and old sealant residue so the new material can bond.
- Inspect the seam lock for gaps, cracked folds, or a clip that has pulled free from the deck.
- Re-crimp minor seam separations using a seaming tool matched to the panel profile — hand-crimping with the wrong tool can crease the panel and create a new failure point.
- Apply butyl tape or sealant inside the seam before re-crimping wherever the factory seal has visibly degraded.
- Replace failed concealed clips by carefully lifting the seam, installing a new clip on the existing fastening pattern, and re-locking the seam without over-compressing it.
- Cap larger seam gaps with a colour-matched batten cover only as an interim measure — this is a patch, not a permanent fix, and the underlying clip or seam should still be addressed.
On exposed-fastener panels, side laps use a similar logic but are sealed with a continuous bead of butyl tape between overlapping ribs rather than a mechanical seam lock. If a lap is separating and letting water track sideways under wind-driven rain, the panel typically needs to be lifted, cleaned, re-taped, and re-fastened along its full length rather than spot-sealed at the visible gap.
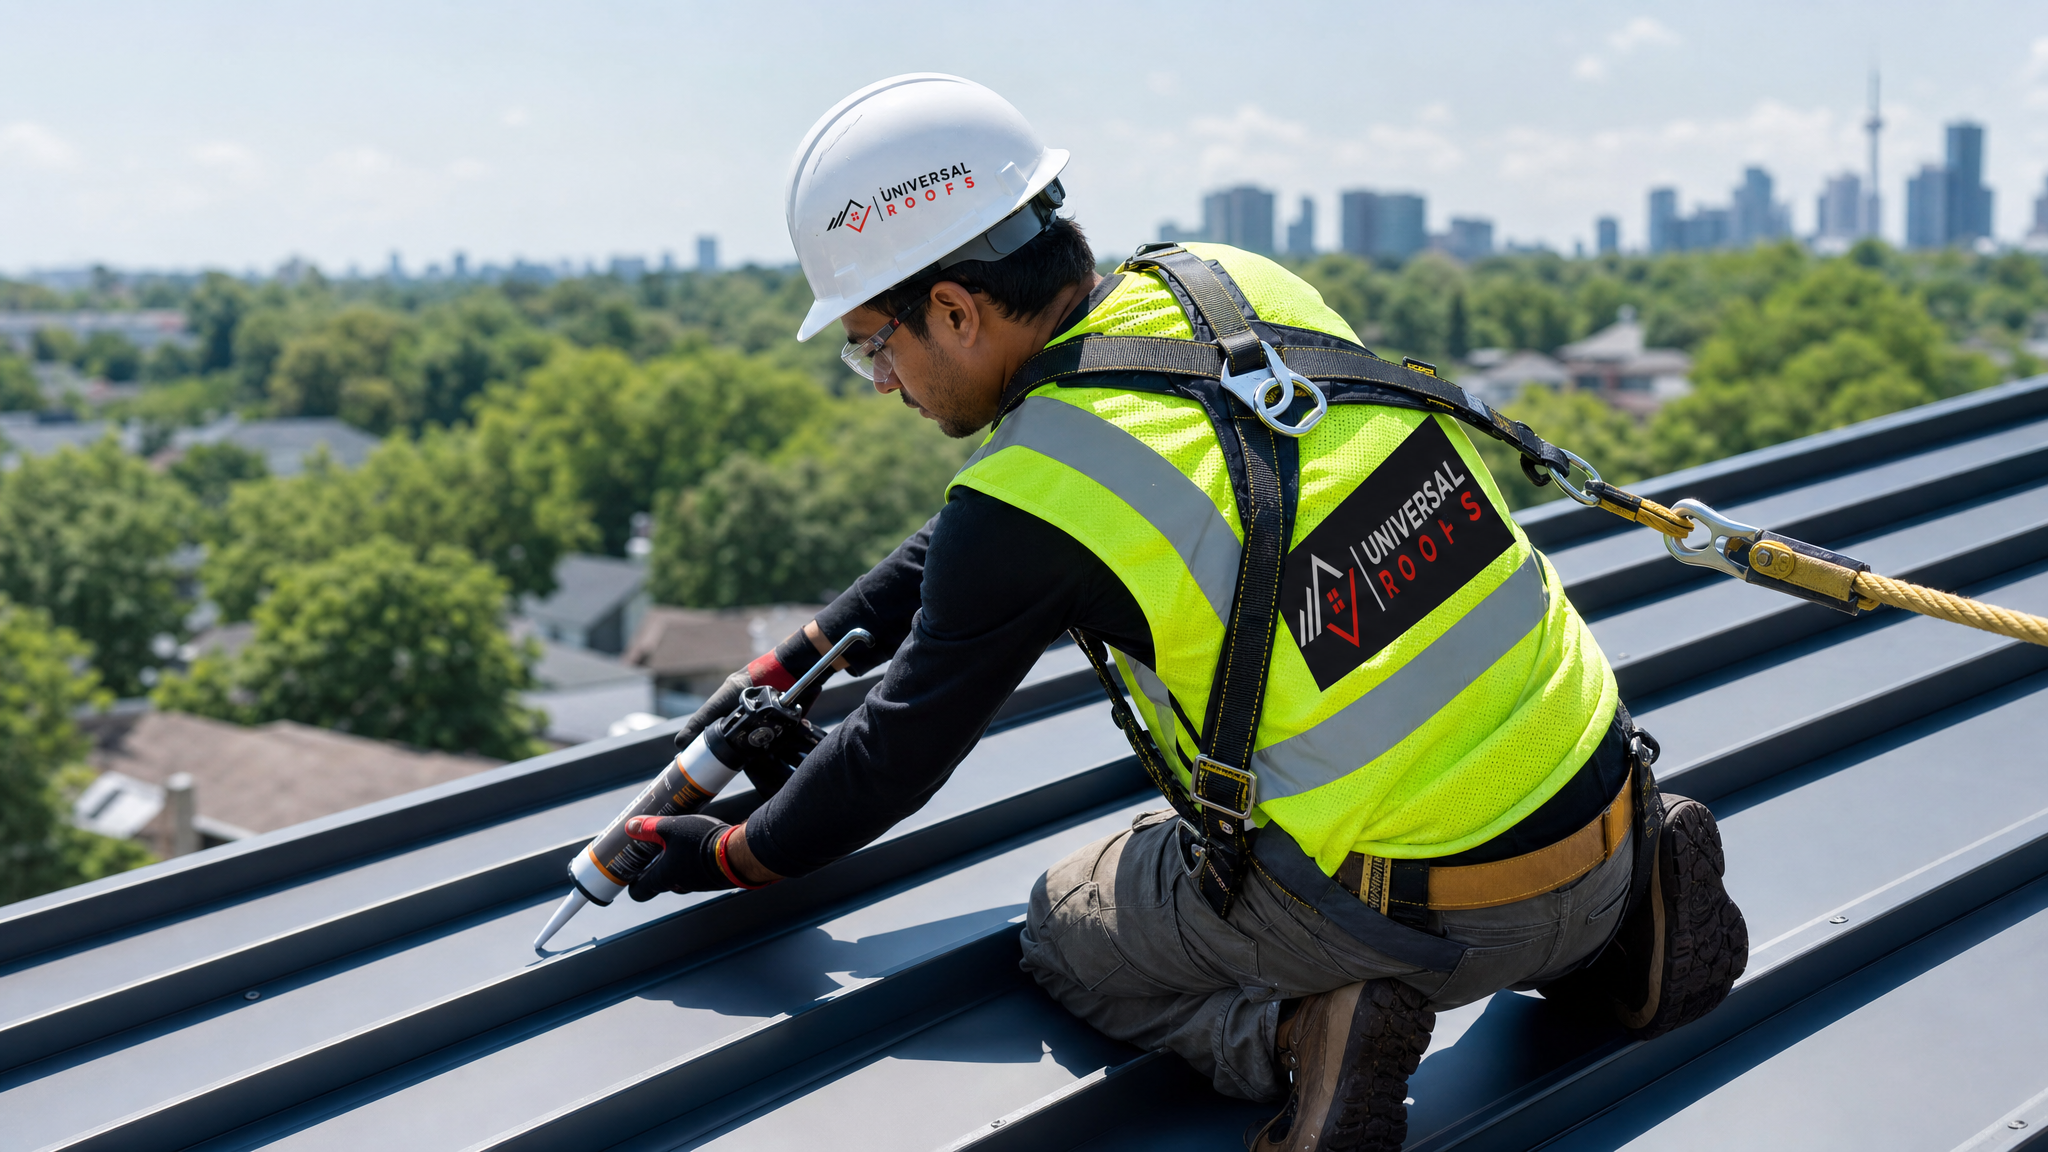
Repairing Flashing, Valleys, and Penetrations
Flashing failures are the second most common source of metal roof leaks after fastener backout, and they are frequently more serious because valleys and wall transitions concentrate a large volume of water into a narrow channel. A small gap in valley flashing during a heavy summer storm can move far more water than the same gap on an open field of panels.
Valley flashing repair generally follows this sequence: remove the adjacent panel fasteners to lift the panel edge, inspect the valley metal for corrosion or granule wear-through, replace any section that has thinned or rusted through with new flashing of the same gauge, apply butyl sealant along both panel edges where they overlay the valley, and re-fasten the panels without penetrating the valley metal itself — fasteners should never be driven directly through a valley.
Pipe boots and vent flashings deserve their own attention because the rubber collar around a plumbing stack degrades faster than every other roof component — typically within 10 to 15 years in Toronto’s UV and freeze-thaw conditions, versus decades for the panels themselves. A cracked boot is one of the easiest repairs on the entire roof and one of the most commonly missed, because the crack is small and low to the deck where it is easy to overlook during a quick visual check.
| Failure Point | Typical Symptom | Repair Approach | Expected Lifespan After Repair |
|---|---|---|---|
| Fastener backout | Rust streak below screw head, ceiling stain | Replace fastener, reseal washer | 10–15 years |
| Seam separation | Leak along a straight rib line after wind-driven rain | Re-crimp seam, add butyl tape, replace clip | 15–20 years |
| Cracked pipe boot | Leak concentrated near a vent stack | Replace rubber boot or storm collar | 10–15 years |
| Valley corrosion | Leak during heavy rain, worse than dry-day drizzle | Replace valley flashing section | 20–25 years |
| Coating scratch | Localized surface rust with no active leak yet | Clean, treat rust, apply touch-up coating | Prevents future perforation |
When a Patch Repair Is Not Enough
Not every problem on a metal roof can or should be patched. A metal roof’s real strength is that it is a system — panels, fasteners, flashing, and underlayment working together — and once enough of that system has degraded, patch repairs start costing more in labour than they are worth relative to a full roof replacement.
Warning signs that a repair is reaching its limit include widespread coating failure across multiple panels rather than an isolated scratch, corrosion that has perforated the panel in more than one location, a roof that is well past its finish warranty and showing chalking or fading across its whole surface, or repeated leaks at different locations each season despite prior repairs. In these cases, continuing to chase individual leaks becomes a losing game — the underlying panels or underlayment have reached the end of their service life even if the leaks themselves seem minor.
It’s also worth having your attic ventilation checked whenever a metal roof shows condensation-related staining rather than rain-driven staining, since a poorly ventilated attic can mimic roof leak symptoms and no amount of exterior sealing will fix a moisture problem that is actually originating from inside the building envelope. Our attic assessments often catch this distinction early.
DIY Repair vs. Professional Metal Roof Repair
Homeowners can safely handle a small number of metal roof maintenance tasks, but the line between “safe DIY” and “call a professional” is narrower on metal roofing than on asphalt shingles, largely because metal surfaces are more slippery, especially with morning dew, and because incorrect fastener or sealant choices actively make the problem worse rather than neutral.
| Task | DIY-Appropriate? | Why |
|---|---|---|
| Ground-level visual inspection with binoculars | Yes | No fall risk, useful for spotting obvious problems early |
| Clearing debris from valleys (from a ladder, not the roof) | Yes, with caution | Low risk if done from a stable ladder without walking on panels |
| Replacing a single accessible fastener | Sometimes | Requires matching gauge and correct torque; easy to do wrong |
| Re-sealing seams or standing seam joints | Not recommended | Requires specialized tools and technique to avoid creasing panels |
| Valley or flashing replacement | No | High water volume area; mistakes cause interior damage |
| Any repair requiring walking on a sloped metal roof | No | Fall risk is significant without harness, rope, and roof anchors |
Metal roofing is genuinely more slippery than shingle roofing, particularly standing seam profiles with a smooth painted finish, and even experienced crews use fall protection, rated anchors, and rubber-soled footwear on every job. If your roof pitch is anything beyond a gentle slope, or the repair area is near an edge, valley, or two-storey drop, this is a job for a crew with the right harness system and training rather than a homeowner on a weekend ladder trip.
Seasonal Timing and Toronto Climate Considerations
Summer is the best window for most metal roof repairs in the GTA. Sealants and butyl tapes bond most reliably in warm, dry conditions above roughly 10°C, panels are safer to walk on without frost or dew, and any repair completed now has months to cure fully before winter testing arrives in the form of ice, snow load, and repeated freeze-thaw cycling.
That freeze-thaw cycling is worth understanding specifically, because it is the mechanism behind most fastener backout and seam separation in this region. Metal expands and contracts with temperature far more than the wood deck beneath it, so every swing between a cold January morning and a sunny afternoon puts cyclical stress on every fastener and seam on the roof. A repair done correctly in July, with fully cured sealant and properly torqued fasteners, is much better positioned to handle that stress than a rushed repair attempted in freezing conditions, when sealants skin over without fully curing and can fail by the following spring.
If you’ve noticed a leak during a summer thunderstorm, don’t wait for it to become a winter emergency. Booking an inspection now, while the roof is fully accessible and repair materials cure properly, is the more cost-effective path than an emergency callout in the middle of a February thaw.
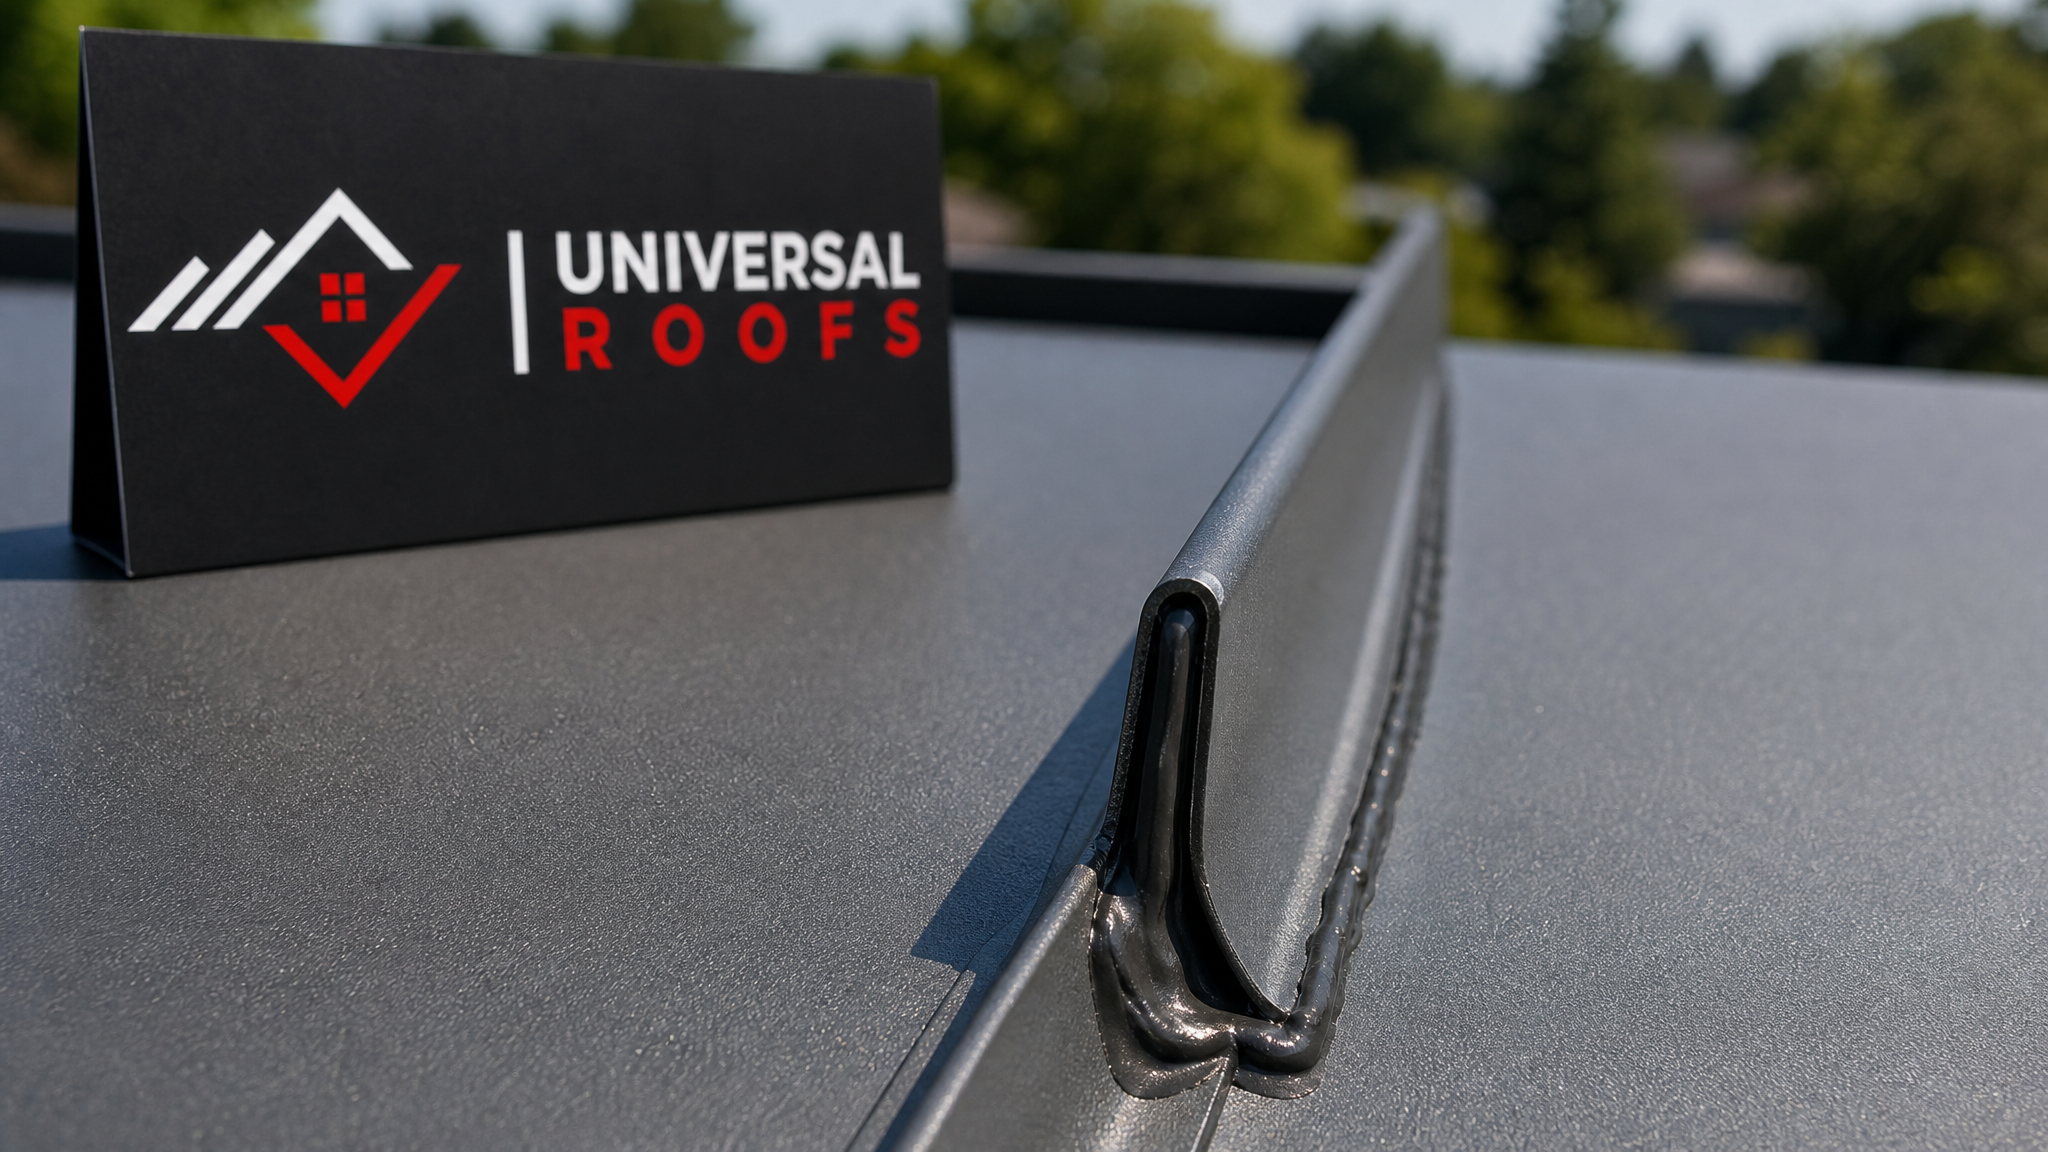
Post-Repair Inspection and Long-Term Maintenance
A metal roof repair is not finished the moment the sealant gun is put away. A short maintenance routine after any repair — and on an annual basis regardless — extends the life of both the repair and the roof around it.
After any repair, check the area again after the first significant rainfall to confirm the fix has held, and recheck the attic for new staining rather than assuming a dry ceiling means a dry deck. On an annual basis, walk the perimeter with binoculars each spring and again in fall, looking specifically for new rust streaks below fasteners, gaps opening at seams, and any flashing that looks lifted after winter wind. Keep gutters and valleys clear of leaves and debris, since standing debris holds moisture against the panel finish and accelerates coating breakdown at exactly the spots most prone to leaking.
If your home also has a flat roof section, such as over a garage or addition, note that flat roofing uses an entirely different repair logic than sloped metal panels — membrane seams and drains behave differently than standing seam joints, and it’s worth having that section assessed separately through our flat roofing services. Similarly, if your metal roof has a skylight integrated into it, flashing around the skylight curb is one of the highest-risk leak points on the entire roof and deserves its own inspection through our skylights or skylight replacement services if the unit itself is aging.
Homeowners across Toronto, Peel Region, York Region, Halton Region, and Durham Region deal with the same freeze-thaw stress on metal roofing, and the repair fundamentals above apply regardless of which municipality you’re in — what changes is local code requirements around flashing details and permit thresholds for larger repairs, which a licensed local crew will already know.
Cost Factors in Metal Roof Repair
Metal roof repair costs vary widely depending on what has actually failed, how accessible the roof is, and whether the damage is isolated or has spread across multiple panels. Below is a general range based on typical GTA repair calls; always get a written, itemized quote before work begins, since roof pitch, height, and material availability all shift the final number.
| Repair Type | Typical Scope | Approximate Cost Range (CAD) |
|---|---|---|
| Fastener replacement (per section) | 5–15 screws on one or two panels | $250 – $500 |
| Pipe boot / vent flashing replacement | Single penetration | $300 – $600 |
| Seam re-crimp and reseal | One seam run, 3–6 metres | $500 – $1,200 |
| Valley flashing replacement | One valley run | $800 – $2,000 |
| Multi-point emergency leak repair | Storm or falling-branch damage, several locations | $1,000 – $3,000+ |
Emergency repairs after a storm, particularly ones requiring evening or weekend response, typically carry a premium over scheduled daytime work. Scheduling a proactive inspection before a small issue becomes an emergency is consistently the more affordable route, and it’s the reason we recommend a spring or early-summer check-up even when no active leak is visible yet.
Choosing the Right Contractor for Metal Roof Repair
Metal roofing is a specialty within roofing, and not every general roofing contractor has the tools, fastener inventory, or seaming equipment for it. Before hiring anyone, confirm they carry proper liability insurance and a valid licence for roofing work in Ontario, ask specifically about their standing seam and exposed-fastener experience rather than roofing experience in general, request that fasteners and flashing be matched to your existing panel gauge and metal type, and get a written scope of work rather than a verbal estimate.
It’s also worth asking to see examples of similar repairs and, if possible, speaking with past customers. You can read verified feedback from homeowners across the GTA on our reviews page, and our FAQ page covers many of the smaller questions that come up during a first roof assessment. For more on our background and licensing, visit our about page.
What does expert metal roof repair a step by step process actually involve?
Can I do metal roof repair myself, or should I hire a professional?
Why do metal roof fasteners keep coming loose in Toronto?
How much does metal roof repair typically cost in the GTA?
Is summer a good time to schedule metal roof repair?
How do I know if my metal roof needs a repair or a full replacement?
Need Help With Expert Metal Roof Repair?
A metal roof is one of the longest-lasting investments you can make in your home, but only when the fasteners, seams, and flashing around it are properly maintained. The team at Universal Roofs has been diagnosing and repairing metal roofing across the GTA since 2005, and we know exactly which failure points to check first on every service call.
Call us today at (416) 732-2421 or request a free inspection to get started.
Universal Roofs proudly serves Toronto, Mississauga, Brampton, Vaughan, Markham, Oakville and the GTA since 2005.