
A single water stain on a bedroom ceiling rarely tells the whole story. By the time moisture shows up indoors, it has usually already travelled through insulation, along rafters, and across a vapour barrier before finding the path of least resistance downward. That is why Universal Roofs treats leak detection as a diagnostic process, not a guessing game — and why the proven solutions for roof leak detection and repair outlined below start with finding the true source before a single shingle is touched.
Toronto’s climate makes this especially tricky. Our roofs endure summer heat that expands asphalt shingles and bakes out their oils, followed by freeze-thaw cycles all winter that force ice and meltwater into every seam, nail hole, and flashing gap. A leak that starts as a slow drip in April can become a soaked attic deck by July if it is not traced and corrected properly. Homeowners searching for proven solutions for roof leak detection and repair usually want two things: an accurate diagnosis, and a repair that actually lasts through the next season, not just until the next rainfall.
This guide walks through how professional leak detection actually works, the most common causes of leaks on GTA homes, the tools and techniques that separate a lasting repair from a temporary patch, and how to decide between a repair and a full roof replacement. Whether you have an active drip right now or you are trying to get ahead of a problem before it starts, the steps below reflect what our crews do on every service call.
Why Roof Leaks Are So Hard to Trace
The single biggest mistake homeowners make is assuming the wet spot on the ceiling sits directly below the leak in the roof. Water rarely travels straight down. It follows the slope of the roof deck, runs along rafters, wicks through insulation, and drips off the lowest point it can find — which might be metres away from the actual entry point. This is the core reason that DIY leak “repairs” so often fail: someone patches the shingle above the stain, and the leak continues because the real gap was at a flashing seam higher up the slope.
Several factors compound the difficulty in the Toronto area specifically. Ice damming along eaves during winter forces water backward, uphill, under shingles that are perfectly intact. Wind-driven summer rain can push moisture sideways into vertical wall flashing. And older homes with multiple roof-over layers hide the original deck and older, failed repairs beneath newer shingles, making the leak path even less predictable. Proven solutions for roof leak detection and repair have to account for all of this, which is why a proper inspection always starts in the attic, not on the roof surface.
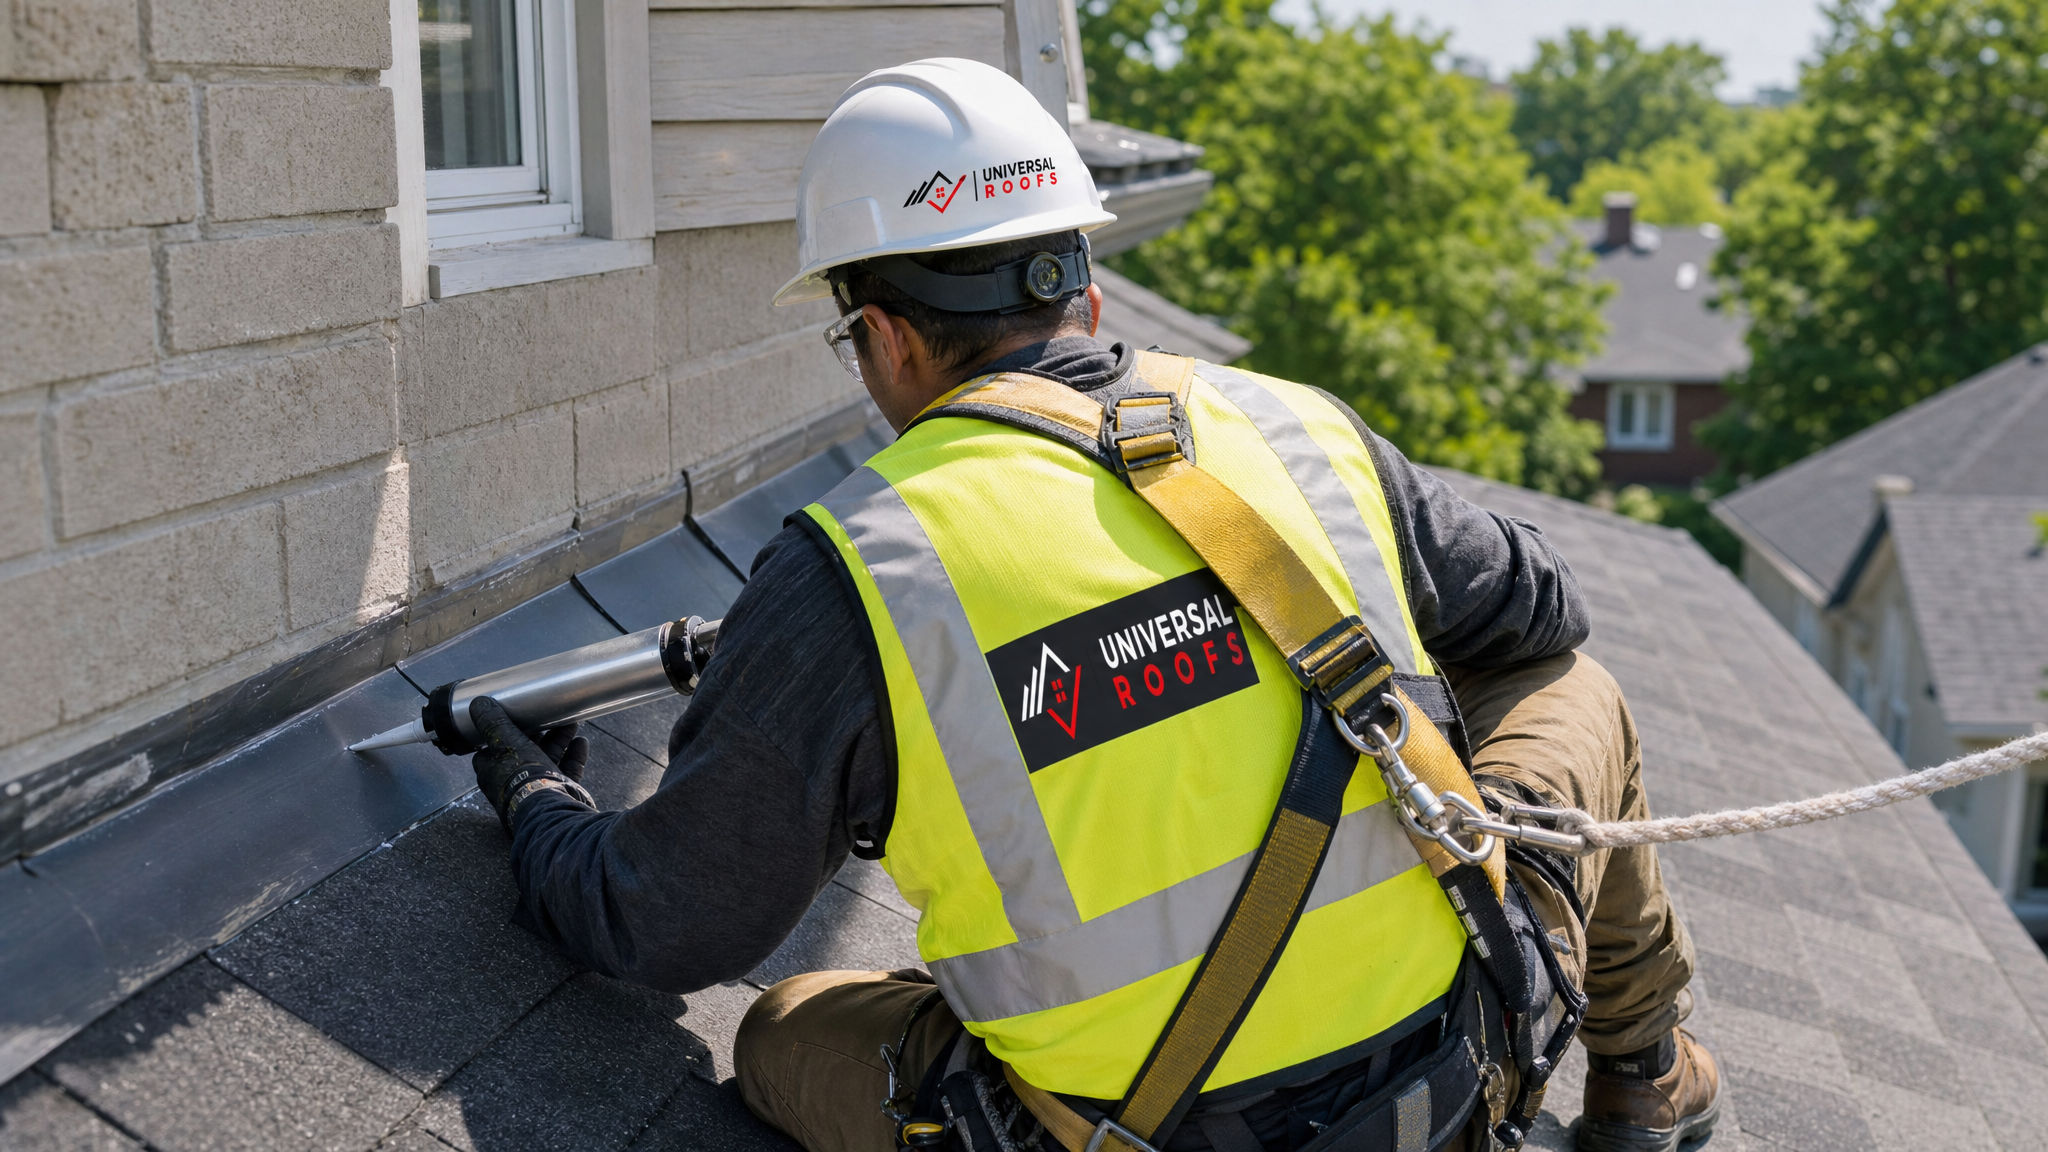
Attic-side inspection lets a trained technician see staining patterns, follow the darkest and most saturated wood back to its highest point, and check for daylight coming through gaps around vent stacks, chimneys, or valleys. Only after that diagnosis is complete does the inspection move to the exterior, where the technician can confirm the suspected entry point and check surrounding shingles, flashing, and sealant for the underlying cause.
Step-by-Step: How Professional Leak Detection Works
A thorough leak investigation follows a consistent sequence regardless of roof type. Skipping steps is how misdiagnosis happens, and misdiagnosis is why some leaks come back within a season of being “fixed.”
- Interior assessment first. Document the location, size, and shape of ceiling or wall stains, and check whether they are actively wet, damp, or dry (older) staining.
- Attic inspection. Follow rafters and sheathing from the stain upward, looking for the highest point of moisture, mould, or rot, since water travels downhill once inside the structure.
- Insulation check. Compressed, discoloured, or mouldy insulation confirms both the leak’s path and how long it has likely been active.
- Exterior visual survey. Inspect the corresponding section of roof from the ground and then up close, focusing on flashing, valleys, penetrations, and shingle condition.
- Moisture mapping. Use a moisture metre or infrared camera to confirm the saturated area and rule out secondary leak sources nearby.
- Controlled water testing. When the source still is not obvious, apply water to isolated sections of the roof in sequence, starting low and working upward, while an observer watches the attic for the exact moment water appears.
- Root cause repair. Once confirmed, repair the actual entry point and inspect adjacent materials, since one failed seal often signals nearby wear as well.
This is a meaningfully more disciplined process than most quick fixes attempt, and it is exactly why proven solutions for roof leak detection and repair rely on sequence, not shortcuts. Our own roof repair page reflects this same sequence: diagnose completely, then repair the confirmed cause rather than the visible symptom.
Common Leak Sources on GTA Roofs
Certain leak sources show up again and again across Toronto, Mississauga, Brampton, Vaughan, Markham, Oakville, and the surrounding regions. Recognizing the pattern helps homeowners describe the problem accurately when they call for an inspection.
| Leak Source | Typical Warning Sign | Why It Happens in the GTA | Urgency Level |
|---|---|---|---|
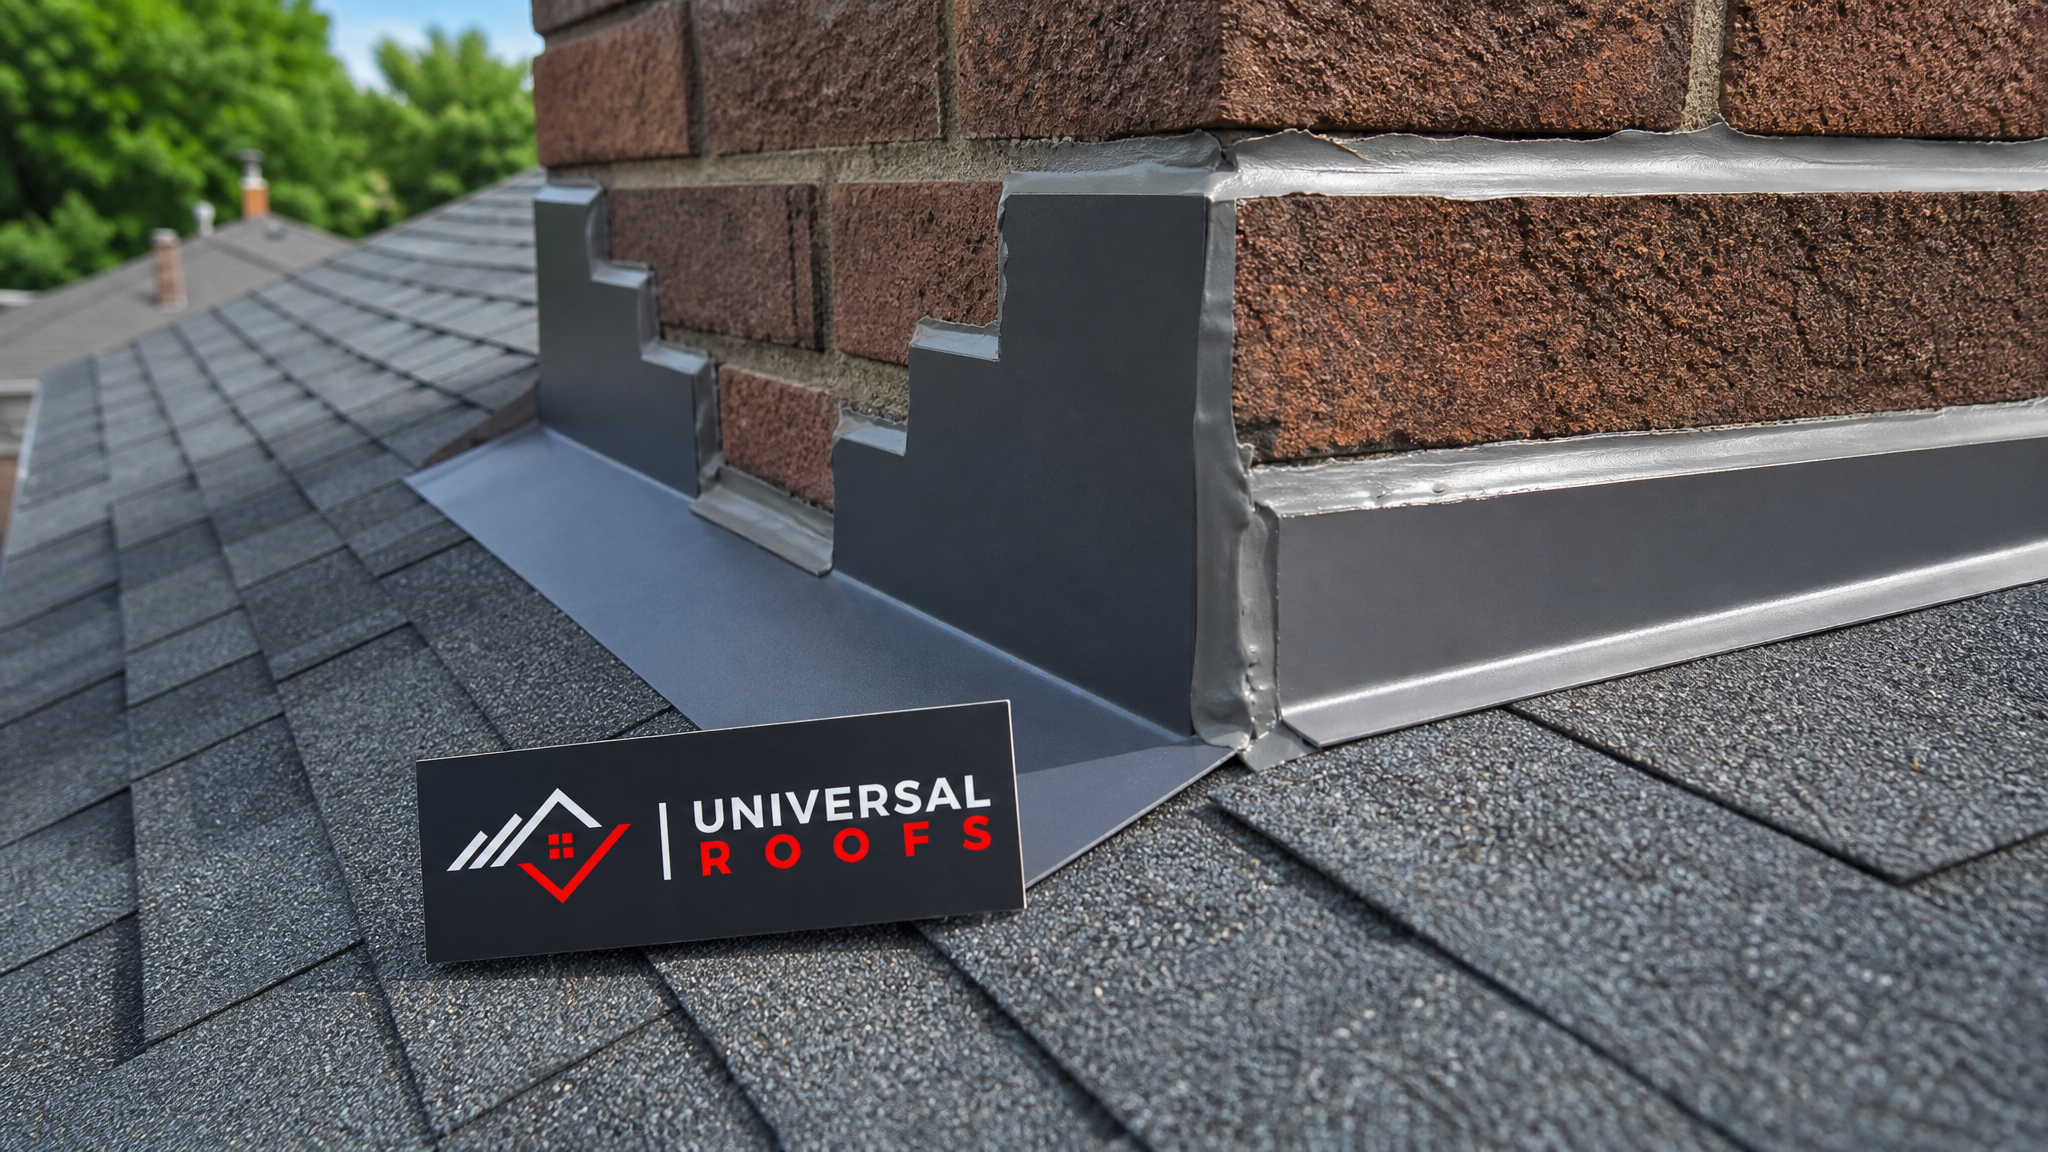
| Cracked or lifted flashing | Staining near chimneys, walls, or roof-to-wall joints | Freeze-thaw cycles expand and contract metal, breaking old sealant | High |
| Worn valley shingles | Leak appears during heavy rain, not light rain | Valleys concentrate runoff volume far above flat sections | High |
| Ice dam backup | Winter leaks that stop once the weather warms | Melting snow refreezes at cold eaves, forcing water under shingles | Medium-High |
| Deteriorated pipe boot/vent seal | Small, localized ceiling stain near a bathroom or kitchen | Rubber boots crack and shrink faster than shingles age | Medium |
| Nail pops or exposed fasteners | Pinpoint leaks, sometimes only during wind-driven rain | Thermal cycling backs nails out of the deck over time | Low-Medium |
| Skylight seal failure | Moisture around skylight frame or curb | Aging sealant and flashing around skylights loses flexibility | Medium-High |
Skylights deserve special mention because they combine two vulnerable systems — a roof penetration and a window — into one assembly. When a skylight starts leaking, the fix is not always a simple resealing job. Our skylight replacement team frequently finds that the original flashing kit has simply reached the end of its service life, and resealing only delays a repeat leak by a season or two.
Detection Tools and Techniques That Actually Work
Not every leak needs the same detection method. Matching the right technique to the situation saves time and avoids unnecessary drywall or shingle disruption.
| Method | Best For | Typical Time to Diagnose | Limitations |
|---|---|---|---|
| Visual attic inspection | Active, ongoing leaks with visible staining | 20-40 minutes | Requires accessible attic space |
| Moisture metre reading | Confirming wet vs. dry (old) staining | 10-15 minutes | Only measures surface, not source location |
| Infrared thermal imaging | Large or flat roofs with hidden saturation | 30-60 minutes | Best used on temperature-differential days |
| Controlled water testing | Intermittent leaks with no obvious source | 1-2 hours | Needs two technicians and dry weather |
| Drone exterior survey | Steep-slope or high roofs, initial screening | 15-30 minutes | Confirms visible damage only, not interior path |
Infrared imaging has become one of the more valuable tools for flat and low-slope roofs, where water can travel horizontally under the membrane for metres before it drips through a seam. This matters enormously for anyone dealing with flat roofing systems, since the membrane surface can look completely intact while trapped moisture sits just beneath it, slowly degrading the insulation board below.
Controlled water testing remains the gold standard when other methods come up inconclusive. A technician sections the roof — usually starting at the lowest point of a suspected area — and applies water with a hose for several minutes per section while a second person watches the attic. This isolates the leak to a specific few square metres rather than an entire roof plane, which keeps the eventual repair targeted and cost-effective.
Repair Methods: From Spot Fixes to Full Section Replacement
Once the source is confirmed, the repair method depends on the extent of the damage, the age of the surrounding roofing material, and how many other trouble spots turn up nearby during the same inspection.
A spot repair — replacing a section of flashing, resealing a boot, or swapping a handful of damaged shingles — makes sense when the surrounding roof is otherwise in good condition and under roughly ten years old. These repairs typically take a few hours and can usually be completed the same day as the inspection, weather permitting.
A larger section replacement becomes necessary when the leak has caused secondary damage to the deck itself, or when several shingles in the surrounding area show separate signs of wear such as granule loss, curling edges, or brittle texture. Replacing only the leaking shingle in this scenario is a false economy, since the neighbouring material is likely to fail within a year or two regardless.
When an inspection turns up multiple independent problem areas across an ageing roof — rather than one isolated failure — that is usually the point where our team recommends comparing repair costs against a full roof replacement. Patching five separate trouble spots on a 20-year-old roof rarely makes financial sense compared to a new roof system with a fresh warranty.
| Repair Type | Typical Cost Range (CAD) | Typical Timeline | Best When… |
|---|---|---|---|
| Flashing resealing/replacement | $250 – $650 | Same day | Roof under 10 years old, isolated leak |
| Shingle spot repair (small area) | $300 – $900 | Same day | Minor storm or wear damage, good surrounding shingles |
| Valley or vent boot replacement | $400 – $1,200 | 1 day | Concentrated water flow area or cracked rubber boot |
| Section/deck repair | $800 – $2,500 | 1-2 days | Rot or damage extends into the roof deck itself |
| Full roof replacement | $7,000 – $18,000+ | 1-3 days | Multiple failure points, roof nearing end of lifespan |
These ranges vary with roof size, pitch, material, and access, but they reflect what typical GTA homeowners see in practice. A proper written estimate always follows the inspection, not before it — reputable proven solutions for roof leak detection and repair are never priced sight-unseen.
Ice Damming and Winter-Caused Leaks: A GTA-Specific Problem
Even though it is summer now, many of the leaks discovered this season actually originated months earlier, during the previous winter’s freeze-thaw cycles. Understanding how ice damming works explains why some leaks seem to “appear” out of nowhere in warm weather.
An ice dam forms when heat escaping from the attic warms the roof deck near the ridge while the eaves stay cold. Snow melts higher up, runs down the roof, and refreezes right at the cold eave edge, building a ridge of ice. Meltwater behind that ridge has nowhere to go but backward, under the shingles, where it can sit against the deck for weeks. By spring, the deck has absorbed moisture that only becomes visible as staining or mould once the attic warms up and humidity rises in summer.
This is one of the strongest arguments for pairing any leak repair with an attic inspection. Poor attic ventilation and insufficient insulation are the two leading causes of ice damming, and neither shows up during a roof-surface-only inspection. Addressing attic airflow and insulation levels alongside a leak repair is genuinely one of the most overlooked proven solutions for roof leak detection and repair in our climate — it treats the underlying cause, not just this season’s symptom.
Homeowners in Toronto, and increasingly in Peel, York, Halton, and Durham Region communities where new subdivisions sit closer together and share similar roof designs, tend to see near-identical ice dam patterns street by street. If a neighbour has dealt with ice damming, there is a reasonable chance the same roof orientation and eave design could be creating a similar risk on your home.
DIY Detection vs. Calling a Professional
Homeowners can absolutely do some early-stage detective work safely, from the ground or from inside the attic, before deciding whether a professional visit is needed.
- Check the attic with a flashlight during or right after rain, looking for wet wood, dark staining, or drips — never walk onto the roof itself during or after rain.
- Look for daylight visible through the roof deck from inside the attic, which indicates a gap large enough to also let water through.
- Note whether the leak correlates with wind direction, rain intensity, or only appears after snow melt — this detail helps a technician narrow the search area immediately.
- Inspect visible flashing around chimneys and skylights with binoculars from the ground rather than climbing a ladder.
- Check for mould smell or soft, spongy drywall, both of which indicate the leak has been active longer than a single storm.
What homeowners should not attempt is climbing onto a wet or steep roof, cutting into drywall without confirming the leak has stopped first, or applying roofing cement/caulk as a “permanent” fix — these sealants degrade within a season or two and often mask a problem rather than solve it. Once the leak is confirmed active or the source is not obvious from the attic and ground-level checks, it is time to request a free inspection rather than risk a fall or a worse-hidden problem.
Preventing Future Leaks After the Repair
A proper repair should come with a short list of preventive steps, since the same underlying conditions that caused one leak often threaten nearby areas of the same roof.
| Preventive Action | Recommended Frequency | What It Catches |
|---|---|---|
| Professional roof inspection | Twice yearly (spring and fall) | Early flashing wear, shingle granule loss, cracked sealant |
| Gutter cleaning | Spring and late fall | Overflow damage, ice dam risk from blocked drainage |
| Attic ventilation check | Annually | Excess heat/humidity buildup that accelerates deck rot |
| Sealant and flashing check around penetrations | Annually | Early boot and flashing failure before it becomes a leak |
| Post-storm visual check | After major wind or hail events | Lifted or missing shingles, dented flashing |
Homeowners who schedule a spring and fall check tend to catch small issues — a lifted shingle tab, a slightly cracked sealant bead — long before they become an active leak. It is a far less stressful and less expensive pattern than waiting for a ceiling stain to force the issue. Our reviews page reflects a lot of exactly this kind of feedback: customers who called for a small issue early and avoided a much larger repair later.
When a Repair Isn’t Enough: Recognizing Replacement Signs
Not every leak should end in a patch. Certain signs, especially when found in combination, point toward a roof that is better served by full replacement than another round of spot repairs.
- The roof is already past 18-20 years old for asphalt shingles, near or beyond typical lifespan.
- Multiple, unrelated leak sources are found during a single inspection rather than one isolated failure.
- Shingles show widespread granule loss, curling, or brittleness rather than just localized wear.
- The deck itself shows soft spots or rot in more than one area.
- Previous repairs from different contractors are stacked on top of each other, suggesting a pattern of patching rather than solving.
When these signs show up together, a full roof replacement often costs less over a five-year horizon than a series of repeated spot repairs, and it comes with a unified warranty rather than a patchwork of separate fixes with different guarantees. This is a conversation worth having honestly during any inspection — a good roofer should tell a homeowner when a repair is genuinely the better financial decision and when it is only delaying the inevitable.
Serving Homeowners Across the GTA
Leak detection and repair needs look a little different across the region depending on roof age, local weather exposure, and housing stock. In Toronto, a large share of the calls we get involve older homes with layered roofing history and complex flashing details around dormers, chimneys, and additions. In Peel Region communities like Mississauga and Brampton, newer subdivisions tend to show more issues tied to builder-grade flashing and ventilation shortcuts than to roof age itself.
Homes across York Region, including Vaughan, Markham, and Richmond Hill, often see leak patterns connected to steep roof pitches and complex rooflines with multiple valleys. In Halton Region communities such as Oakville and Burlington, closer proximity to the lake can mean slightly higher wind-driven rain exposure on certain roof orientations. And across Durham Region, from Ajax to Pickering, we frequently find that mid-2000s-era subdivisions are now reaching the age where original shingles and flashing are due for inspection regardless of whether a visible leak has appeared yet.
Regardless of location, the same principle applies everywhere we work: a leak repair is only as good as the diagnosis behind it. Our team has built its reputation since 2005 on tracing leaks to their actual source rather than guessing at the nearest visible damage, and our FAQ page covers many of the specific questions homeowners ask before booking an inspection.
What to Expect From a Professional Leak Inspection
Homeowners calling for the first time often want to know what actually happens during the visit. A typical inspection includes an attic walkthrough with a flashlight and moisture metre, photographs of any staining or damage found, an exterior visual survey of the corresponding roof section, and a written summary explaining the suspected cause along with repair options and pricing.
Most straightforward leak diagnoses are completed within the same visit, and many spot repairs can be completed immediately afterward if the homeowner approves the estimate on the spot and weather conditions allow safe roof access. More complex cases — particularly those requiring controlled water testing or involving a suspected deck repair — may need a short follow-up visit once the scope is confirmed.
Every inspection also includes an honest assessment of whether a repair is the right call or whether the roof’s overall condition points toward replacement. Learn more about our about page and how our crews have approached roofing across the GTA for two decades, or review our roof repair services directly to see the full range of issues we handle beyond leaks alone.
What are the most proven solutions for roof leak detection and repair?
How can I tell where a roof leak is actually coming from?
Why do roof leaks in Toronto often show up months after they start?
Is a small roof leak repair enough, or do I need a full roof replacement?
How much does professional roof leak detection and repair cost?
Can I do roof leak detection myself before calling a professional?
Need Help With Proven Solutions for Roof?
A leak that is diagnosed correctly the first time saves money, protects your home’s structure, and avoids the frustration of a repair that fails again next season. Universal Roofs has spent two decades tracing GTA roof leaks back to their true source and fixing them properly the first time.
Call us today at (416) 732-2421 or request a free inspection to get started.
Universal Roofs proudly serves Toronto, Mississauga, Brampton, Vaughan, Markham, Oakville and the GTA since 2005.