
A chimney takes more structural punishment than almost any other part of a Toronto home. It stands exposed above the roofline, absorbing direct sun, driving rain, and the relentless freeze-thaw cycles that define our climate here in the GTA. Over time, that exposure works on the mortar joints and the bricks themselves, and eventually you notice the telltale signs: a brick sitting slightly askew, a chunk of mortar in the eavestrough, or a gap where there shouldn’t be one.
If you have spotted missing or loose bricks in your chimney, you are dealing with more than a cosmetic issue. A chimney is a masonry structure sitting well above your roof deck, often four to six courses of brick tall, with no support on most sides except the mortar bond holding it together. When that bond fails, the chimney does not just look bad — it becomes a genuine safety and water-intrusion risk for the roof beneath it.
This guide walks through why chimney bricks loosen or go missing in the first place, how to tell the difference between a minor cosmetic fix and a structural emergency, what repair methods actually work, what they cost in the Toronto market, and how to prevent the problem from recurring. We have handled chimney masonry and flashing repairs across the GTA since 2005, so this is written from what we actually see on rooftops, not generic advice.
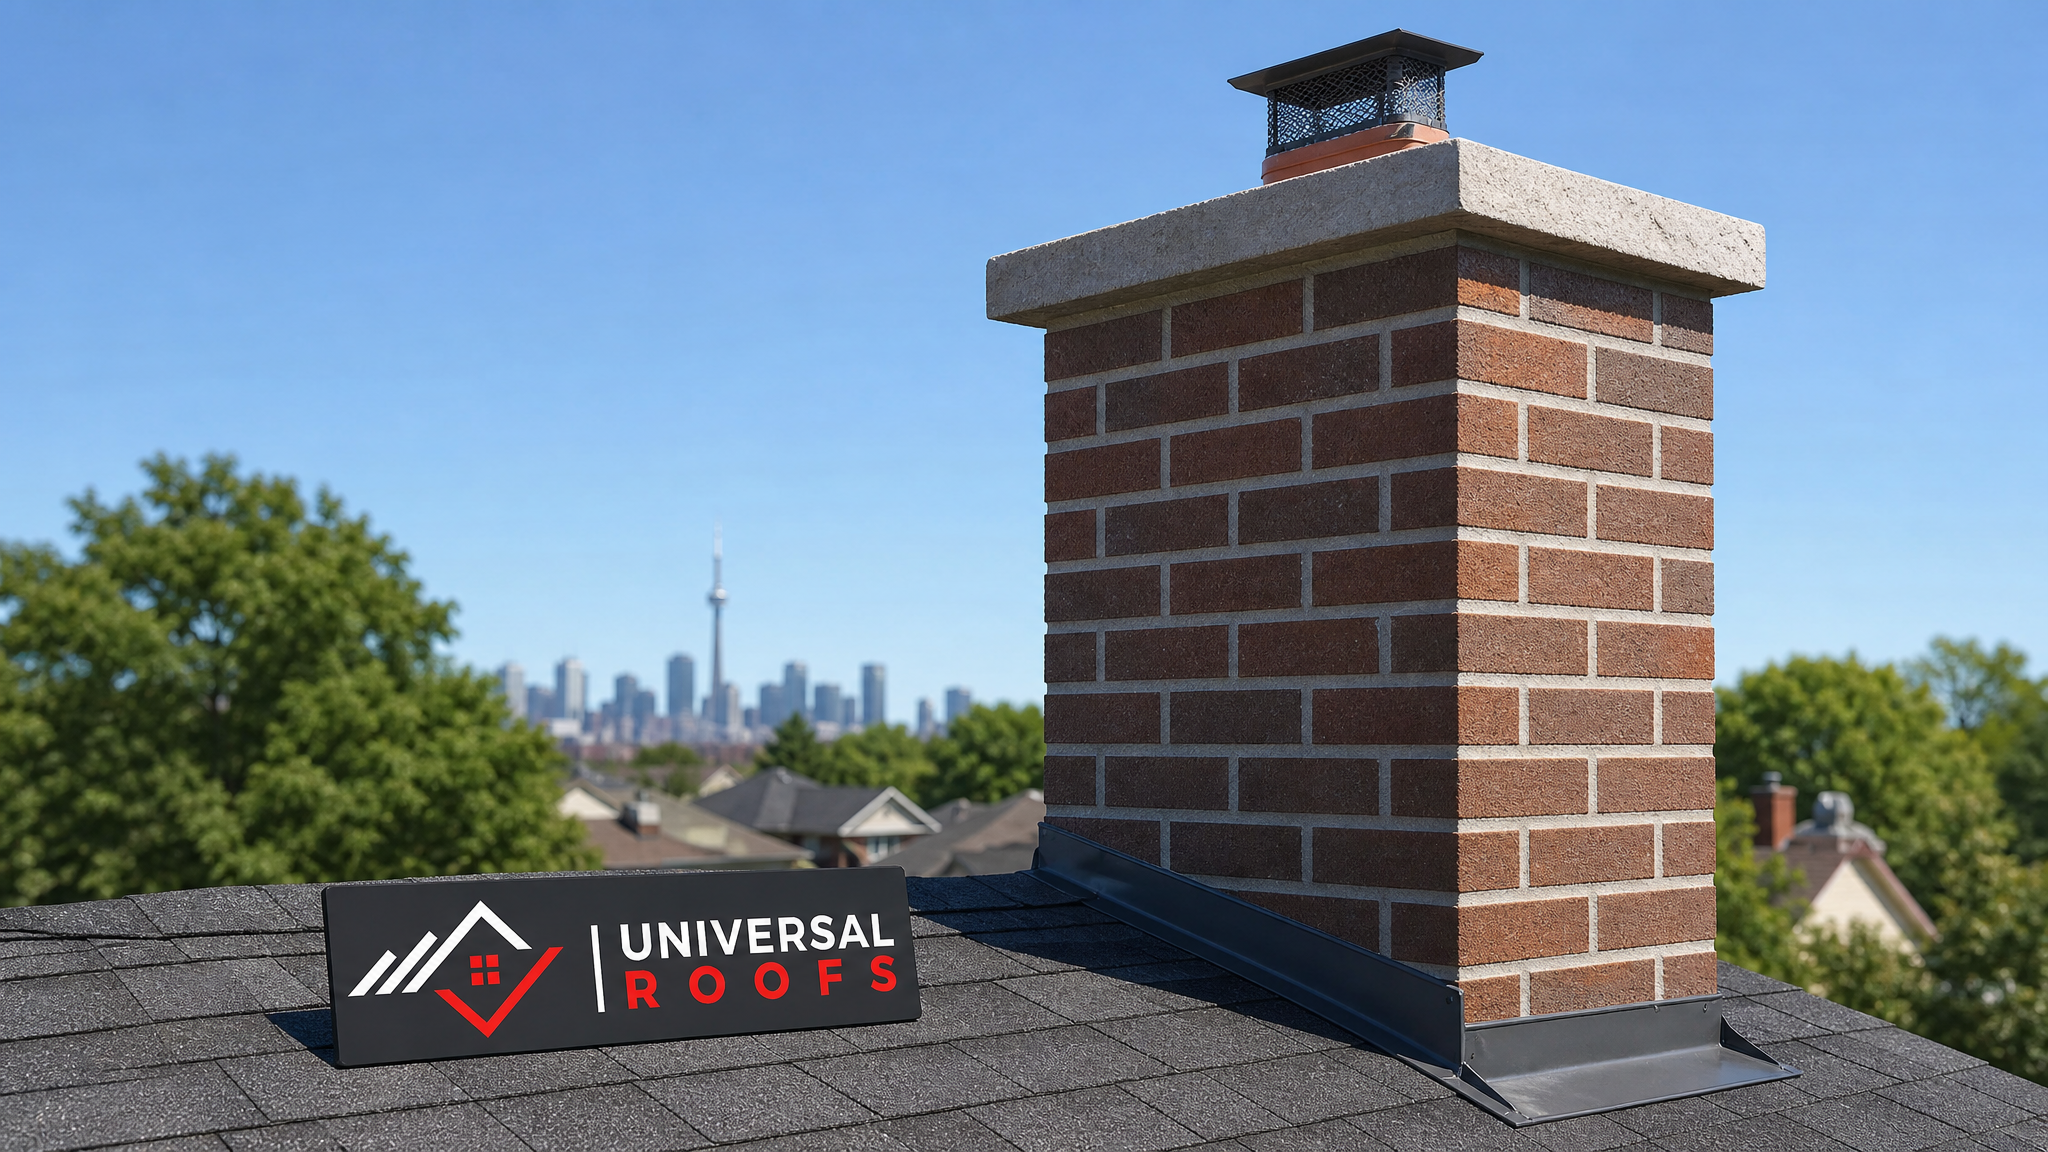
Why Chimney Bricks Become Loose or Go Missing
Chimney brick failure in Toronto almost never happens overnight. It is the end result of a slow process that usually takes years, and understanding the mechanism helps you decide how urgently to act.
The biggest culprit by far is freeze-thaw cycling. Mortar and brick are both porous materials that absorb moisture. During a Toronto winter, water seeps into hairline cracks in the mortar joints, then freezes overnight. Water expands roughly nine percent in volume when it turns to ice, and that expansion forces the crack wider. The next day, the ice melts, more water gets in, and the cycle repeats. Toronto typically sees dozens of freeze-thaw cycles each winter, which is far more aggressive on masonry than a climate that simply gets cold and stays cold. This is why chimney damage tends to show up or worsen every spring.
Beyond freeze-thaw, several other factors accelerate the problem:
- Mortar age and composition. Homes built before the 1980s often used softer lime-based mortar that degrades faster than modern Portland cement mixes, especially if it was never repointed.
- Poor original flashing. Where the chimney meets the roof, flashing is supposed to shed water away from the masonry. When it fails or was installed incorrectly, water runs down the chimney face and saturates the brick and mortar continuously.
- Chimney crown cracks. The concrete cap on top of the chimney is the first line of defence against water entering from above. A cracked or missing crown lets water pour straight down through the brick stack from the inside.
- Structural settling or vibration. Minor foundation movement, nearby construction, or even severe wind can shift a chimney enough to stress mortar joints that were already weakened.
- Age. Most brick chimneys need repointing (not full rebuilding) every 20 to 30 years. If your home is older and the chimney has never been touched, it is likely due.
Summer, interestingly, is one of the better times to catch this early. The freeze-thaw cycle has stopped for the season, UV exposure and heat have dried out any winter moisture, and you can get a clear, safe look at the masonry without ice or snow obscuring the problem. Many homeowners use the summer maintenance window specifically to schedule a roof and chimney repair before the next winter’s freeze-thaw cycle starts the damage over again.
How to Spot the Warning Signs From the Ground and the Attic
You do not need to climb onto your roof to get a reasonable read on your chimney’s condition. Most warning signs are visible with binoculars from your backyard or driveway, and a few more show up inside your attic.
From the ground, look for:
- Bricks that appear tilted, rotated, or sitting proud of the surrounding brick line
- Visible gaps where mortar has crumbled away between bricks
- White, chalky staining on the brick face (called efflorescence) which indicates water is moving through the masonry and depositing dissolved minerals as it evaporates
- Small chips or fragments of brick or mortar in the gutters, on the roof, or on the ground near the chimney base
- A visible lean or tilt to the chimney stack compared to the roofline
- Rust streaks or gaps around the metal flashing where the chimney meets the roof
Inside the attic, on a dry day, check the area where the chimney passes through the roof for:
- Water stains or discoloration on the wood framing near the chimney chase
- Daylight visible around the chimney where flashing should form a tight seal
- Damp insulation immediately surrounding the chimney
- A musty smell concentrated near the chimney, which often indicates ongoing moisture intrusion
If you see any combination of these signs, it is worth a professional look before assuming the worst — or before assuming it is nothing. A trained eye can tell the difference between surface weathering that can wait and a structural issue that cannot.
Loose Bricks vs. Missing Bricks: Why the Distinction Matters
Not every case of chimney brick damage carries the same urgency, and homeowners often lump “loose” and “missing” together when they actually call for different responses.
Loose bricks are bricks still in position but no longer held firmly by intact mortar. You might be able to wiggle one slightly, or you notice a hairline gap around its edges. This is typically an earlier-stage problem. The brick has not shifted far, and repointing (replacing the degraded mortar without removing the brick) is often enough to fix it.
Missing bricks mean the mortar bond has failed completely and the brick has actually fallen — either off the chimney entirely or down inside the flue in the case of an interior liner brick. This is a more advanced failure. It usually means the surrounding bricks are also compromised, since a healthy mortar bed does not let a single brick simply drop out. Missing bricks create an open gap in the chimney structure, which is both a bigger water-entry point and a bigger structural weak spot, since the bricks above the gap have lost some of their support.
The table below breaks down how to triage what you are seeing.
| Condition Observed | Likely Cause | Urgency Level | Typical Fix |
|---|---|---|---|
| One or two bricks slightly loose, mortar cracked but present | Early freeze-thaw wear | Low — schedule within the season | Spot repointing |
| Multiple loose bricks across one chimney face | Advanced mortar joint failure | Moderate — schedule within weeks | Full-face repointing |
| One brick missing, gap visible, neighbours stable | Localized bond failure | Moderate to high | Brick replacement plus repointing |
| Multiple bricks missing or a visible bulge/lean | Structural degradation across several courses | High — same-week inspection | Partial or full rebuild |
| Chimney visibly leaning or shifted from roofline | Structural failure, possible foundation issue | Emergency — restrict access, call immediately | Engineering assessment, likely rebuild |
What Happens If You Ignore It
It is tempting to leave a loose brick alone, especially if it is not causing any visible leak yet. In our experience, that is the single most common reason a $400 repointing job turns into a $4,000 rebuild.
Here is the progression we see repeatedly on GTA roofs:
- Water gets behind the brick face through the compromised mortar joint, even if no drip ever reaches your ceiling.
- The wood chimney chase or roof sheathing beneath the flashing starts absorbing moisture, which over a season or two leads to rot.
- Freeze-thaw accelerates as the damaged area now holds more water than surrounding, still-sealed masonry, so the same section deteriorates faster each winter.
- Adjacent bricks lose their support once one or two bricks shift or fall, because brick courses rely on the bricks around them for lateral stability.
- The chimney becomes a safety hazard, with the risk of brick fragments falling onto the roof, into a walkway, or onto a vehicle below, and in severe cases the whole stack can become structurally unsound and require full demolition and rebuild rather than repair.
There is also a fire-safety dimension if your chimney is an active flue for a wood-burning fireplace or furnace: gaps in the masonry or a damaged liner can allow heat and combustion gasses to escape into places they should not, which is a serious concern separate from the roof-leak issue.
Repair Methods: What Actually Fixes Loose or Missing Chimney Bricks
There are three levels of repair, and matching the right one to the actual damage is where a lot of money gets saved or wasted.
1. Repointing (Tuckpointing)
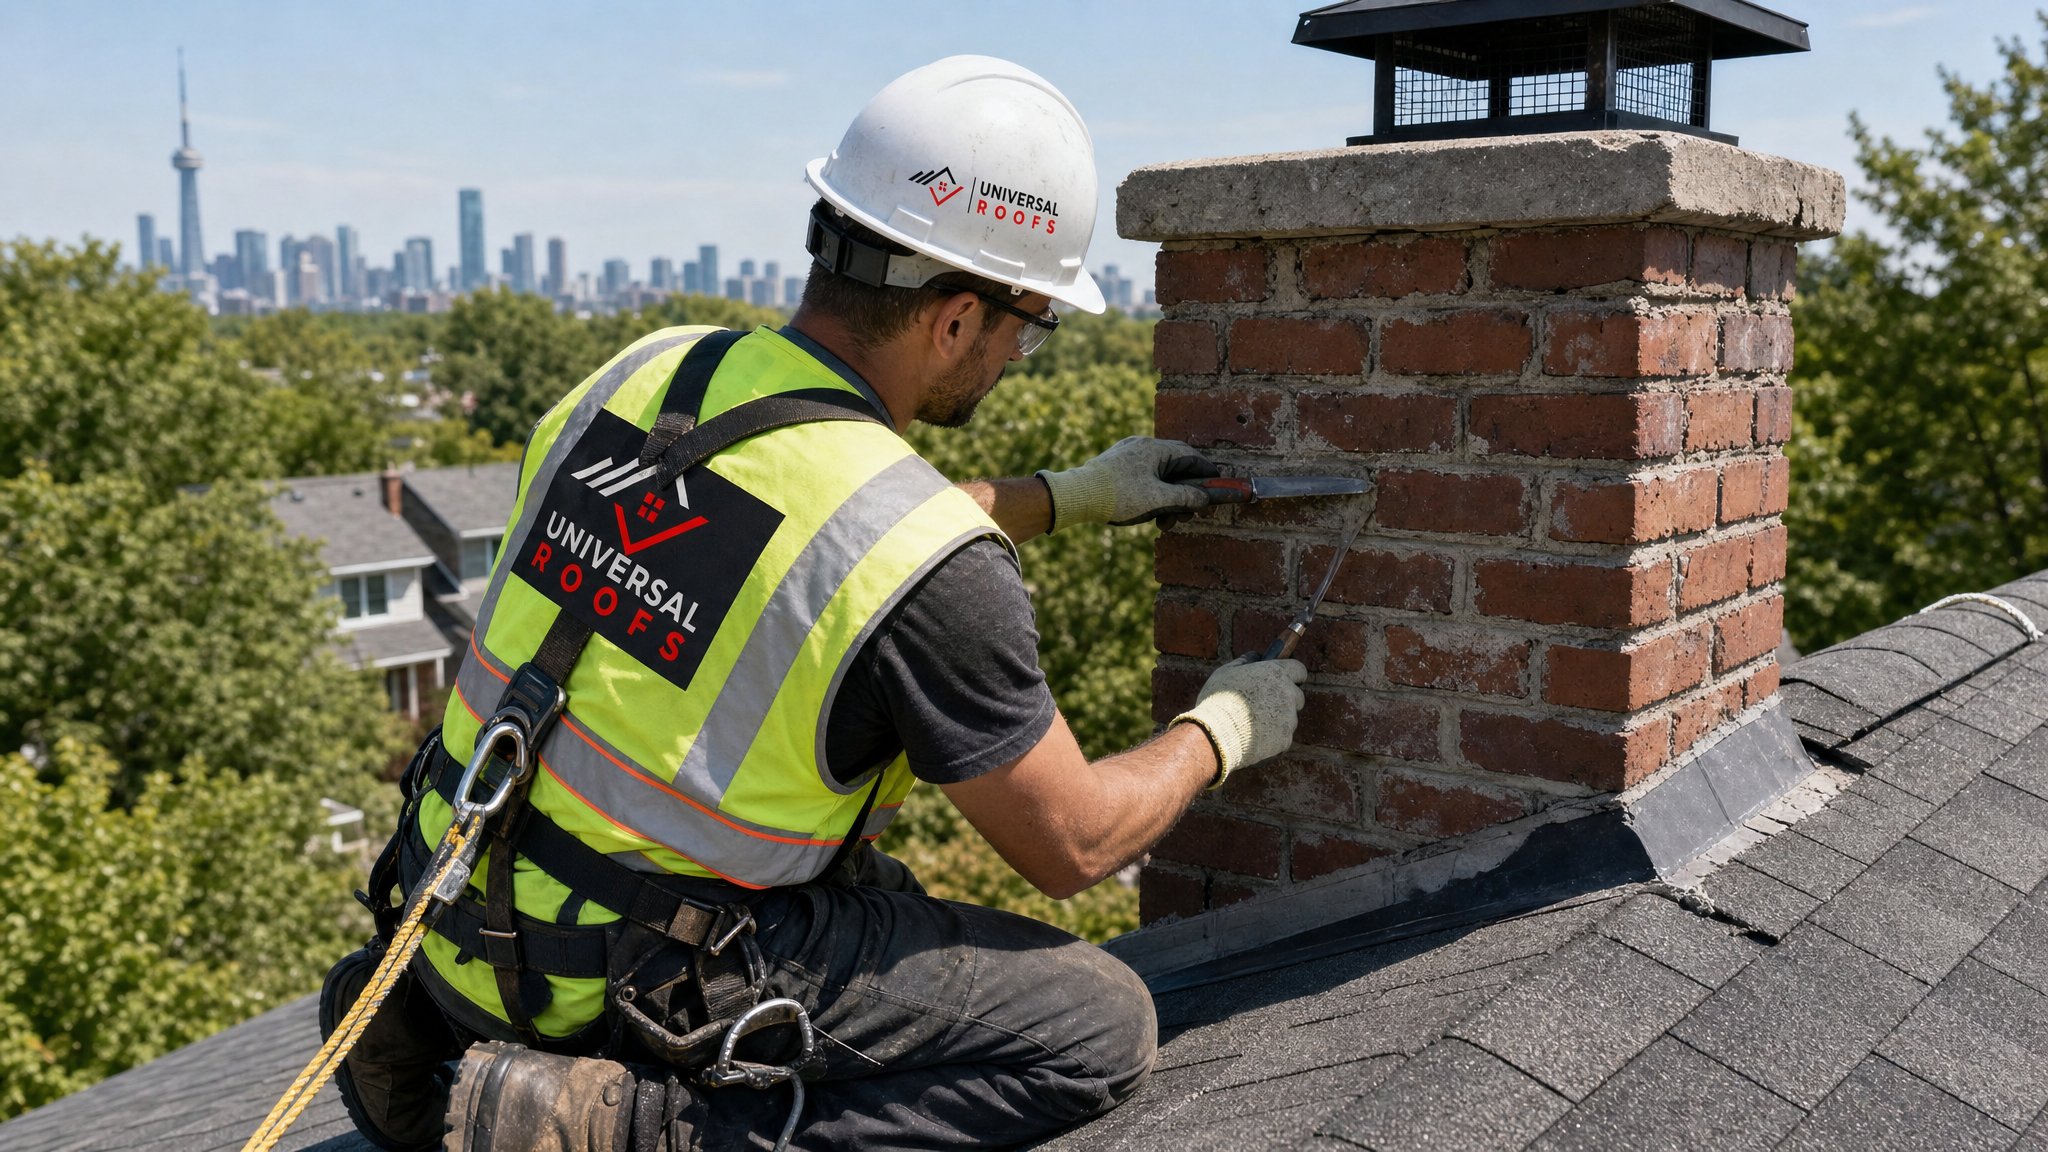
Repointing means grinding out the old, degraded mortar to a depth of roughly 20 to 25 millimetres, then packing the joint with fresh mortar matched to the original in colour and composition. This is the standard fix for loose bricks where the brick units themselves are still sound. Done properly, repointing can add 20-plus years of life to a chimney’s mortar joints.
The key mistake we see from lower-cost contractors is simply smearing new mortar over the old cracked joint without grinding it out first — this is sometimes called “face slushing.” It looks fine for a season or two, then fails faster than the original mortar did because it never bonded properly to the brick edges.
2. Individual Brick Replacement
When a specific brick has cracked, spalled (the face has flaked off from water damage), or gone missing entirely, that unit gets cut out and replaced with a matching brick, then the surrounding joints are repointed to tie it in. Matching the brick colour and texture matters more than people expect — mismatched replacement bricks are one of the most common complaints we hear about other contractors’ patch jobs.
3. Partial or Full Rebuild
If the damage extends across multiple courses, if the chimney has a visible lean, or if more than roughly 25 percent of the mortar joints on a given face have failed, repointing is not a permanent fix — it is a stopgap on a structure that needs to come down and go back up. A partial rebuild takes the chimney down to sound masonry (often at the roofline) and rebuilds from there. A full rebuild replaces the entire stack, sometimes down to the foundation flashing.
Every rebuild should also include new flashing, since the old flashing rarely survives the demolition process intact and reusing compromised flashing defeats the purpose of the repair.
| Repair Method | Best For | Typical Toronto Cost Range | Expected Lifespan After Repair |
|---|---|---|---|
| Spot repointing (1-2 joints) | Isolated loose bricks, early wear | $350 – $750 | 15 – 20 years |
| Full-face repointing | Widespread mortar cracking on one or more sides | $900 – $2,200 | 20 – 25 years |
| Individual brick replacement | Missing or spalled bricks, sound mortar elsewhere | $150 – $400 per brick | Matches surrounding repointing |
| Partial rebuild (top 3-6 courses) | Leaning stack, multiple missing bricks | $1,800 – $3,800 | 30+ years |
| Full chimney rebuild with new flashing | Structural failure, extensive water damage | $3,500 – $8,000+ | 40+ years |
These figures are general GTA market ranges and will vary based on chimney height, roof pitch, access difficulty, and brick availability for older or custom homes. A proper roof repair assessment will always include an actual quote based on what our technicians find on your specific chimney, not a phone estimate.
Chimney Flashing: The Part Homeowners Usually Overlook
Loose or missing bricks rarely travel alone — they are frequently accompanied by failed flashing, and fixing one without the other is a half-measure. Flashing is the metal barrier, usually galvanized steel, aluminum, or copper, installed where the chimney meets the roof deck to prevent water from running down the masonry and into the house at that joint.
Two components matter here: step flashing, which is layered with the shingles up each side of the chimney, and counter-flashing, which is embedded into the mortar joints of the chimney itself and folds down over the step flashing to create a watertight seal. When mortar around the counter-flashing degrades — the same freeze-thaw process damaging your bricks — the flashing loosens and water gets a direct path into the roof structure, independent of the brick condition.
If your chimney inspection reveals loose bricks, always ask specifically whether the flashing was checked and whether it needs to be reset or replaced as part of the job. This is a common point where repairs done in isolation (mortar only, no flashing check) fail to actually stop a leak, and the homeowner ends up paying for a second visit. If your roof deck around the chimney has already sustained water damage, it is worth having the full roofing system assessed — sometimes what looks like a chimney problem is really a broader roof replacement conversation, particularly on a roof already near the end of its service life.
DIY Repair vs. Calling a Professional
We get asked regularly whether a homeowner can repoint a few loose bricks themselves. Realistically, it depends on scope, height, and roof pitch.
Ground-level or very low, walk-up chimneys with one or two loose bricks and no structural lean can sometimes be handled by a confident DIYer with the right mortar mix, a grinder or joint chisel, and basic masonry experience. Pre-mixed repointing mortar is available at most hardware stores, and the technique — grind, clean, dampen, pack, tool the joint — is learnable.
That said, most Toronto chimneys are not ground-level. They sit at the roof ridge, often two to three storeys up, on a sloped surface. At that point the job becomes a fall-protection and access problem before it is even a masonry problem. Consider a professional if any of the following apply:
| Situation | DIY Feasibility | Recommended Approach |
|---|---|---|
| Chimney accessible from a stable ladder at grade | Feasible for minor repointing | DIY with proper mortar mix and technique |
| Chimney at roof ridge, steep pitch | Not recommended | Professional with harness and roof anchors |
| Multiple missing bricks or visible lean | Not appropriate for DIY | Professional structural assessment |
| Flashing involved or suspected leak | Not appropriate for DIY | Combined masonry and roofing inspection |
| Active chimney (wood fireplace or furnace flue) | Not appropriate for DIY beyond cosmetic repair | Professional, due to fire-safety implications |
The honest answer is that most of the calls we get about “a loose brick or two” turn out, once we are actually up there, to involve either a second problem the homeowner could not see from the ground, or a mortar condition worse than expected once we test-tap the surrounding bricks. That is not a sales pitch — it is just what happens when a structure has been shedding water improperly for a few winters.
Preventing Future Chimney Brick Damage
Once your chimney is repaired, a handful of maintenance habits go a long way toward avoiding a repeat of the problem.
- Inspect annually, ideally in late spring or summer after the freeze-thaw season has ended, when you can see clearly and safely evaluate any winter damage.
- Keep the chimney crown sealed. A cracked or unsealed concrete crown is one of the fastest routes for water to enter the brick stack from the top down. Crown sealant should be reapplied every few years.
- Check the flashing at the same time as the bricks. They fail on similar timelines and should be assessed together.
- Keep gutters and downspouts clear near the chimney base if it intersects a valley or lower roof section, since pooling water at the chimney’s base accelerates masonry breakdown.
- Address efflorescence early. That white chalky residue is a visible signal of moisture movement through the brick — it is worth investigating before it becomes a structural issue.
- Have your attic checked for moisture once a year, since attic staining near the chimney chase is often the earliest indicator of a flashing or masonry failure, well before it is visible from outside.
If your home also has skylights or other roof penetrations, the same freeze-thaw and flashing principles apply — worth a look at our skylights and skylight replacement pages if you are doing a broader roof health check, since these are the other common points where water finds its way in around a roof penetration. Poor attic ventilation can also accelerate moisture problems throughout the roof system, which our attic services address directly.
What to Expect From a Professional Chimney Brick Inspection
When we assess a chimney for loose or missing bricks, the process typically covers a few consistent steps so homeowners know exactly what they are getting and why.
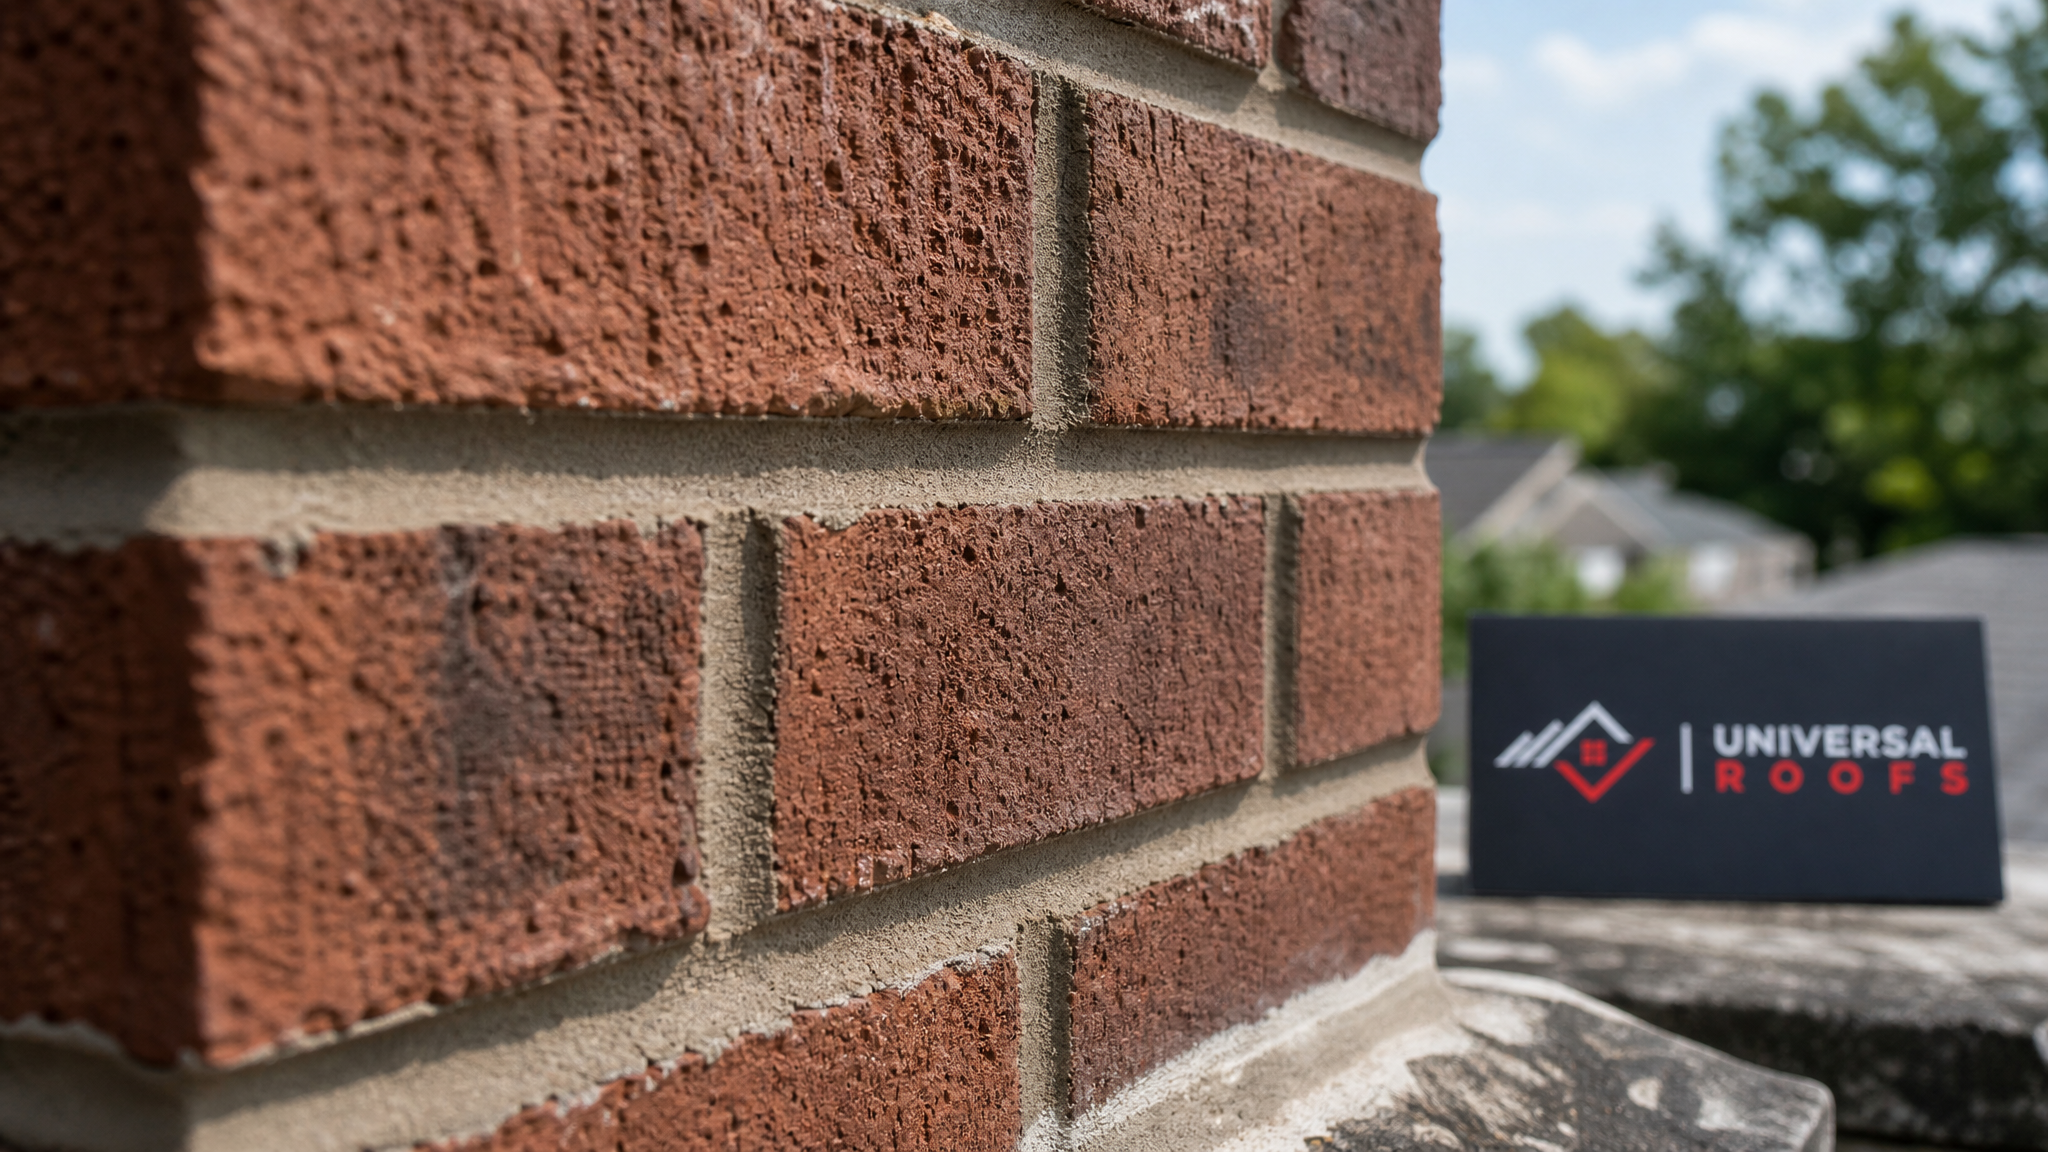
- Visual inspection from the roof, checking every face of the chimney for cracked mortar, loose bricks, spalling, and any lean or bulge.
- Tap testing of bricks surrounding the visibly damaged area, since bricks can look stable but sound hollow or loose when tapped — this is how we catch problems before they become visible missing bricks.
- Crown and cap inspection, checking for cracks in the concrete crown and confirming the cap and spark arrestor (if present) are secure.
- Flashing check, confirming step and counter-flashing are intact, properly lapped, and not pulling away from the mortar joints.
- Interior/attic check, looking at the chimney chase from inside the attic for staining, daylight gaps, or damp insulation.
- Written estimate outlining exactly which repair tier is needed — spot repointing, brick replacement, or rebuild — along with photos of what we found, so you are not taking anyone’s word for it.
This kind of thorough diagnosis matters because chimney repairs are one of the easiest roofing jobs to under-scope. A contractor who quotes a repair over the phone, without getting on the roof, is guessing — and that guess is usually wrong in a direction that costs you a second service call. You can see how our past chimney and roofing work has held up for other GTA homeowners on our reviews page, and browse common questions on our FAQ page if you want more background before booking an inspection.
Chimney Brick Repair Timelines
Homeowners often want to know how long a chimney repair will actually take, since scaffolding or roof access can affect other plans (roof cleaning, exterior painting, and so on). Here is a realistic breakdown based on typical GTA jobs.
| Repair Type | On-Site Time | Curing/Weather Buffer | Total Project Timeline |
|---|---|---|---|
| Spot repointing | 2 – 4 hours | 24 – 48 hours dry weather | Same day to 1 day |
| Full-face repointing | 1 full day | 48 – 72 hours dry weather | 1 – 2 days |
| Individual brick replacement | 3 – 6 hours | 24 – 48 hours dry weather | 1 day |
| Partial rebuild | 1 – 2 days | 72 hours cure before flashing seal | 2 – 4 days |
| Full rebuild with flashing | 2 – 4 days | 3 – 5 days depending on weather | 1 – 2 weeks |
Summer is generally the fastest season for these repairs since mortar cures more predictably in warm, dry conditions and there is no risk of a sudden frost interrupting the cure. Scheduling a chimney rebuild in mid-winter is possible but often requires cold-weather mortar additives and tenting, which adds cost and time.
Serving Chimney Repairs Across the Greater Toronto Area
Chimney and mortar conditions vary somewhat across the GTA depending on the age of housing stock and local exposure. Older neighbourhoods in Toronto proper often have original 1940s-to-1960s brick chimneys that are well past due for repointing. Newer subdivisions across Peel Region, York Region, Halton Region, and Durham Region tend to have chimneys built from the 1980s through 2000s, which are now reaching the age where the original mortar starts to show its first real signs of failure. Wherever your home sits in the GTA, the freeze-thaw mechanics driving chimney brick damage are the same, and the inspection process should be too.
Is a loose brick in my chimney an emergency?
Can I just replace one missing brick myself?
How much does it cost to fix missing or loose bricks in your chimney?
Why do chimney bricks loosen specifically in the GTA climate?
Will loose or missing chimney bricks cause a roof leak?
How often should a chimney be inspected for loose or missing bricks?
Need Help With What to Do About?
Loose or missing bricks in your chimney rarely fix themselves, and every season they go unaddressed tends to widen the problem rather than shrink it. Universal Roofs has been diagnosing and repairing chimney masonry and flashing issues across the GTA since 2005, and we always start with a real, on-roof inspection rather than a phone guess.
Call us today at (416) 732-2421 or request a free inspection to get started.
Universal Roofs proudly serves Toronto, Mississauga, Brampton, Vaughan, Markham, Oakville and the GTA since 2005.