
A chimney takes more abuse than almost any other part of a Toronto roof. It stands exposed on all four sides, absorbs direct sun in summer, and then faces months of freeze-thaw cycling that few other structures on your property have to endure. When the mortar joints and brick faces start crumbling, it is rarely just a cosmetic problem — it is usually the first visible sign of water intrusion that can travel down into your attic, walls, and flashing system.
Restoring damaged chimney masonry is a specialized repair that blends traditional bricklaying skill with roofing know-how, because the chimney’s base connects directly to your roof deck through flashing that must stay watertight. Get the masonry repair right but the flashing wrong (or vice versa) and you are back to square one within a season or two.
This guide walks homeowners across the GTA through how to spot chimney masonry damage early, what proper restoration actually involves, how much it costs, and how to choose between repointing, rebuilding, and full replacement. Whether you are dealing with a century home in the east end or a 1980s subdivision build in Peel Region, the fundamentals of chimney masonry restoration are the same.
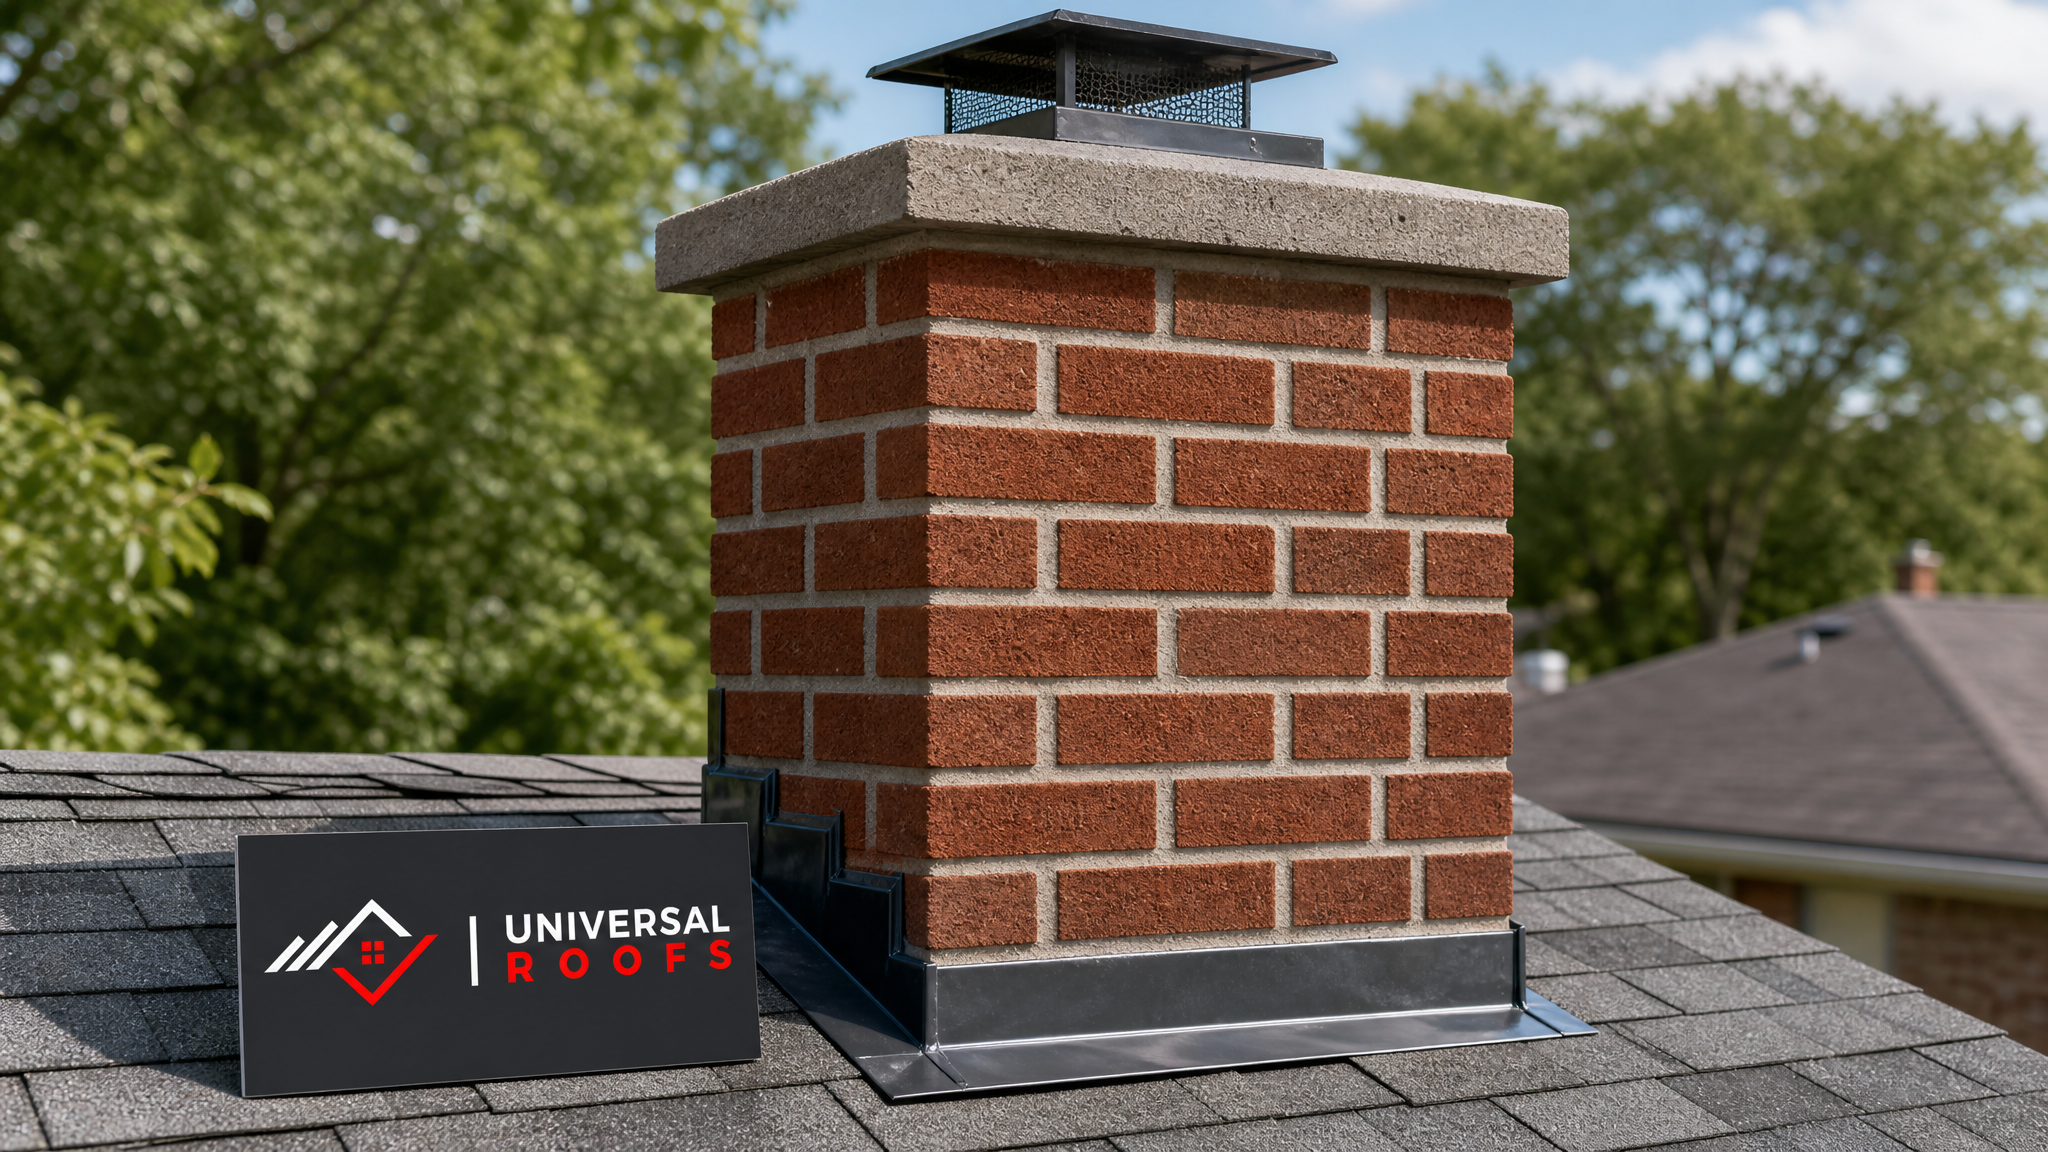
Why Toronto Chimneys Deteriorate So Quickly
Chimney masonry is built from brick, stone, or concrete block held together with mortar, and mortar is the weak link. It is porous by design, allowing small amounts of moisture to move in and out. The trouble starts in our climate’s freeze-thaw cycle: water seeps into hairline cracks during a mild afternoon, then freezes overnight and expands by roughly nine percent in volume. That expansion forces the crack wider. Repeat that cycle dozens of times over a Toronto winter and even sound mortar begins to crumble, a process masons call spalling.
Several factors accelerate this process on GTA homes:
- Age of the mortar mix. Homes built before the 1980s often used a softer, high-lime mortar that was never meant to outlast 40 years without repointing.
- Poor original flashing. If the chimney flashing was undersized or improperly sealed when the roof was last replaced, water has likely been getting behind the masonry for years before visible damage appears.
- Missing or damaged chimney crown. The concrete cap on top of the chimney sheds rainwater away from the brick. A cracked crown funnels water straight down through the masonry core.
- Lack of a chimney cap or cricket. Without a proper cap, rain and snow melt enter directly from above; without a cricket (a small peaked structure behind wide chimneys), snow and ice dam up against the chimney’s uphill side.
- Salt and de-icing chemicals. On homes near major roads, airborne salt spray can accelerate mortar breakdown in the same way it corrodes concrete driveways.
Because the chimney sits at the intersection of the roof plane and a vertical masonry structure, damage here is never purely a bricklayer’s problem or purely a roofer’s problem — it is both. That is why a comprehensive roof repair assessment should always include a close look at the chimney, and why masonry restoration should always be paired with a flashing inspection.
Recognizing the Warning Signs of Chimney Masonry Damage
Most chimney problems are visible from the ground with a good pair of binoculars, or from inside the attic where water staining tells its own story. Homeowners should walk the exterior of the house at least once a year, ideally in spring after the snow has melted and again in early fall before winter sets in.
Look for these specific signs:
- Crumbling or missing mortar joints — you can often push a finger or a screwdriver tip into failing mortar and it will flake away.
- Spalling brick — the face of the brick peels, flakes, or pops off in chunks, exposing a rougher, more porous interior.
- White, chalky residue (efflorescence) — this is mineral salt left behind as water evaporates from within the masonry, and it always indicates moisture is moving through the brick.
- Visible cracks in the crown or cap — even a hairline crack in the concrete crown will widen every winter.
- A leaning or separating chimney — in more serious cases the entire stack can shift, which points to a failing foundation or footing, not just surface mortar.
- Rust-coloured staining on interior ceilings near the chimney chase, or damp smells in the attic close to where the chimney penetrates the roof deck.
- Loose flashing — metal counter-flashing that has pulled away from the mortar joint it was originally set into.
If you notice more than one of these signs at once, water has likely already found its way behind the masonry and into the surrounding roof structure. At that point, a full attic inspection is worthwhile to check for hidden rot in the rafters or sheathing around the chimney chase.
Repointing vs. Rebuilding vs. Full Replacement
Not every damaged chimney needs to be torn down and rebuilt. The right restoration method depends entirely on how deep the damage goes.
Repointing (tuckpointing) involves grinding out the failed mortar to a depth of roughly 20 to 25 millimetres and packing in fresh mortar, matched in colour and composition to the original. This is the most common chimney masonry repair and is appropriate whenever the bricks themselves are still structurally sound and only the joints have failed.
Partial rebuilding is required when spalling has damaged a significant number of individual bricks, usually concentrated near the top of the stack where exposure is worst. The mason removes the damaged courses of brick down to sound masonry, then rebuilds upward with matching brick and fresh mortar, tying the new work into the old.
Full rebuild or replacement becomes necessary when the chimney is leaning, when damage extends more than a third of the way down the stack, or when the flue liner itself has cracked. In these cases, it is often more cost-effective and longer-lasting to rebuild the entire above-roof portion of the chimney from the roofline up, install a new liner if needed, and finish with correctly sized flashing and a new crown.
| Restoration Method | When It’s Used | Typical Lifespan After Repair | Relative Cost |
|---|---|---|---|
| Repointing (tuckpointing) | Mortar joints failing, bricks still sound | 20–25 years | $ |
| Crown repair or replacement | Cracked or missing concrete cap | 15–20 years | $ |
| Partial rebuild (top courses) | Spalled brick concentrated near the top | 25–30 years | $$ |
| Flashing replacement | Leaks at the roofline, loose or rusted flashing | 20–25 years | $$ |
| Full chimney rebuild | Leaning stack, deep spalling, cracked liner | 40+ years | $$$ |
The Step-by-Step Masonry Restoration Process
A proper chimney masonry restoration follows a defined sequence. Skipping steps, particularly the flashing work, is the single biggest reason repaired chimneys leak again within a year or two.
- Inspection and diagnosis. A qualified technician examines the chimney from the roof, checking mortar depth, brick condition, crown integrity, flashing condition, and — where accessible — the flue liner.
- Protective staging. Roof jacks, harness anchor points, and tarps are set up to protect the surrounding shingles and gutters from mortar debris and dust.
- Removing failed mortar. Old, crumbling mortar is ground out using an angle grinder with a diamond blade, taking care not to widen the joint or chip adjacent bricks. Hand tools finish the corners where a grinder can damage the brick edges.
- Cleaning and rinsing. Dust and loose debris are brushed and rinsed from the joints so the new mortar bonds properly to the existing brick.
- Repointing with matched mortar. Mortar is mixed to match the original in both strength and colour, then packed into the joints in thin layers and tooled to match the surrounding joint profile.
- Replacing damaged brick. Any spalled or cracked brick units are cut out individually and replaced with matching brick, keeping the bond pattern consistent.
- Crown repair or rebuild. A cracked crown is patched with a flexible waterproof crown coating, or fully rebuilt with a proper concrete cap that overhangs the brick by at least 50 millimetres and includes a drip edge.
- Flashing renewal. New step flashing and counter-flashing are installed where the chimney meets the roof plane, cut into a fresh reglet in the mortar joint and sealed with high-quality roofing sealant.
- Water repellent application. Once the mortar has cured for the recommended period, a breathable, vapour-permeable water repellent is applied to the masonry to slow future moisture absorption without trapping vapour inside the brick.
- Final inspection and cleanup. The completed work is checked for consistent joint profile, proper drainage at the crown, and a watertight flashing seal before the crew clears the site.
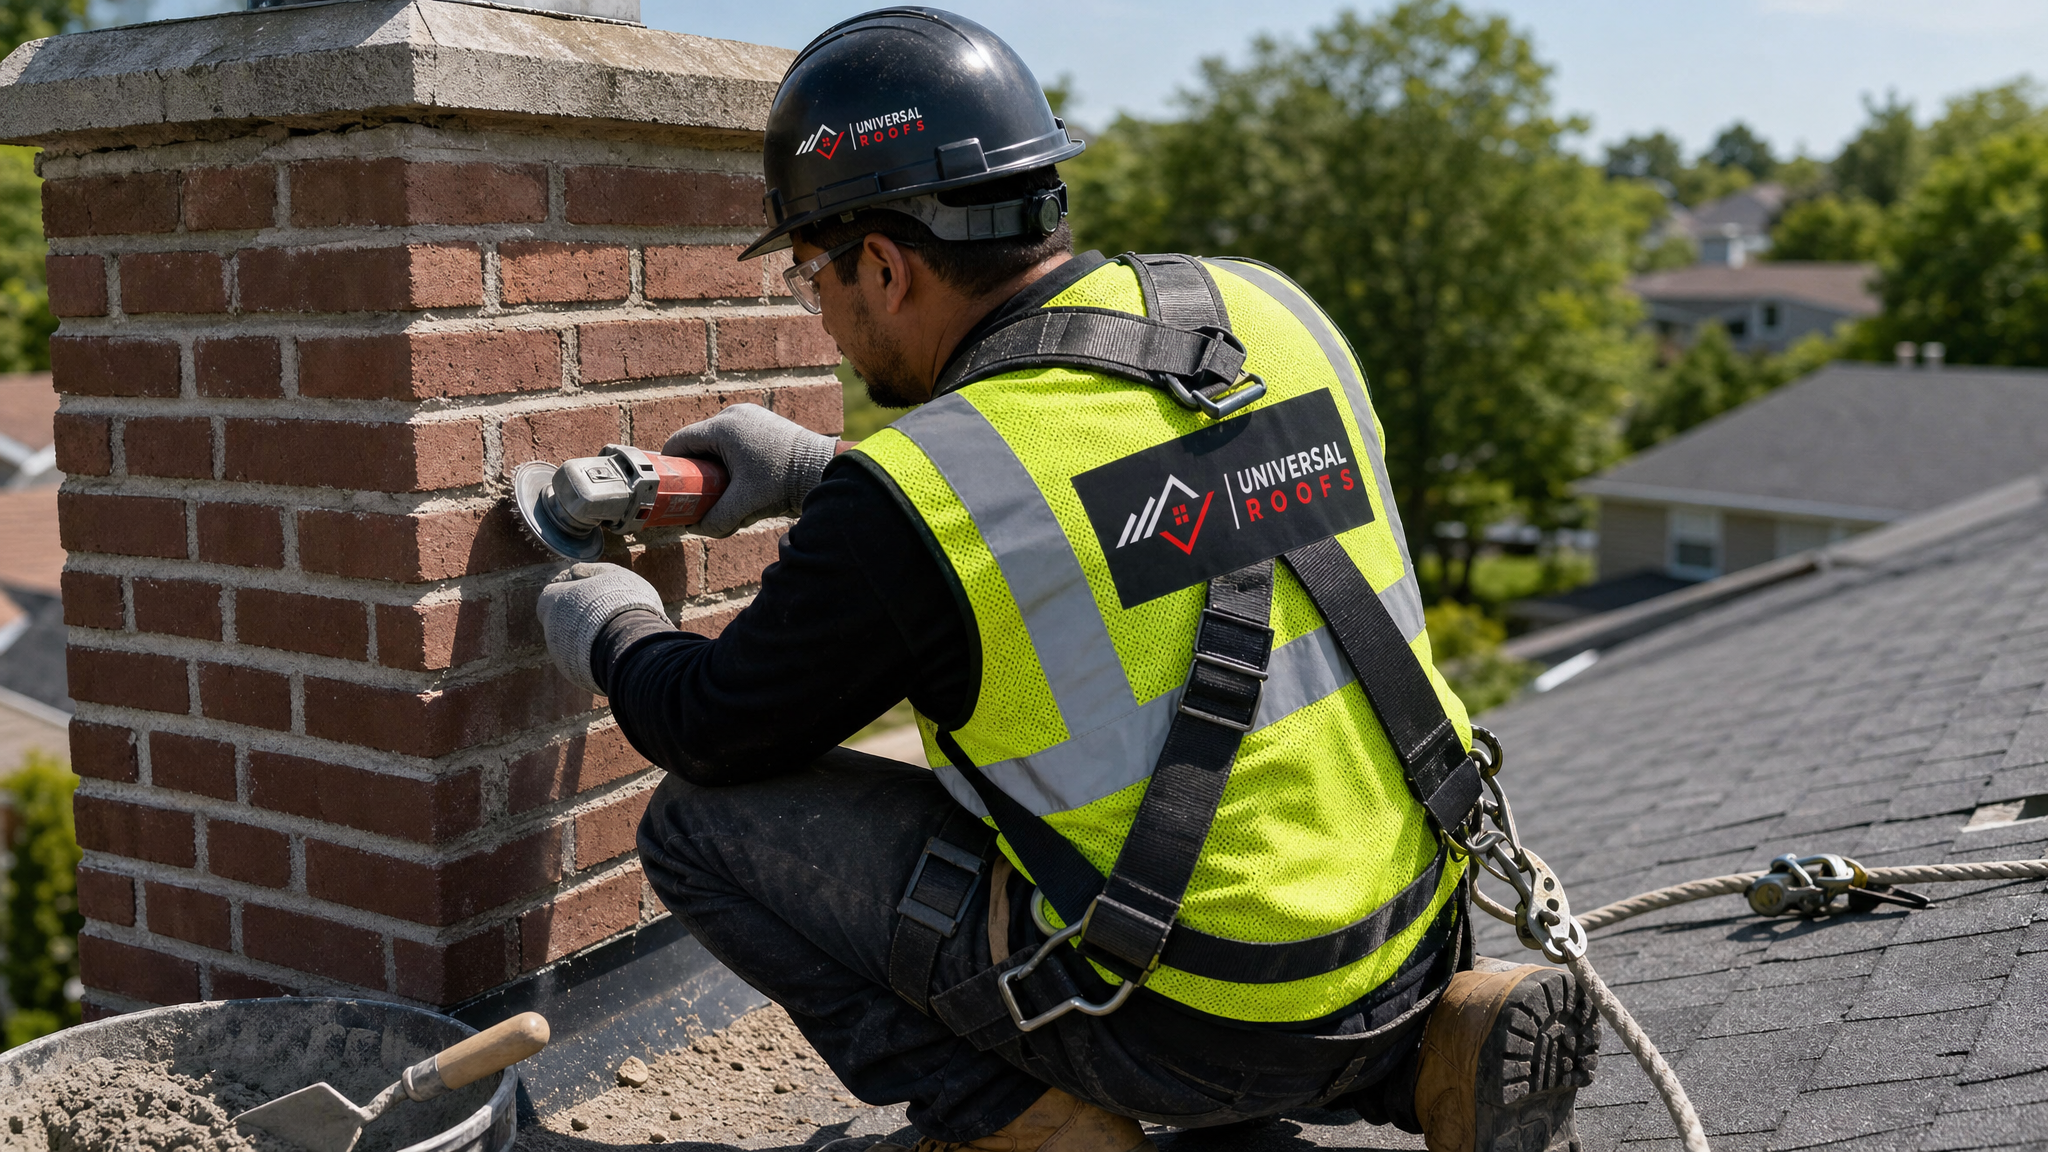
Flashing: The Part Homeowners Overlook
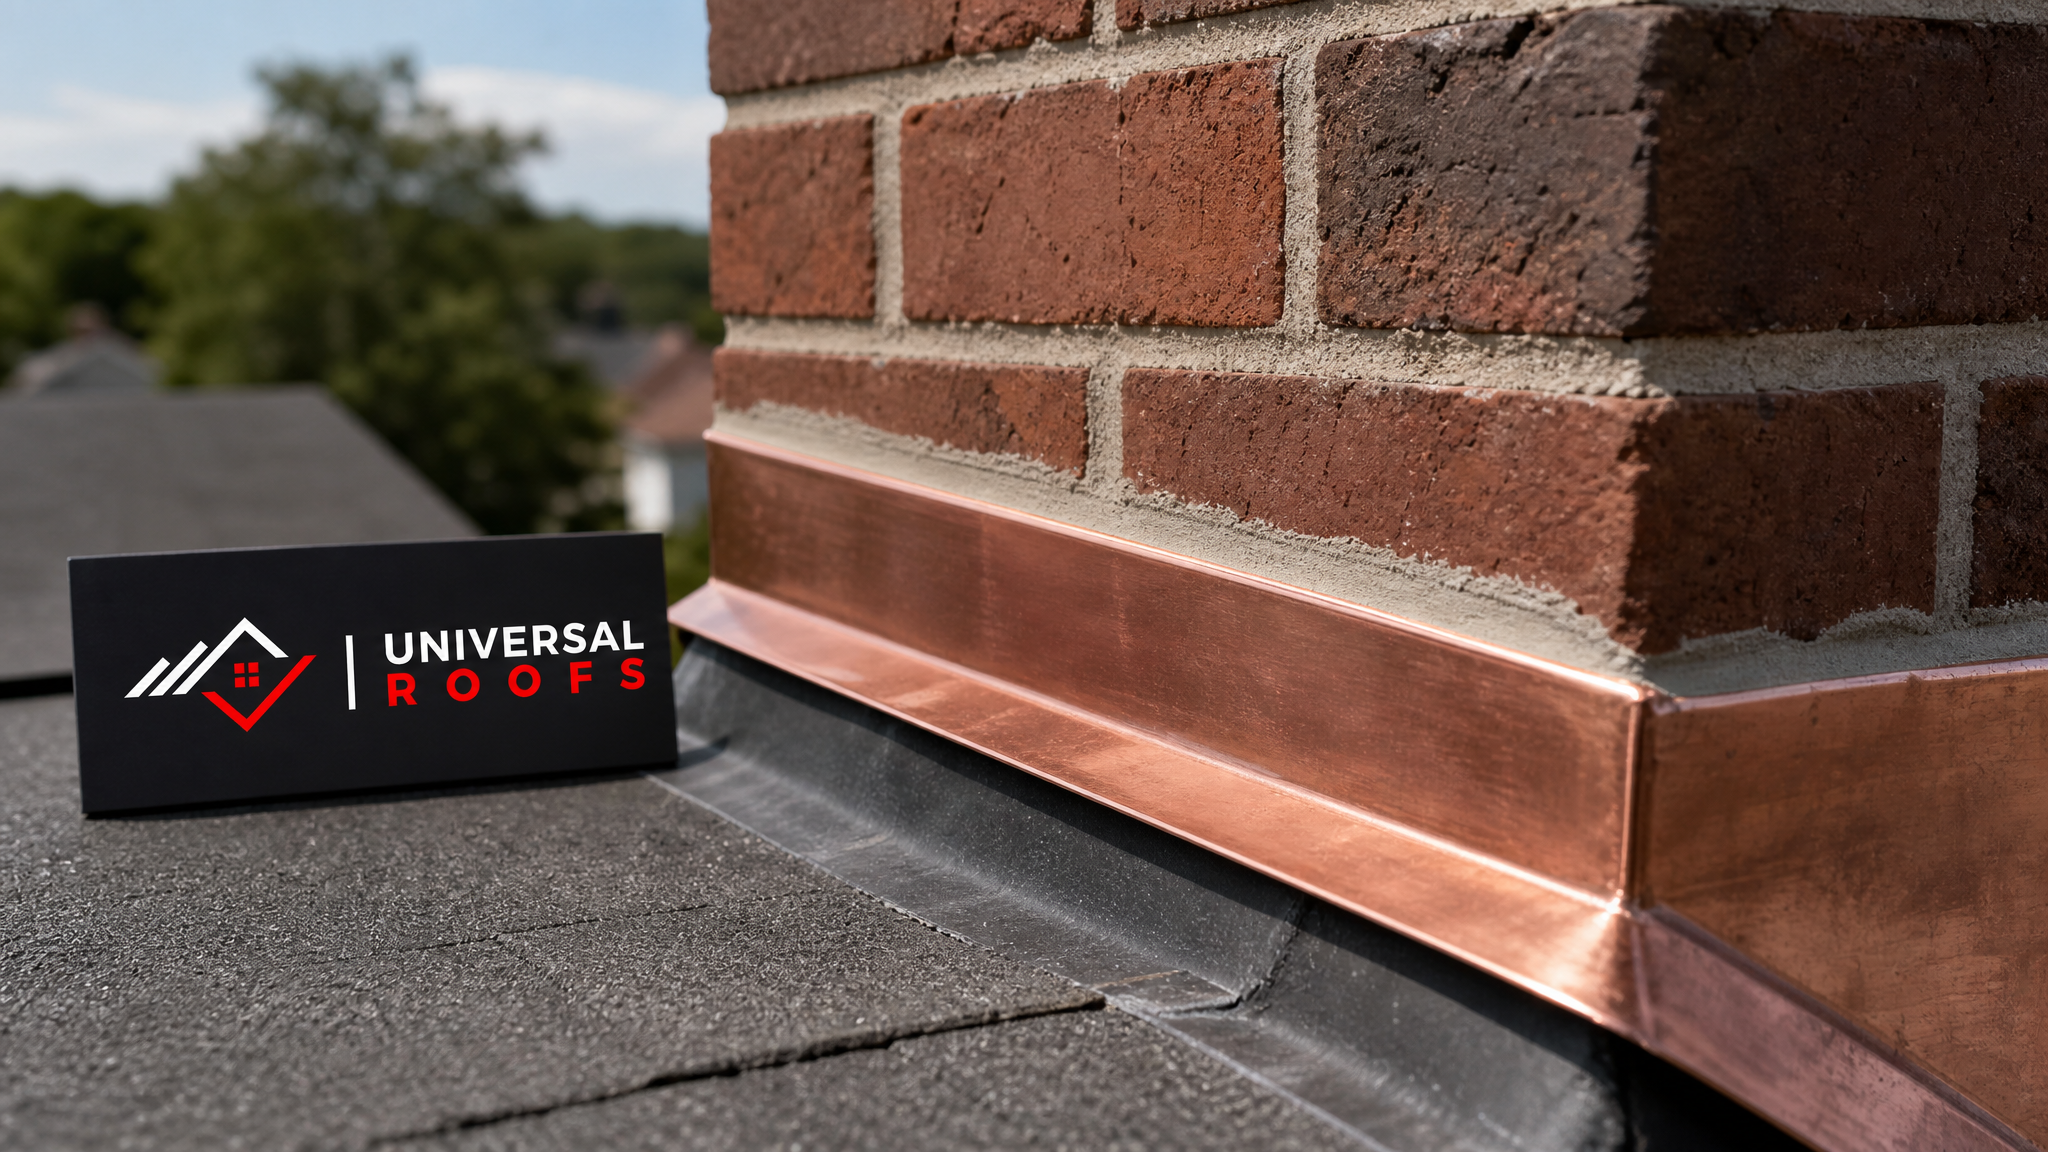
Ask any experienced roofer where chimney leaks actually originate and the answer, more often than not, is the flashing rather than the brick itself. Flashing is the metal barrier — usually aluminum, copper, or galvanized steel — that bridges the joint between the vertical chimney and the sloped roof deck. A correctly installed flashing system has two parts working together:
- Step flashing is woven in layers with each course of shingles up the sides of the chimney, directing water down and away from the joint.
- Counter-flashing is set into a groove cut directly into the mortar joint of the chimney and bent down over the step flashing, so water can never get behind the metal.
When mortar restoration is done without also renewing the counter-flashing, the new mortar is simply packed against old, often rusted metal — and the leak returns. This is why a competent masonry restoration always includes flashing work, and why homeowners should be cautious of any quote that addresses only the brick and mortar. If your chimney flashing is the only failing component and the masonry itself is sound, a standalone flashing repair through our roof repair service may be all that’s needed rather than a full masonry restoration.
What Chimney Masonry Restoration Costs in the GTA
Pricing depends on chimney height, accessibility, brick type, and how much of the structure needs rebuilding. The figures below reflect typical ranges seen across Toronto and the surrounding regions in recent seasons, though every quote should be based on an actual roof-level inspection rather than a ground-level guess.
| Service | Typical Cost Range (CAD) | Notes |
|---|---|---|
| Mortar repointing (full chimney) | $600 – $1,500 | Varies with joint depth and chimney height |
| Crown repair (coating) | $300 – $700 | For hairline to moderate cracking |
| Crown replacement (rebuild) | $700 – $1,400 | Full concrete cap poured with drip edge |
| Brick replacement (per section) | $500 – $1,200 | Depends on number of spalled bricks |
| Flashing replacement | $400 – $1,000 | Step and counter-flashing, both sides |
| Full above-roof rebuild | $2,500 – $6,000+ | Includes liner check, crown, and flashing |
Chimneys that are unusually tall, sit on a steep roof pitch, or require scaffolding rather than roof jacks will trend toward the higher end of these ranges. It is worth noting that deferring chimney masonry repair rarely saves money — a $900 repointing job today often becomes a $4,000 rebuild in three to five years once spalling reaches structural bricks.
Seasonal Timing: Why Summer Is the Right Window for This Work
Mortar needs a stable temperature range to cure properly — most masonry mortars perform best when daytime and overnight temperatures stay above roughly 5°C for several days after application. That makes late spring through early fall the practical window for chimney masonry restoration in the GTA, and mid-summer offers the most predictable conditions with minimal rain delays.
Booking restoration work now, in July, also means the repair has a full season to cure before the first hard freeze-thaw cycles of late autumn put it to the test. Homeowners who wait until October or November often find contractors booked solid or forced to use cold-weather mortar additives that are a reasonable fallback but not ideal. If you noticed chimney issues over the winter, summer is the time to act rather than let another freeze-thaw season pass.
Choosing the Right Contractor for Chimney Masonry Work
Chimney restoration sits at an unusual intersection of trades — part masonry, part roofing — and not every contractor is equally comfortable with both. When evaluating a quote, ask about the following:
| Question to Ask | Why It Matters | What a Good Answer Sounds Like |
|---|---|---|
| Do you replace flashing as part of the job? | Prevents the most common cause of repeat leaks | “Yes, we always renew step and counter-flashing” |
| Will the new mortar match the original? | Mismatched mortar strength can crack surrounding original brick | “We test and match colour and compressive strength” |
| Is fall protection used on the roof? | Safety compliance and workmanship quality often correlate | “Full harness and anchor points, always” |
| Do you inspect the flue liner? | A cracked liner is a fire and carbon monoxide hazard | “We check accessible portions and recommend a camera scan if needed” |
| What is the workmanship warranty? | Reputable contractors stand behind masonry and flashing work | “Multi-year warranty on labour and materials” |
It is also worth reading through a contractor’s reviews specifically for chimney and masonry work, since general roofing reviews do not always reflect experience with this more specialized repair. And if the quote you receive addresses only the visible brick face without mentioning flashing, crown condition, or curing time, ask more questions before signing. You can also review our FAQ page for more on how we approach roofing and masonry assessments generally.
Preventing Future Chimney Masonry Damage
Once a chimney has been properly restored, a few simple habits will extend its life significantly:
- Install or maintain a chimney cap to keep rain, snow, and animals out of the flue while still allowing proper ventilation.
- Apply a breathable water repellent every 5 to 10 years rather than a film-forming sealant, which can trap moisture inside the brick and accelerate spalling.
- Keep gutters and downspouts clear near the chimney chase so overflow doesn’t saturate the base of the masonry.
- Schedule an annual visual inspection, ideally paired with a broader roof check, so small mortar cracks get addressed with a simple repointing rather than a full rebuild.
- Address ice dams promptly in winter, since standing meltwater against the chimney base is one of the most damaging conditions a chimney can face.
Homeowners who are also due for a full roof assessment often find it efficient to combine that inspection with chimney masonry evaluation, since our technicians are already on the roof and can check both systems in a single visit. This is particularly useful if your home also has a skylight or flat roof section nearby, since these areas share similar flashing vulnerabilities as covered on our flat roofing page.
When Masonry Damage Signals a Bigger Roofing Problem
Occasionally what looks like a simple mortar problem turns out to be a symptom of something larger. If the chimney flashing has been leaking for an extended period, water may have already compromised the roof deck, insulation, or rafters surrounding the chimney chase. In these cases, masonry restoration alone will not solve the underlying issue.
Signs that point to a broader problem include soft or spongy roof decking near the chimney, visible daylight around the chimney chase from inside the attic, sagging rooflines close to the chimney base, or recurring leaks despite previous flashing repairs. If any of these apply to your home, a full roof evaluation is the more responsible next step — and depending on the age and condition of the surrounding shingles, that may mean anything from a targeted roof repair to a broader roof replacement. Homeowners in York Region, Halton Region, and Durham Region can reach our team for an assessment covering the chimney and the surrounding roof structure together.
Frequently Asked Questions About Chimney Masonry Restoration
How do I know if my chimney needs restoring damaged chimney masonry work or a full rebuild?
What is the average cost of restoring damaged chimney masonry in Toronto?
Can chimney masonry restoration be done in summer, or should I wait for a specific season?
Why does my chimney keep leaking even after mortar repairs?
Is efflorescence a sign of serious chimney masonry damage?
Do I need a professional for restoring damaged chimney masonry, or can it be a DIY project?
Need Help With Restoring Damaged Chimney Masonry?
A properly restored chimney protects far more than curb appeal — it safeguards your roof deck, attic, and interior ceilings from the kind of slow water damage that is expensive to reverse. Universal Roofs has been diagnosing and repairing chimney masonry and flashing issues across the GTA since 2005, and we bring the same roof-level expertise to every chimney assessment.
Call us today at (416) 732-2421 or request a free inspection to get started.
Universal Roofs proudly serves Toronto, Mississauga, Brampton, Vaughan, Markham, Oakville and the GTA since 2005.